New Player Advice

Souls and Items

Souls are the currency you earn during a match. You spend them on items, while the total you have earned also advances your hero through Boons that improve their stats and provide ability unlocks and upgrade points. Buying an item does not take that progress away. It turns the souls you are holding into something you can use in the next fight.

Troopers provide regular income in lane. You can also earn souls from neutral camps, enemy heroes, objectives, and objects around the map. Kills can help you get ahead, but you do not need to chase every opponent to grow stronger. Collecting the waves you can safely reach gives you a steady way to afford your build.
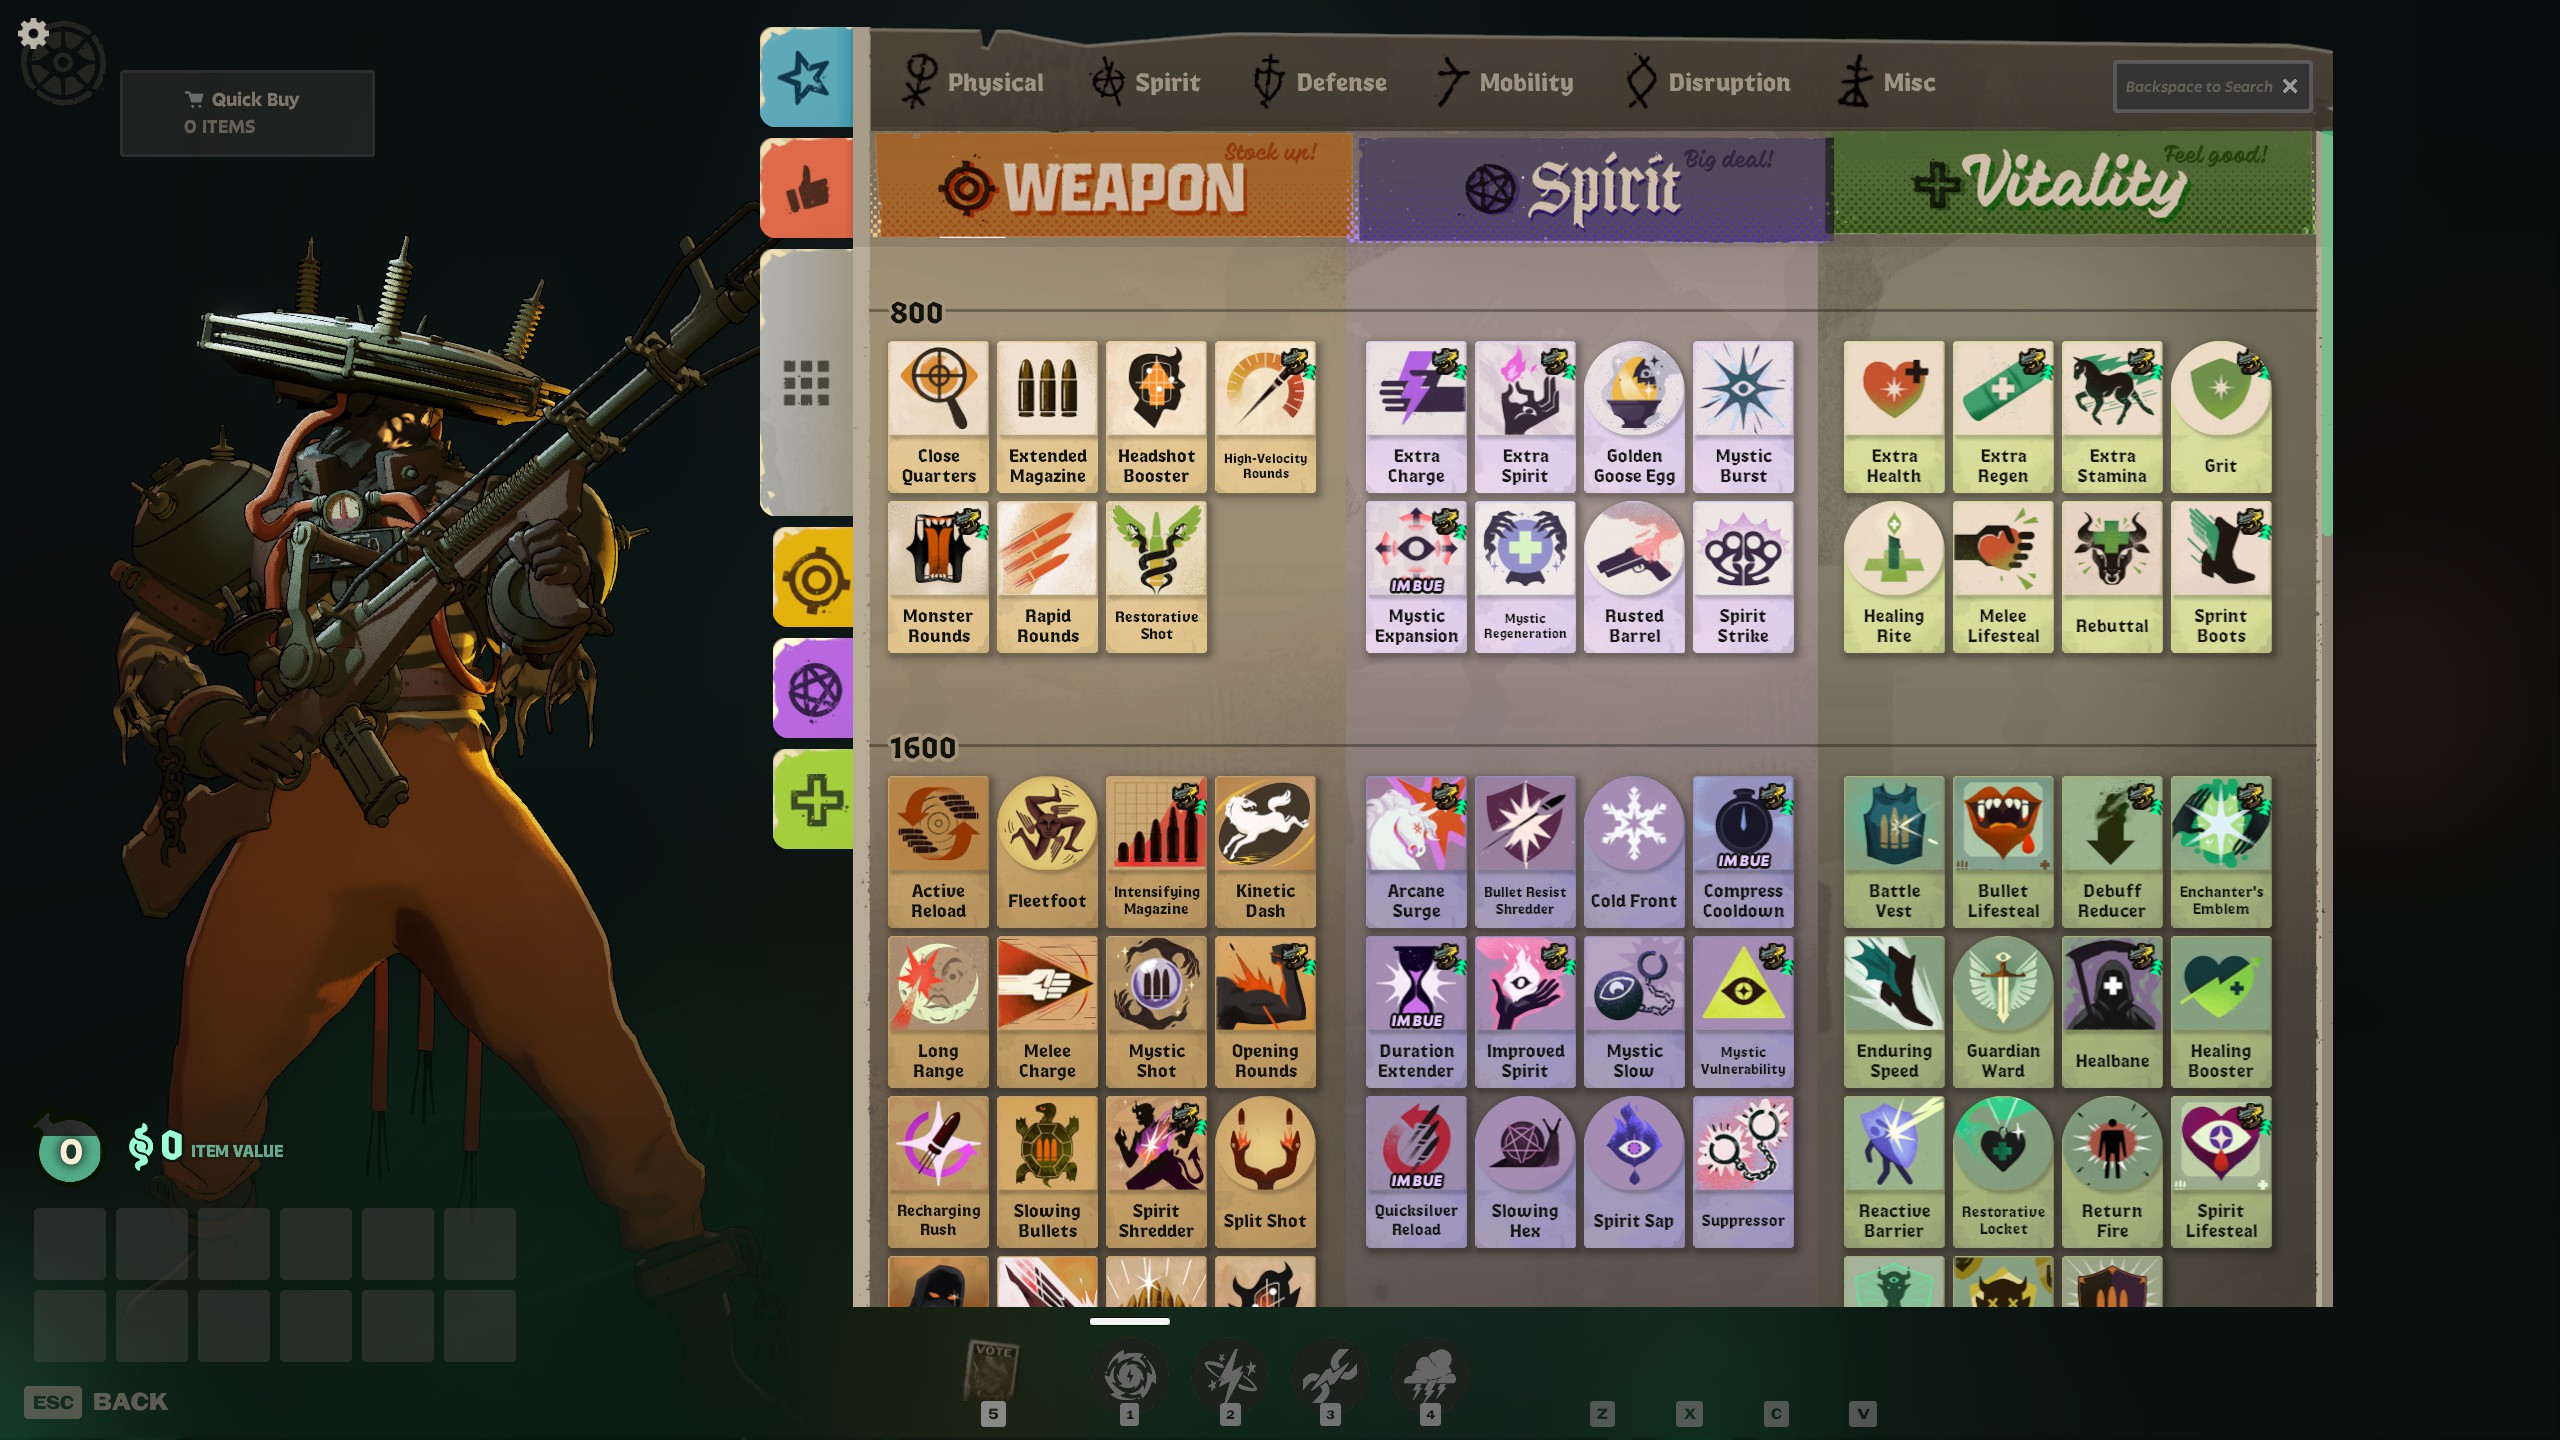
The item shop with Weapon, Spirit, and Vitality columns and rows priced at 800 and 1,600 souls.
Spend souls at the shop to buy items for your hero.
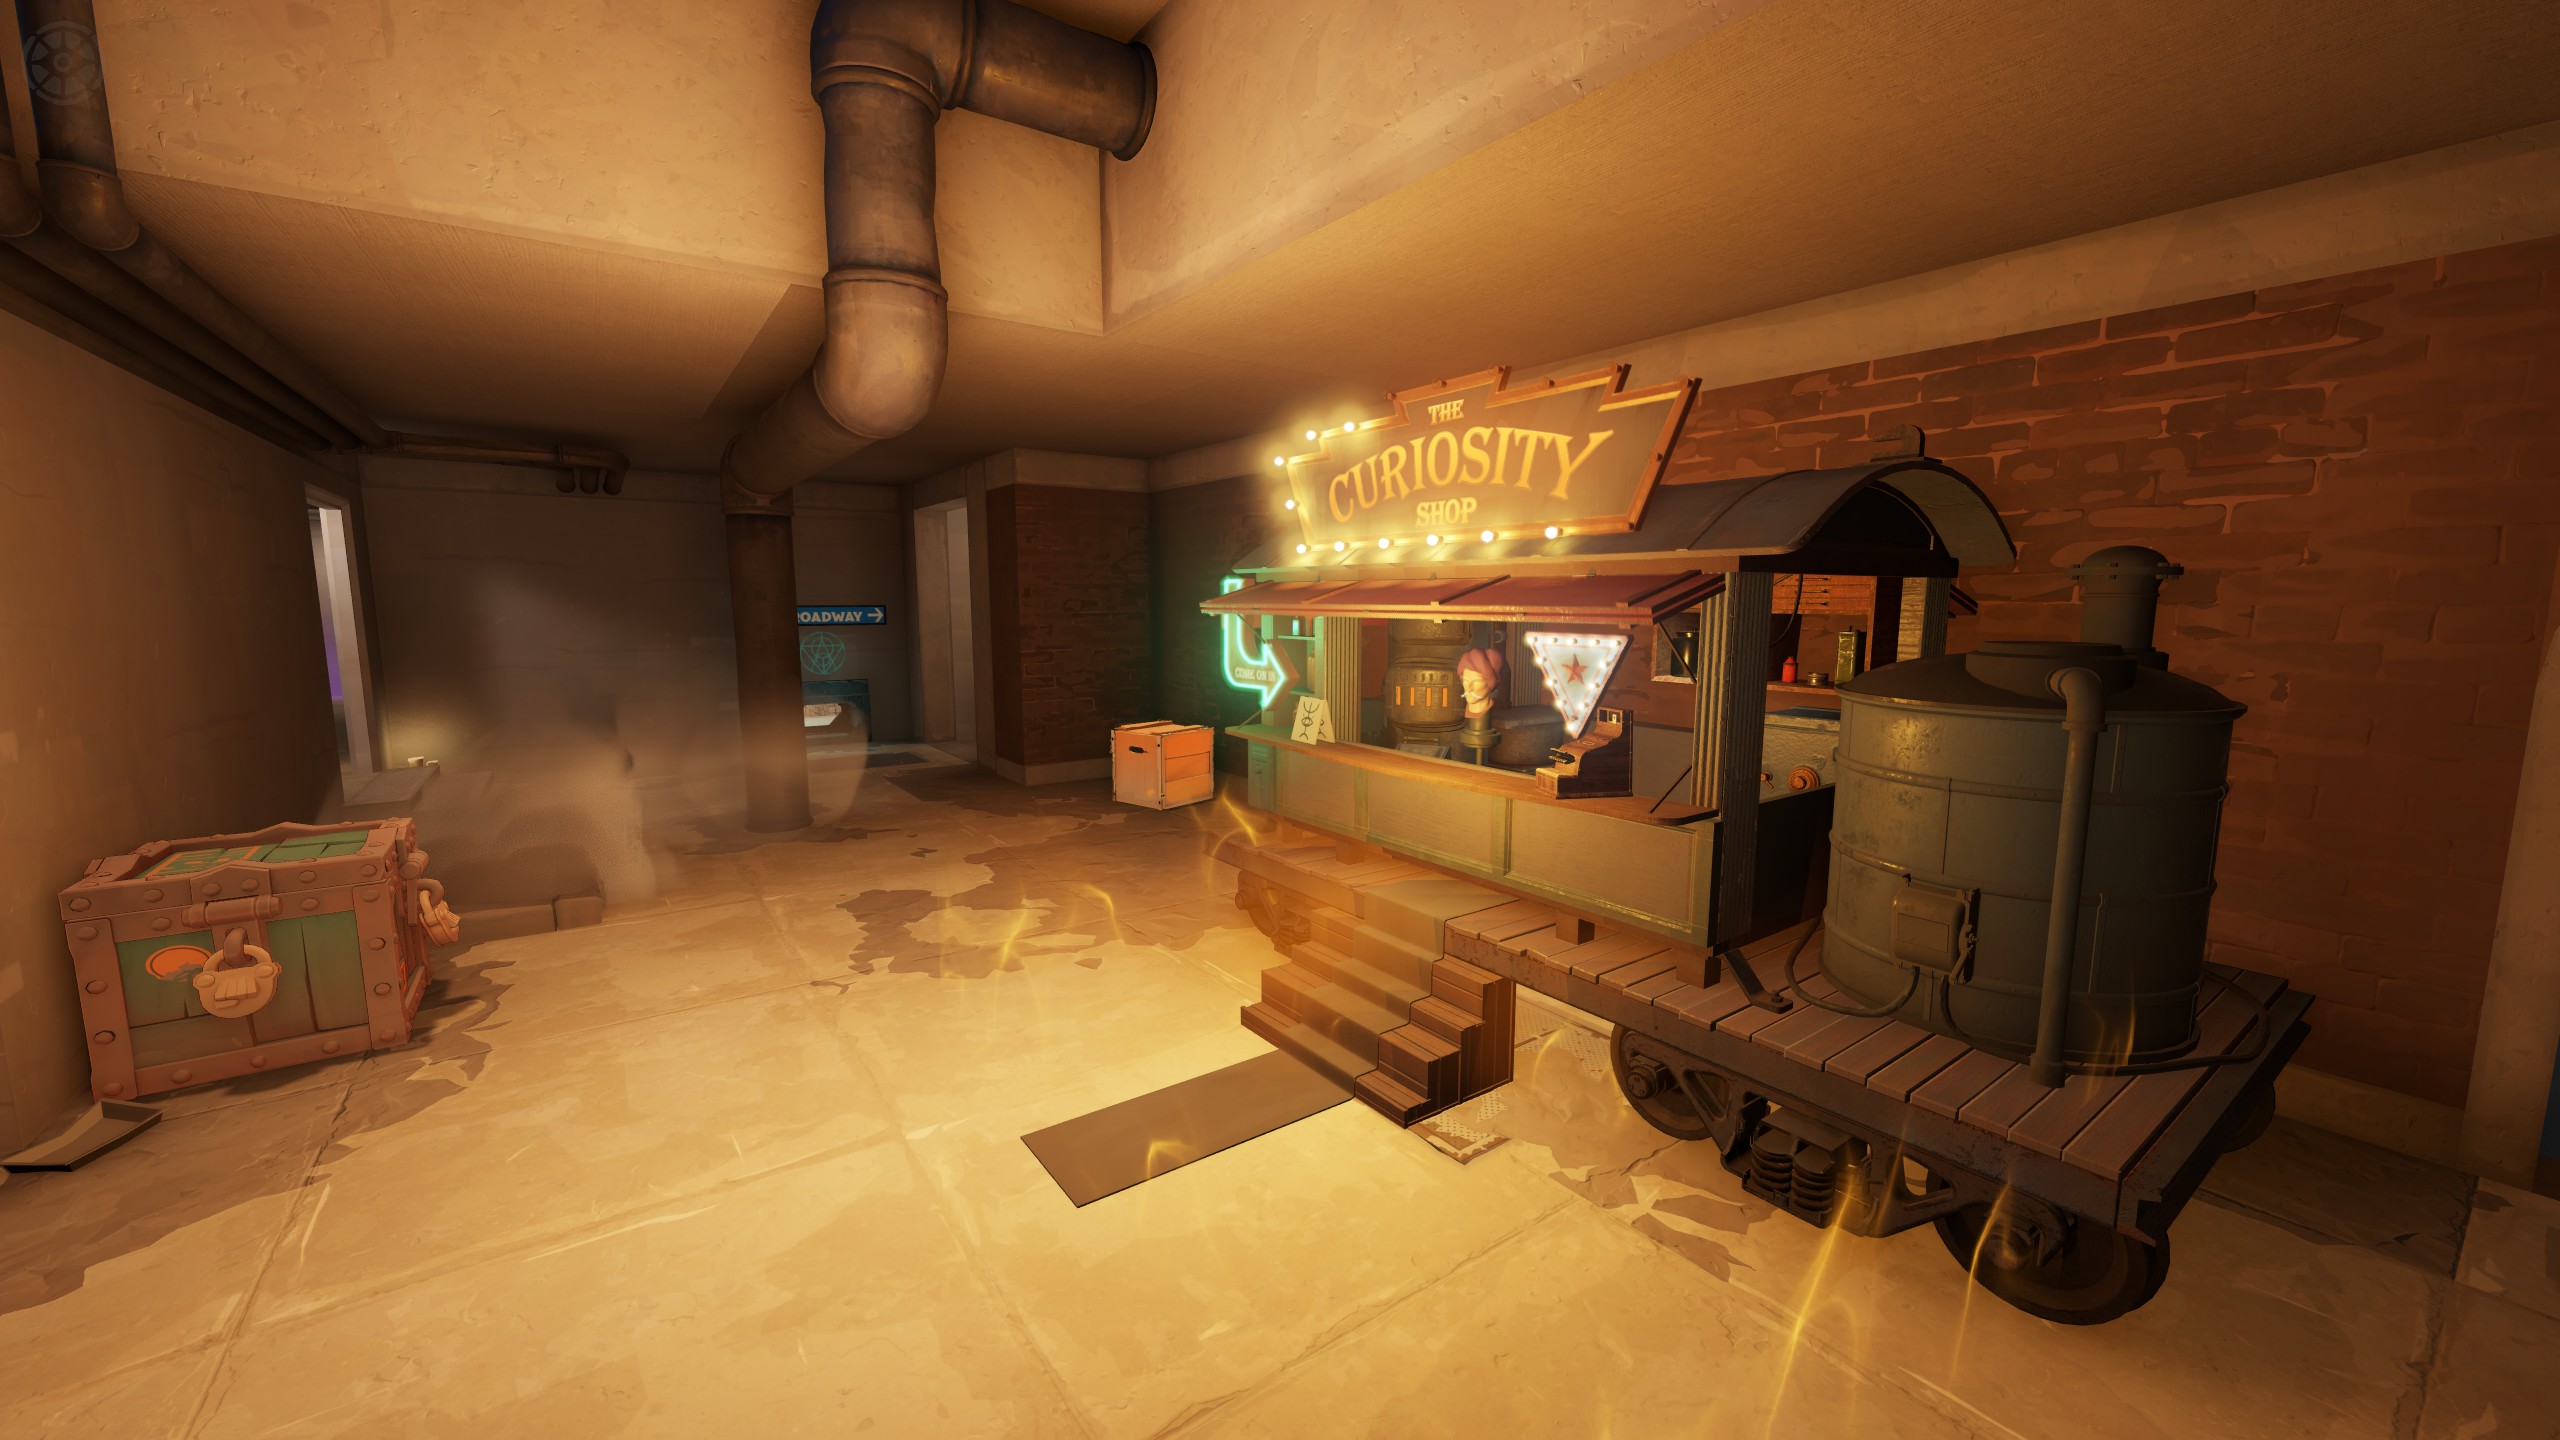
A Curiosity Shop stall under an illuminated sign.
The Curiosity Shop.

The shop groups items into Weapon, Vitality, and Spirit. Weapon items support gun damage and other offensive effects. Vitality items help you survive and move. Spirit items strengthen abilities or add effects of their own. These are useful starting points, but read the item itself: its category does not tell you everything it does, and most builds use all three. The shop also shows investment bonuses earned from buying into each category.

Items are arranged in price tiers of 800, 1,600, 3,200, and 6,400 souls. A more expensive item may be your eventual goal, while a smaller purchase helps you survive the lane or clear waves well enough to reach it. Some items upgrade from ones you already own. Check the listed component and the amount still needed for the upgrade before buying or selling; the shop accounts for that component as part of the purchase.

Start with your hero's recommended build and learn what its first purchases do. When you can afford the next useful item, look for a safe visit to a shop. Planning the purchase before you arrive keeps the trip short. Holding souls through several good chances to buy can leave you fighting an opponent who has already turned the same income into more damage, health, or movement.
Last-Hitting and Denying

A last hit is the attack that kills a trooper. Watch its remaining health and time your shot so you land that finishing hit. You are trying to collect the wave's souls while the enemy tries to collect theirs, so keep enough ammunition available to finish troopers instead of emptying your magazine into a distant hero.

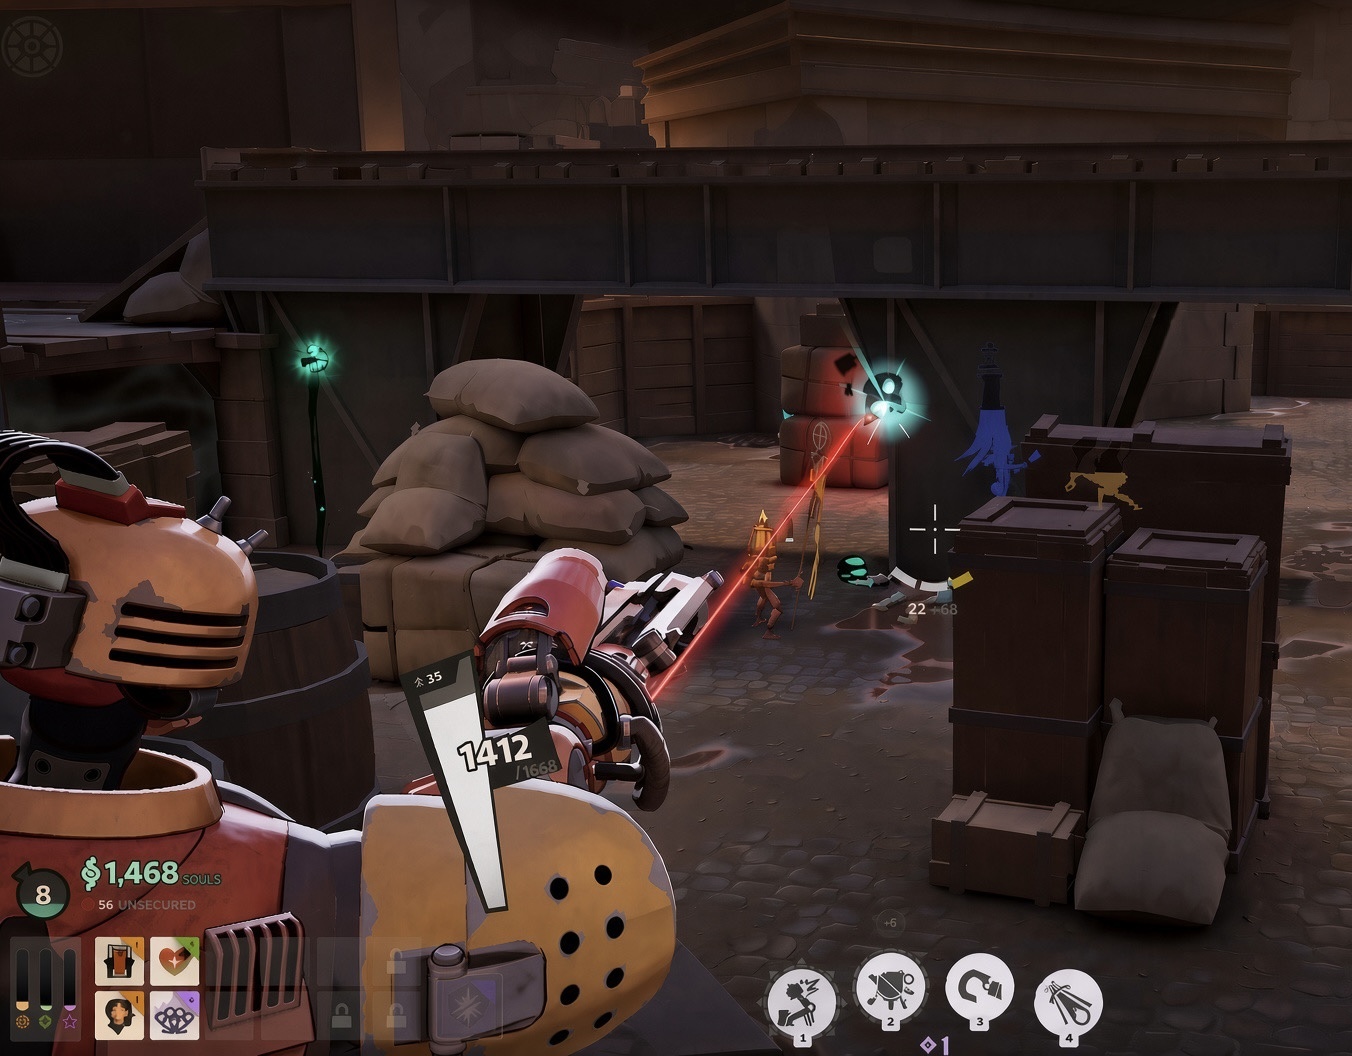
When a trooper dies, part of its bounty appears as a floating soul orb that the other team can deny. Shoot your team's orb to secure those souls before the enemy takes them. If an enemy orb appears within a safe shot, you can shoot it to deny that part of their bounty and claim it for your team.

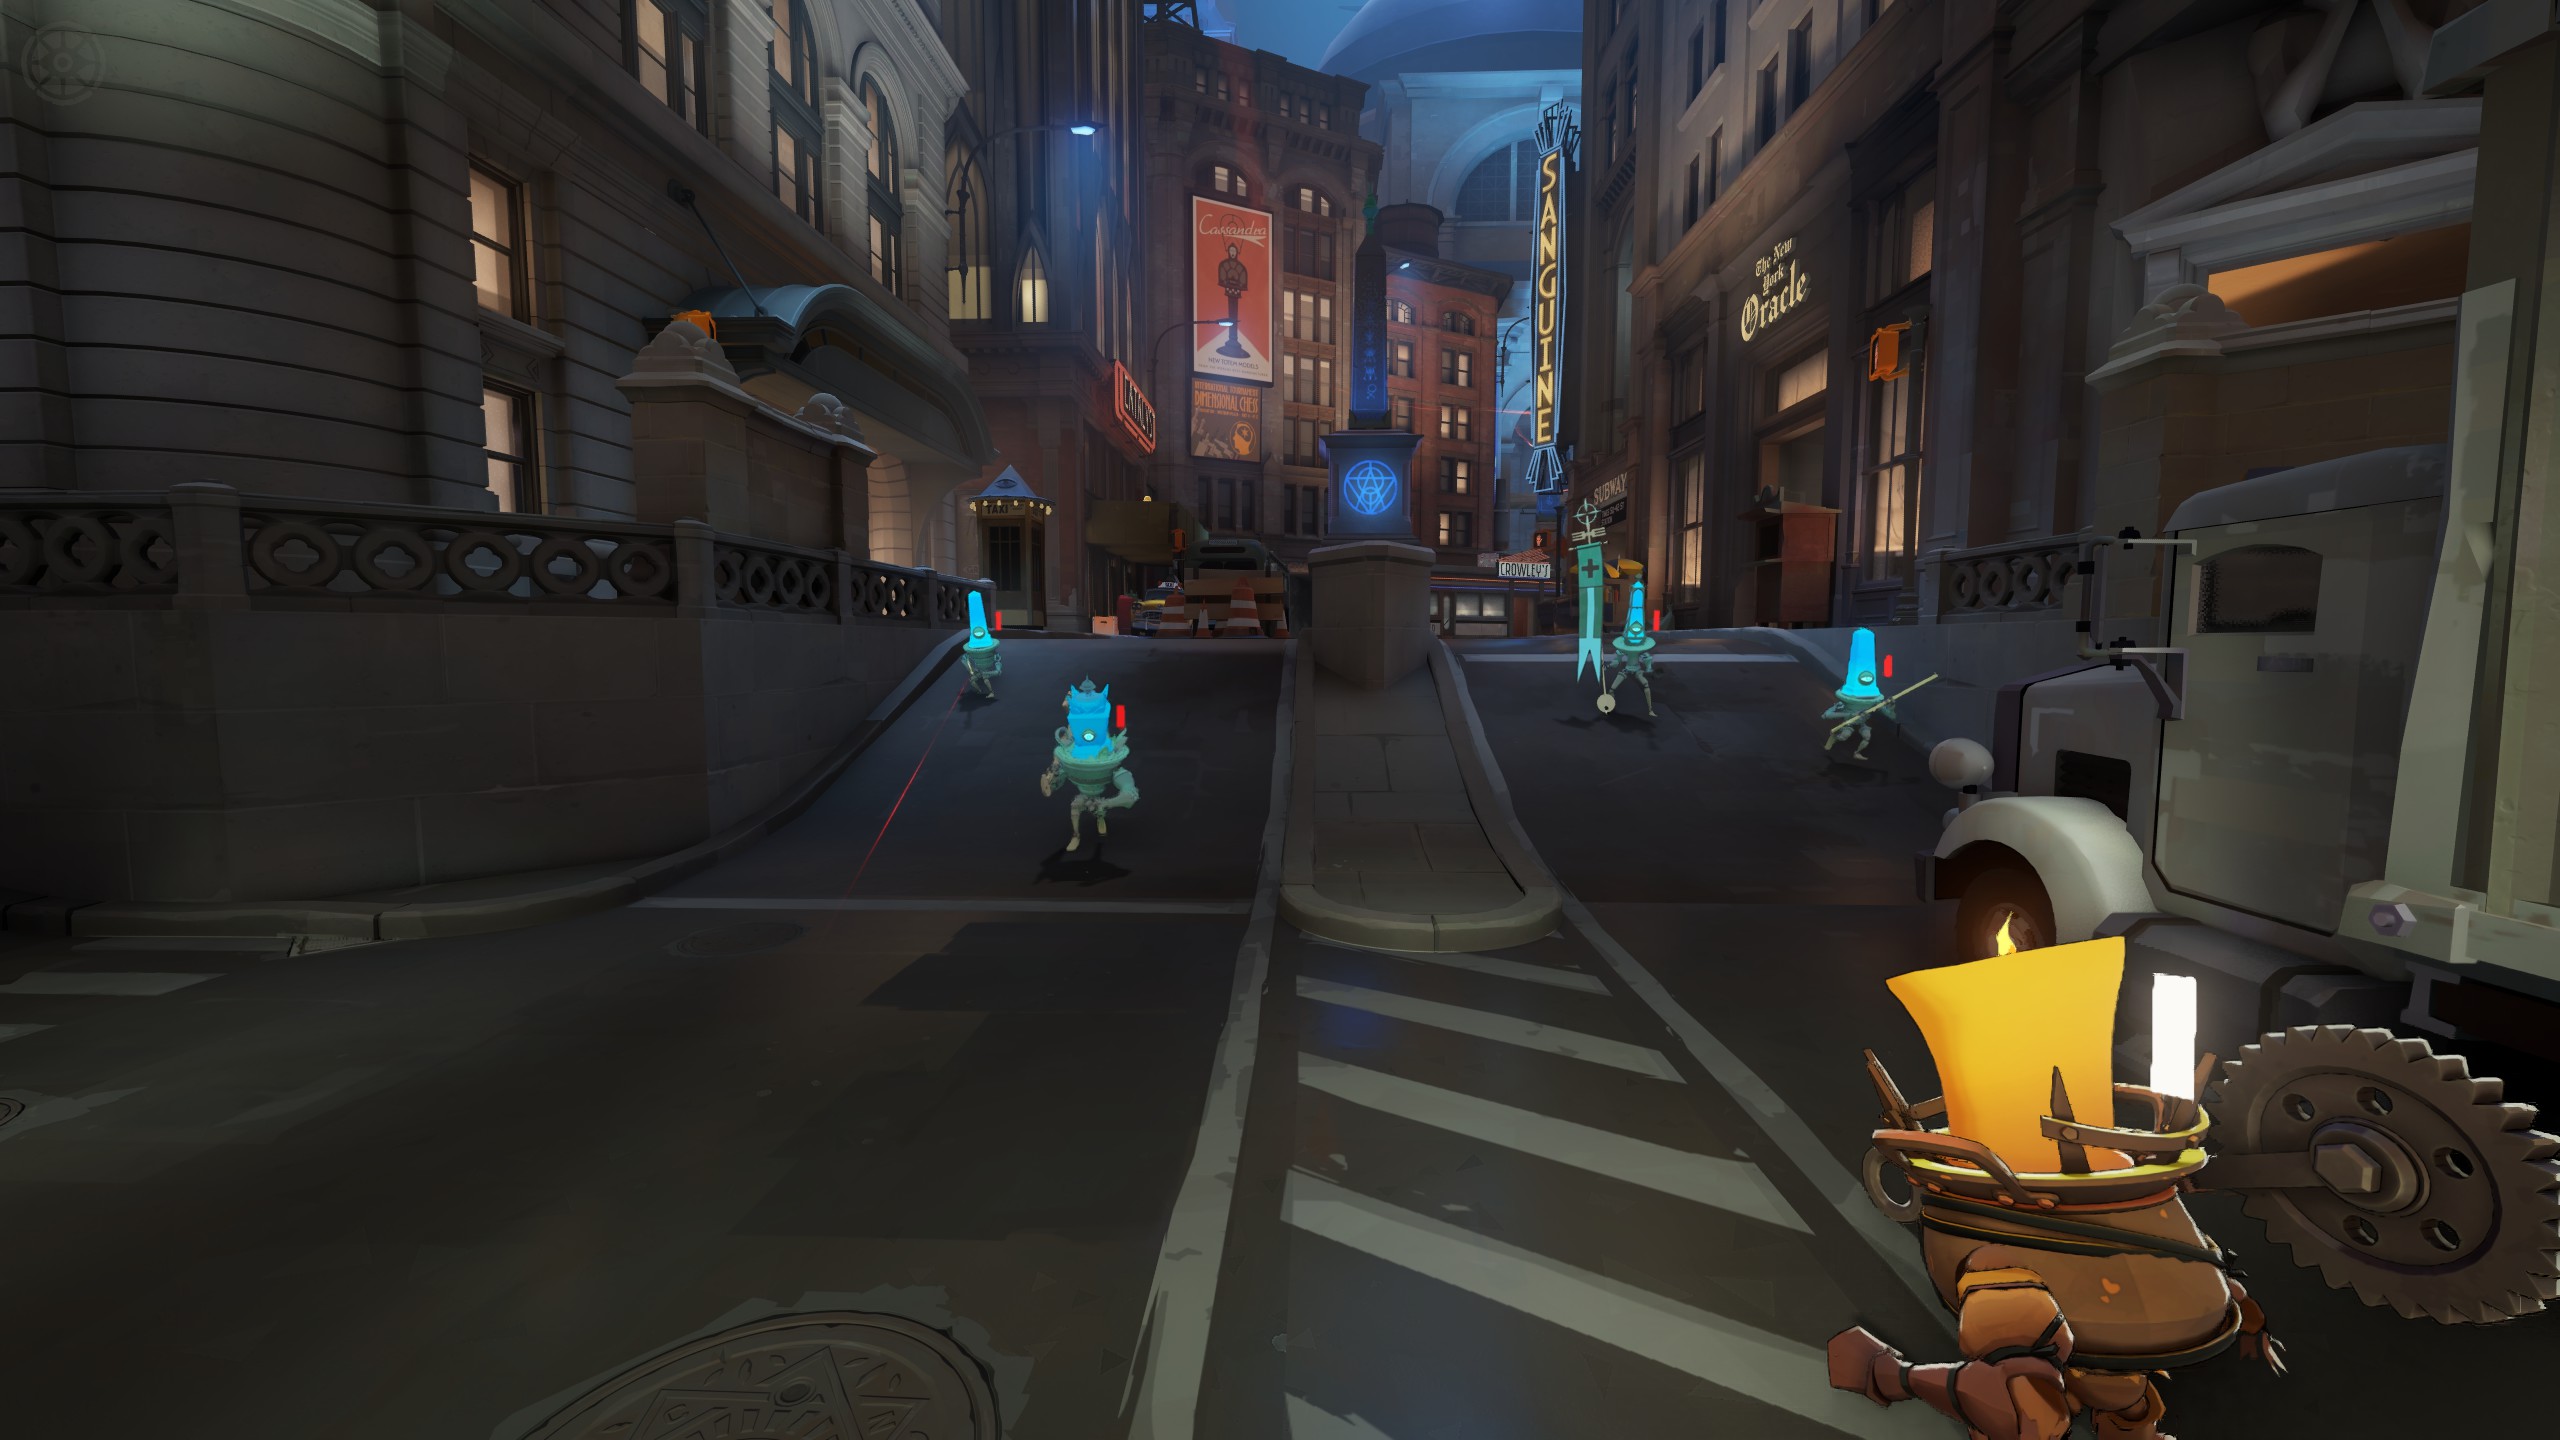
Lane troopers with glowing heads spread along the street.
Troopers in the street.
Bebop shooting a floating soul orb.
Shoot your floating soul orb before the enemy can deny it.

The ground orb is different. The enemy cannot deny it, but your team still needs to get close enough to collect it. An orb lying on the ground is not income you should assume has already been picked up.

Finishing a trooper with melee secures its bounty immediately, without leaving a floating orb to contest. This is useful when you can reach the trooper safely. If an enemy is waiting beside it with a Parry ready, shooting from cover may cost you less than stepping forward for a melee secure.

Staying in Lane

The first fights in lane are closely tied to the troopers. An opponent who has to retreat cannot contest the wave as easily, while taking too much damage can force you away from income you were about to collect. Use nearby cover to shoot and return to safety instead of remaining in the street for the whole exchange.

Pay attention to what the opponent is spending. If they use an important ability on the wave or several dashes to reach you, they may have less available for the next exchange. Your own health, stamina, items, and abilities matter just as much. Having more health is not enough reason to follow someone under their Guardian.

When your troopers reach the enemy Guardian, the opponent has a wave to deal with. That can give you time to buy, collect something nearby, or help another lane. Check that the wave has actually reached its destination before leaving; a few surviving enemy troopers can hold it farther back than you intended.

If you are too low to stay safely, retreat before the next attack forces the decision for you. Missing part of a wave to recover is often less costly than dying for it and missing the wave that follows as well.

Reading the Map

The minimap helps you judge whether the space ahead is safe. Look at where your teammates are, where the waves are meeting, and which enemies are visible. An enemy who disappears from their lane has not necessarily left to attack you, but you should leave room for that possibility before moving farther forward.

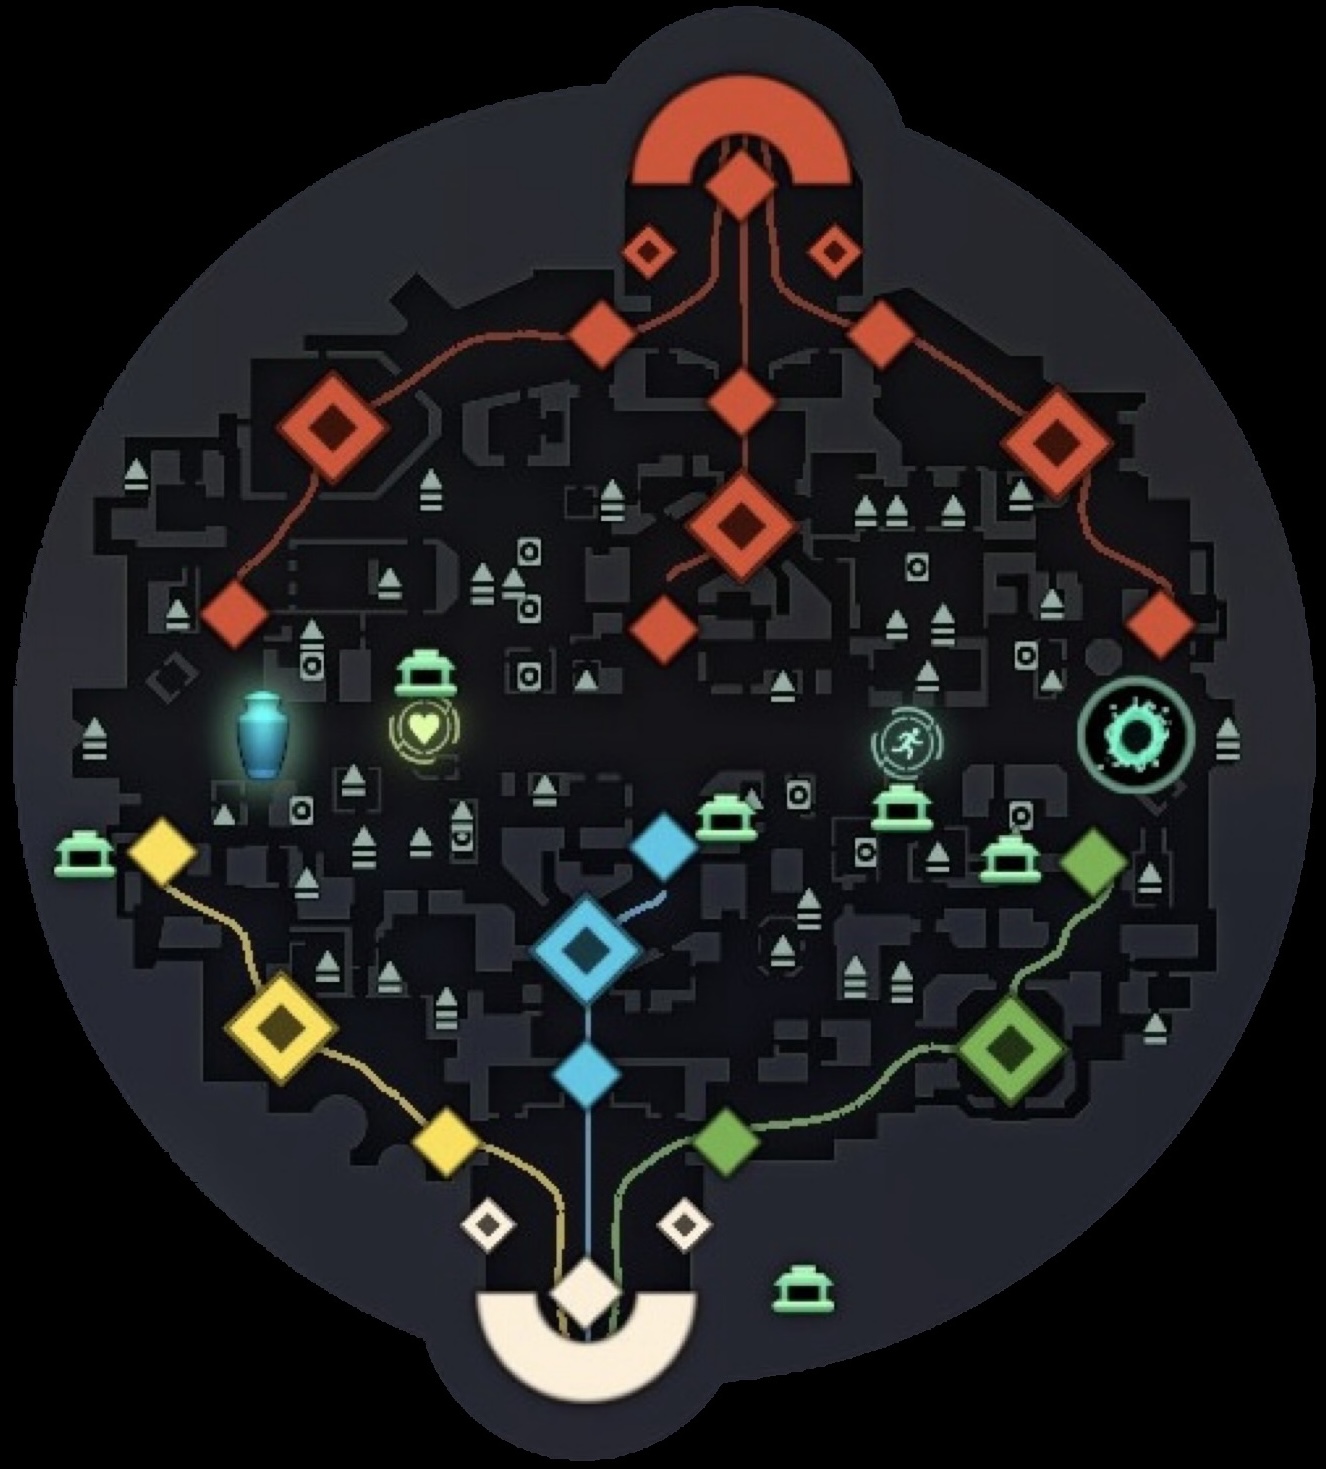
Minimap from the Hidden King, with yellow York on the left, blue Broadway in the middle, and green Greenwich on the right.
From the Hidden King: York is on your left, Broadway is in the middle, and Greenwich is on your right.

Open the area guide for both sides and the places between the lanes.

Build the habit of checking the map while traveling, reloading behind cover, or waiting for the next wave. Then check again before crossing into a less familiar part of the map. A route that was safe a moment ago can change when a fight ends or an enemy leaves vision.

When teammates start fighting, consider whether you can arrive in time to help and what you would be leaving behind. A nearby fight you can turn may justify leaving the wave. A fight across the map may be over before you reach it. Ping useful information and choose a response you can actually contribute to, whether that is joining, defending a lane, or pushing somewhere the enemy has left open.

Places to hide

Learn the cover between lanes as well as the main streets. A nearby hiding place can give you a moment to change direction or wait for teammates.

Cosmic Veil closets

Look for the small rooms tucked behind Cosmic Veils. Learn their entrances before a chase starts, and decide where you will go when you leave.

Veils between areas

Veils also separate passages between areas. Use these breaks in sight when planning your approach or retreat. Check the space beyond the veil before crossing.

Steam Vents

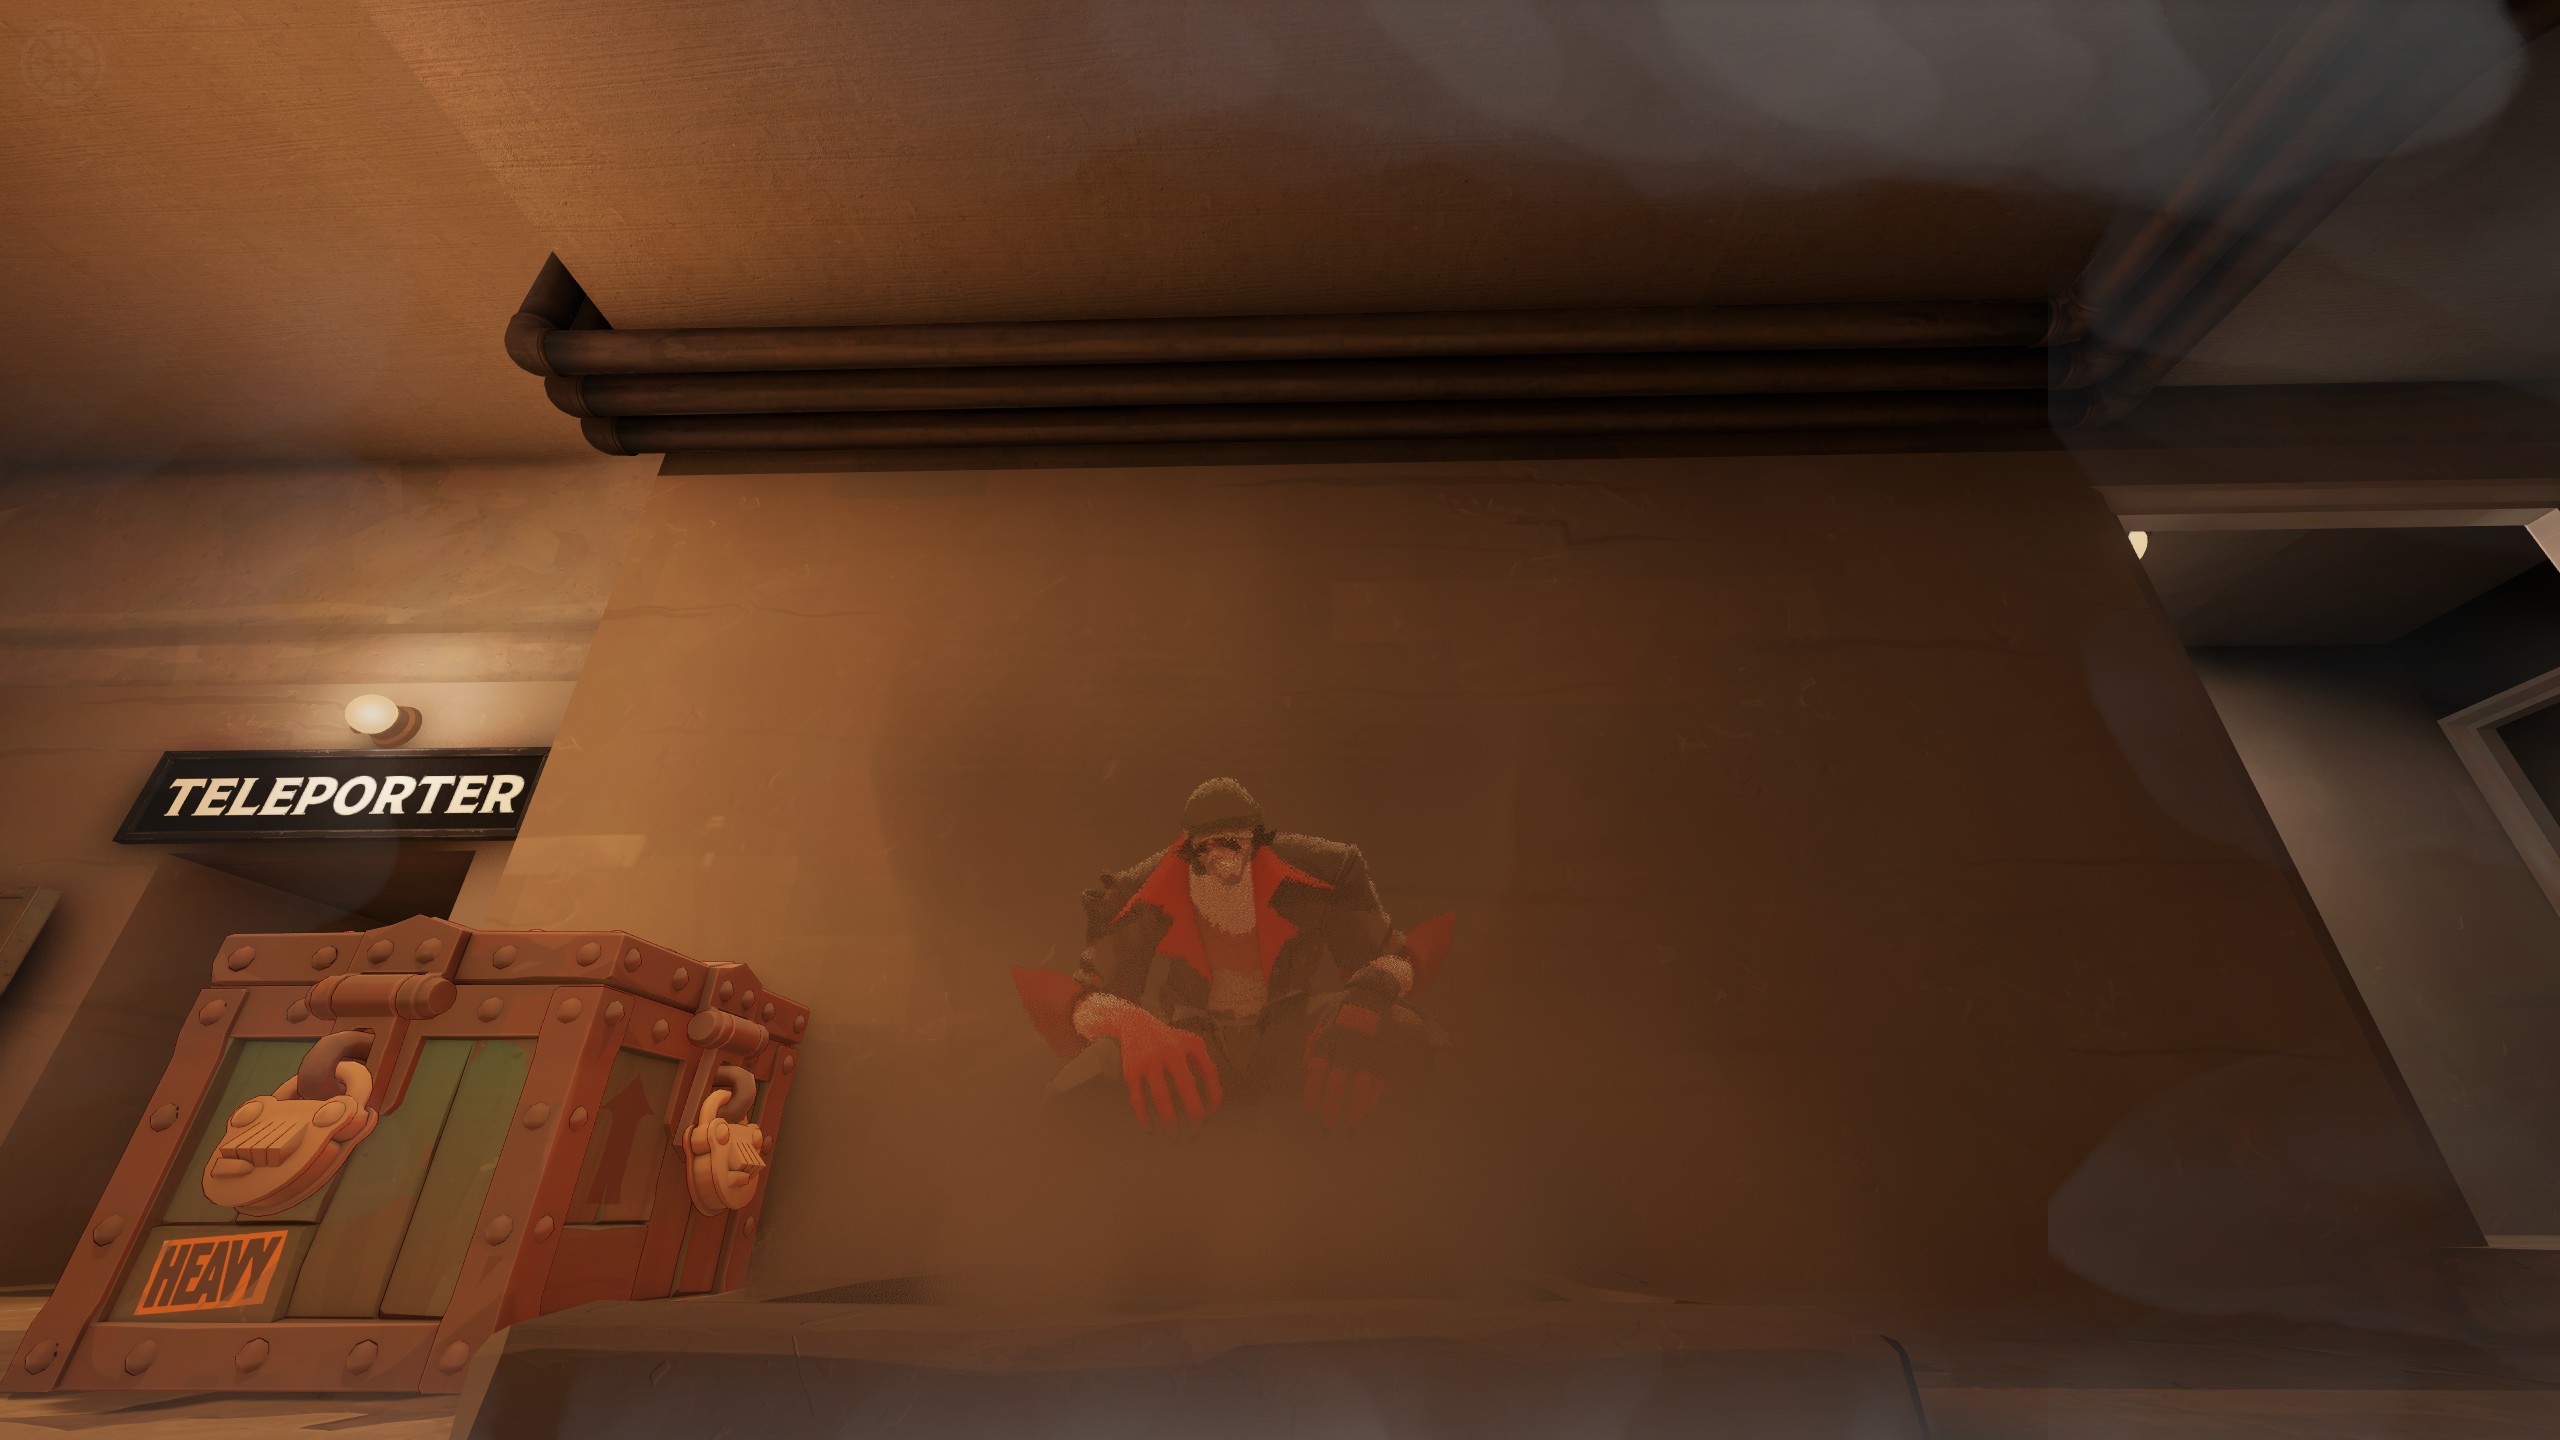
Stand in the steam from a Steam Vent to gain invisibility and a little health regeneration. Choose your next route before stepping out.

Drifter partly obscured by rising steam beside a Tough Crate and a Teleporter sign.
Drifter concealed in the steam from a Steam Vent.

Steam Vents conceal you where you stand. Narrow traversal vents are passages with separate entry restrictions, explained in Sewers and Shortcuts.

Keep an exit in mind. A hiding place can become a trap if an enemy knows you are there.

Choosing Situational Items

Your recommended build gives you a starting plan. A situational item addresses a problem that plan is not solving in this particular match. You might need help against repeated stuns, an enemy who keeps healing through your damage, or a source of damage that forces you out before you can use your abilities.

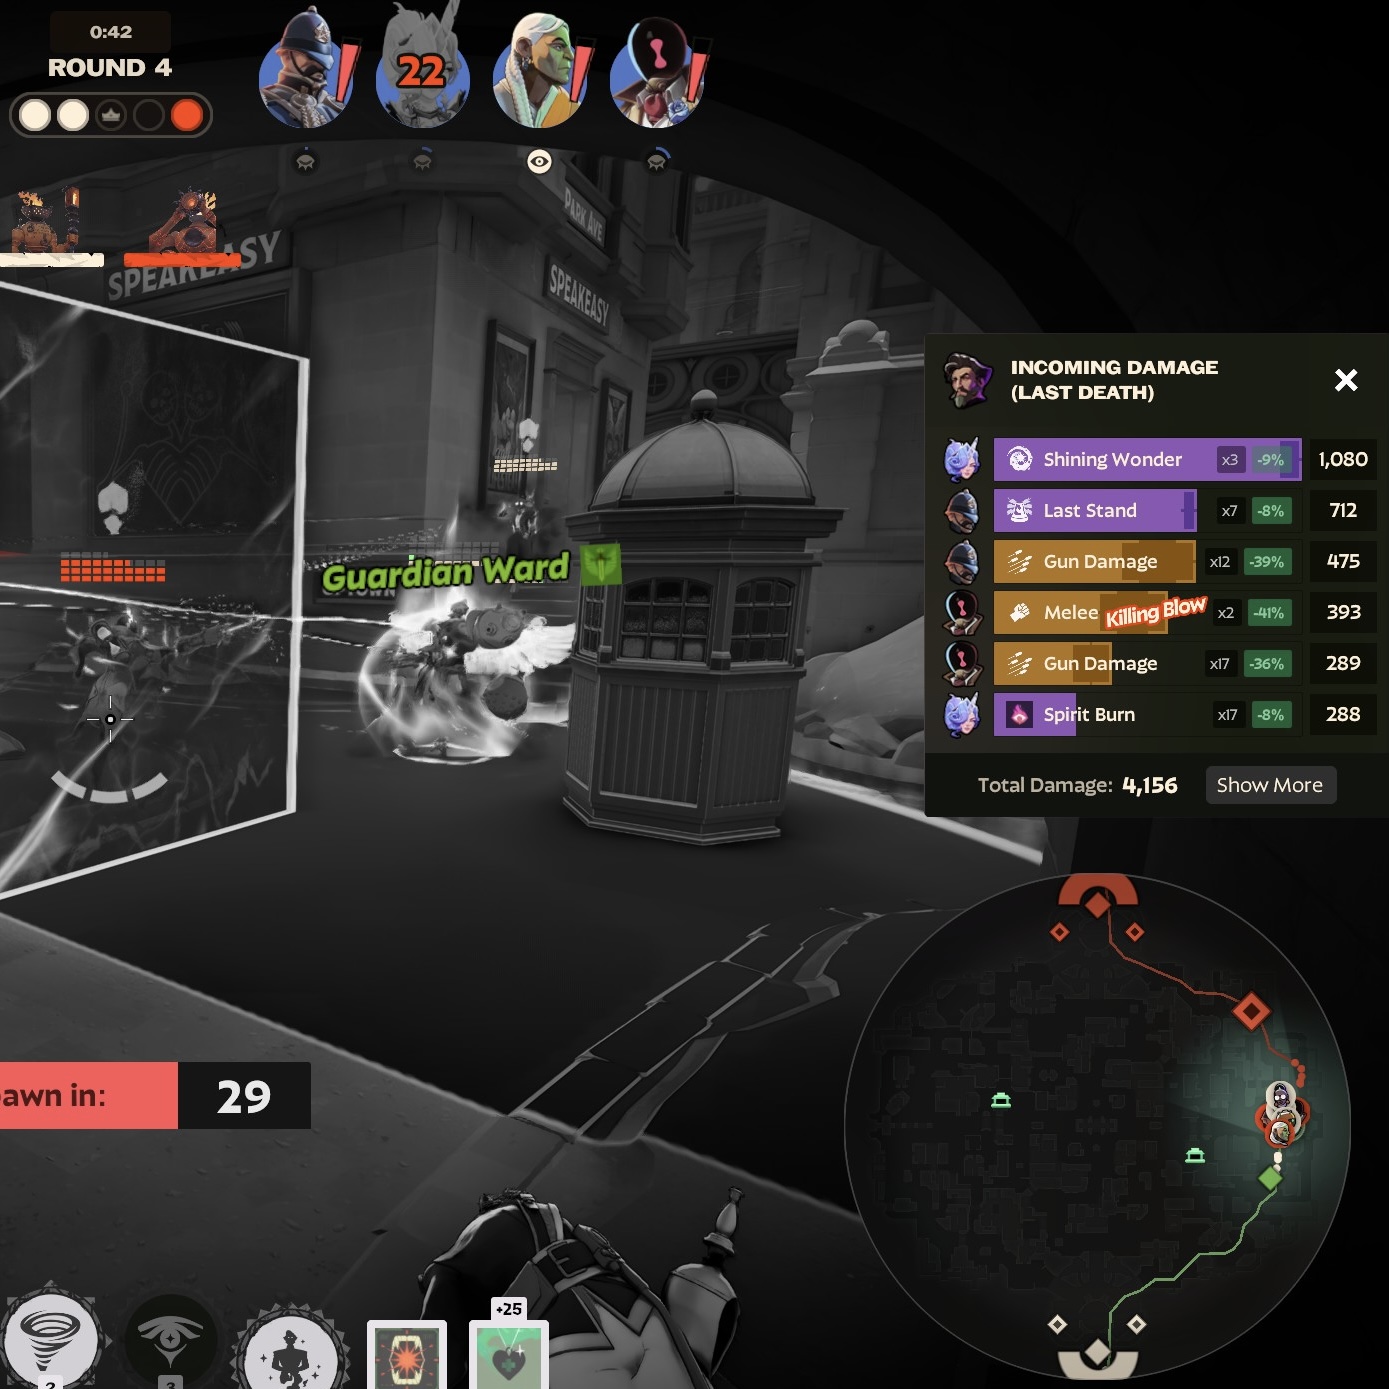
After a difficult fight, use the death recap to understand what happened. Look at the damage across the fight, not only the attack that finished you. Also consider where you were standing and whether an enemy ability prevented you from moving. An item can help with a recurring problem, but it cannot make every position safe.

A death recap showing Spirit abilities as the largest sources of incoming damage.
Most of the damage in this recap is Spirit damage.

For example, Spirit Shielding provides a barrier after enough Spirit damage arrives in a short time. Spirit Resilience provides Spirit resistance, with additional resistance when your health is low. Both can help against Spirit damage, but they protect you in different circumstances. Read the effect and choose the one that fits how those fights are playing out.

Use your hero's situational recommendations or the Match Build Guide to compare options. Before delaying your next planned purchase, be able to explain what the new item will help you survive or accomplish. One bad fight can reveal a problem; it does not always mean you need a different build.

Farming Between Waves

Farming means collecting souls from the resources available on the map. Neutral camps are groups of Haunts away from the lanes. They provide extra income when you have time to clear them, but the camp is only worthwhile if the trip does not cost you a more valuable wave or leave you unable to answer an enemy push.

After pushing your wave forward, check the nearest camp and the route back. Start with a camp you can clear quickly and safely on your hero. If clearing it takes most of your health or keeps you away until the next wave dies, it is too expensive for that moment even if you eventually earn the souls.

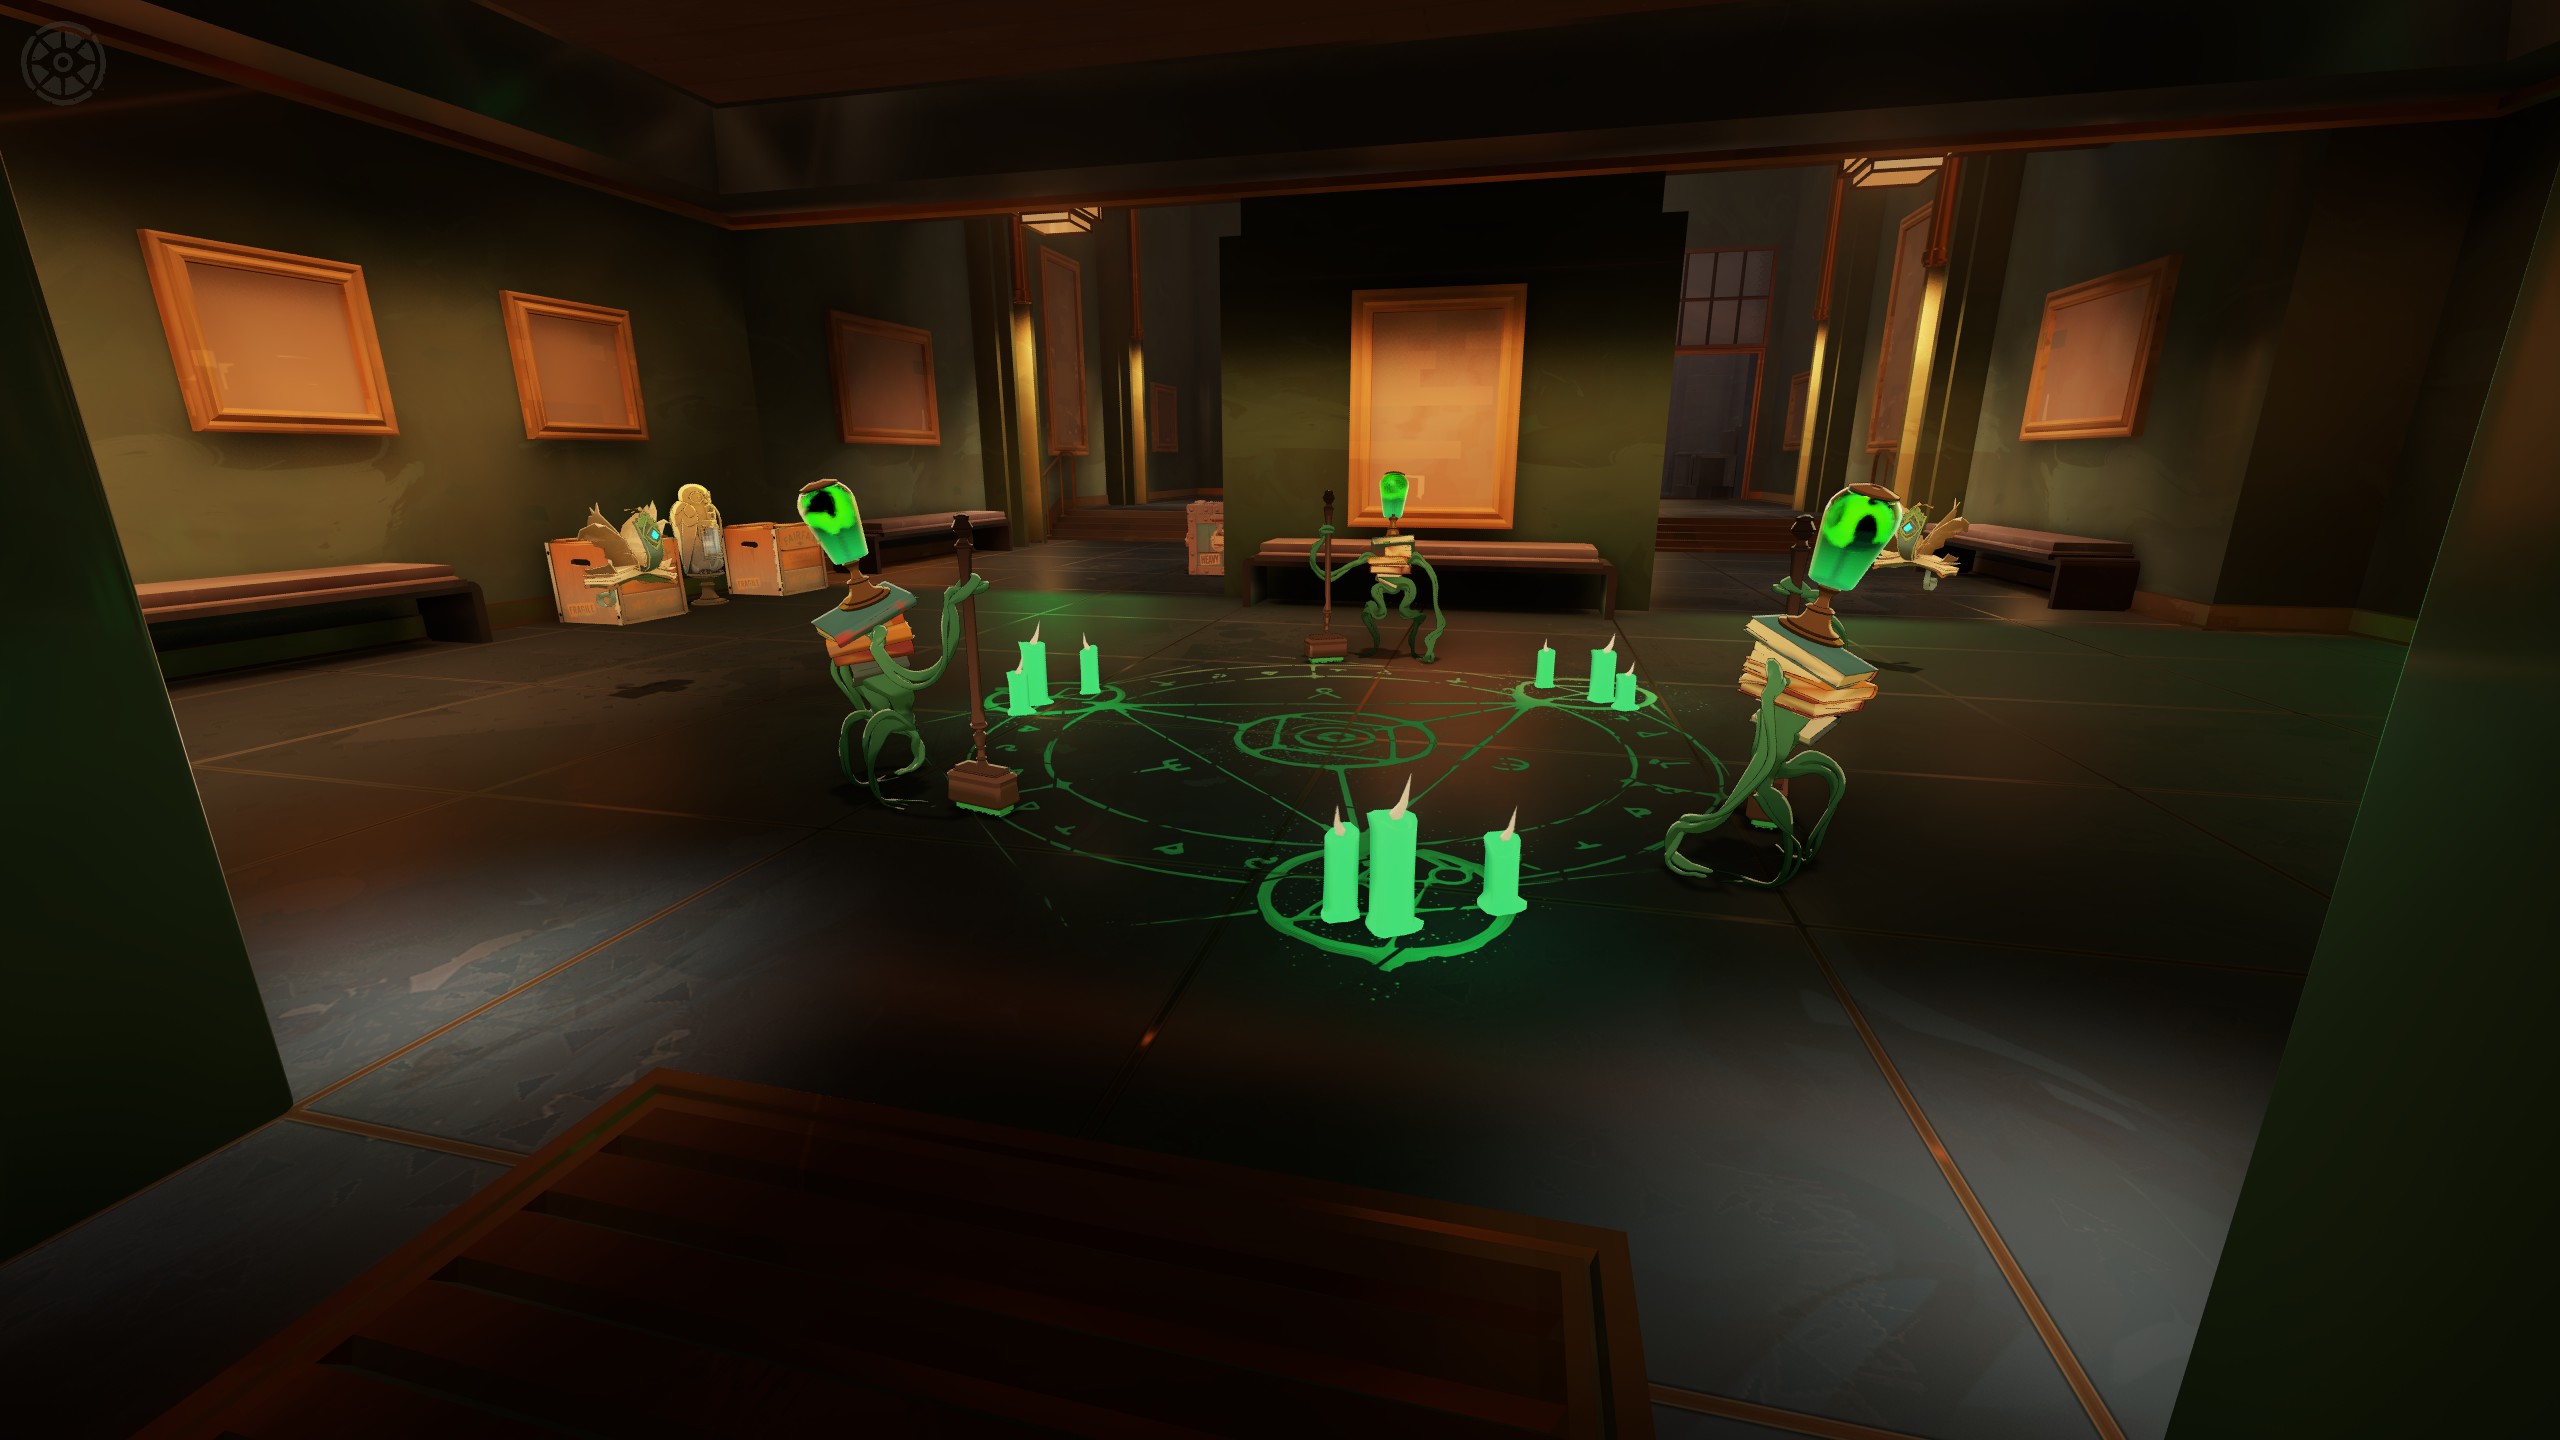
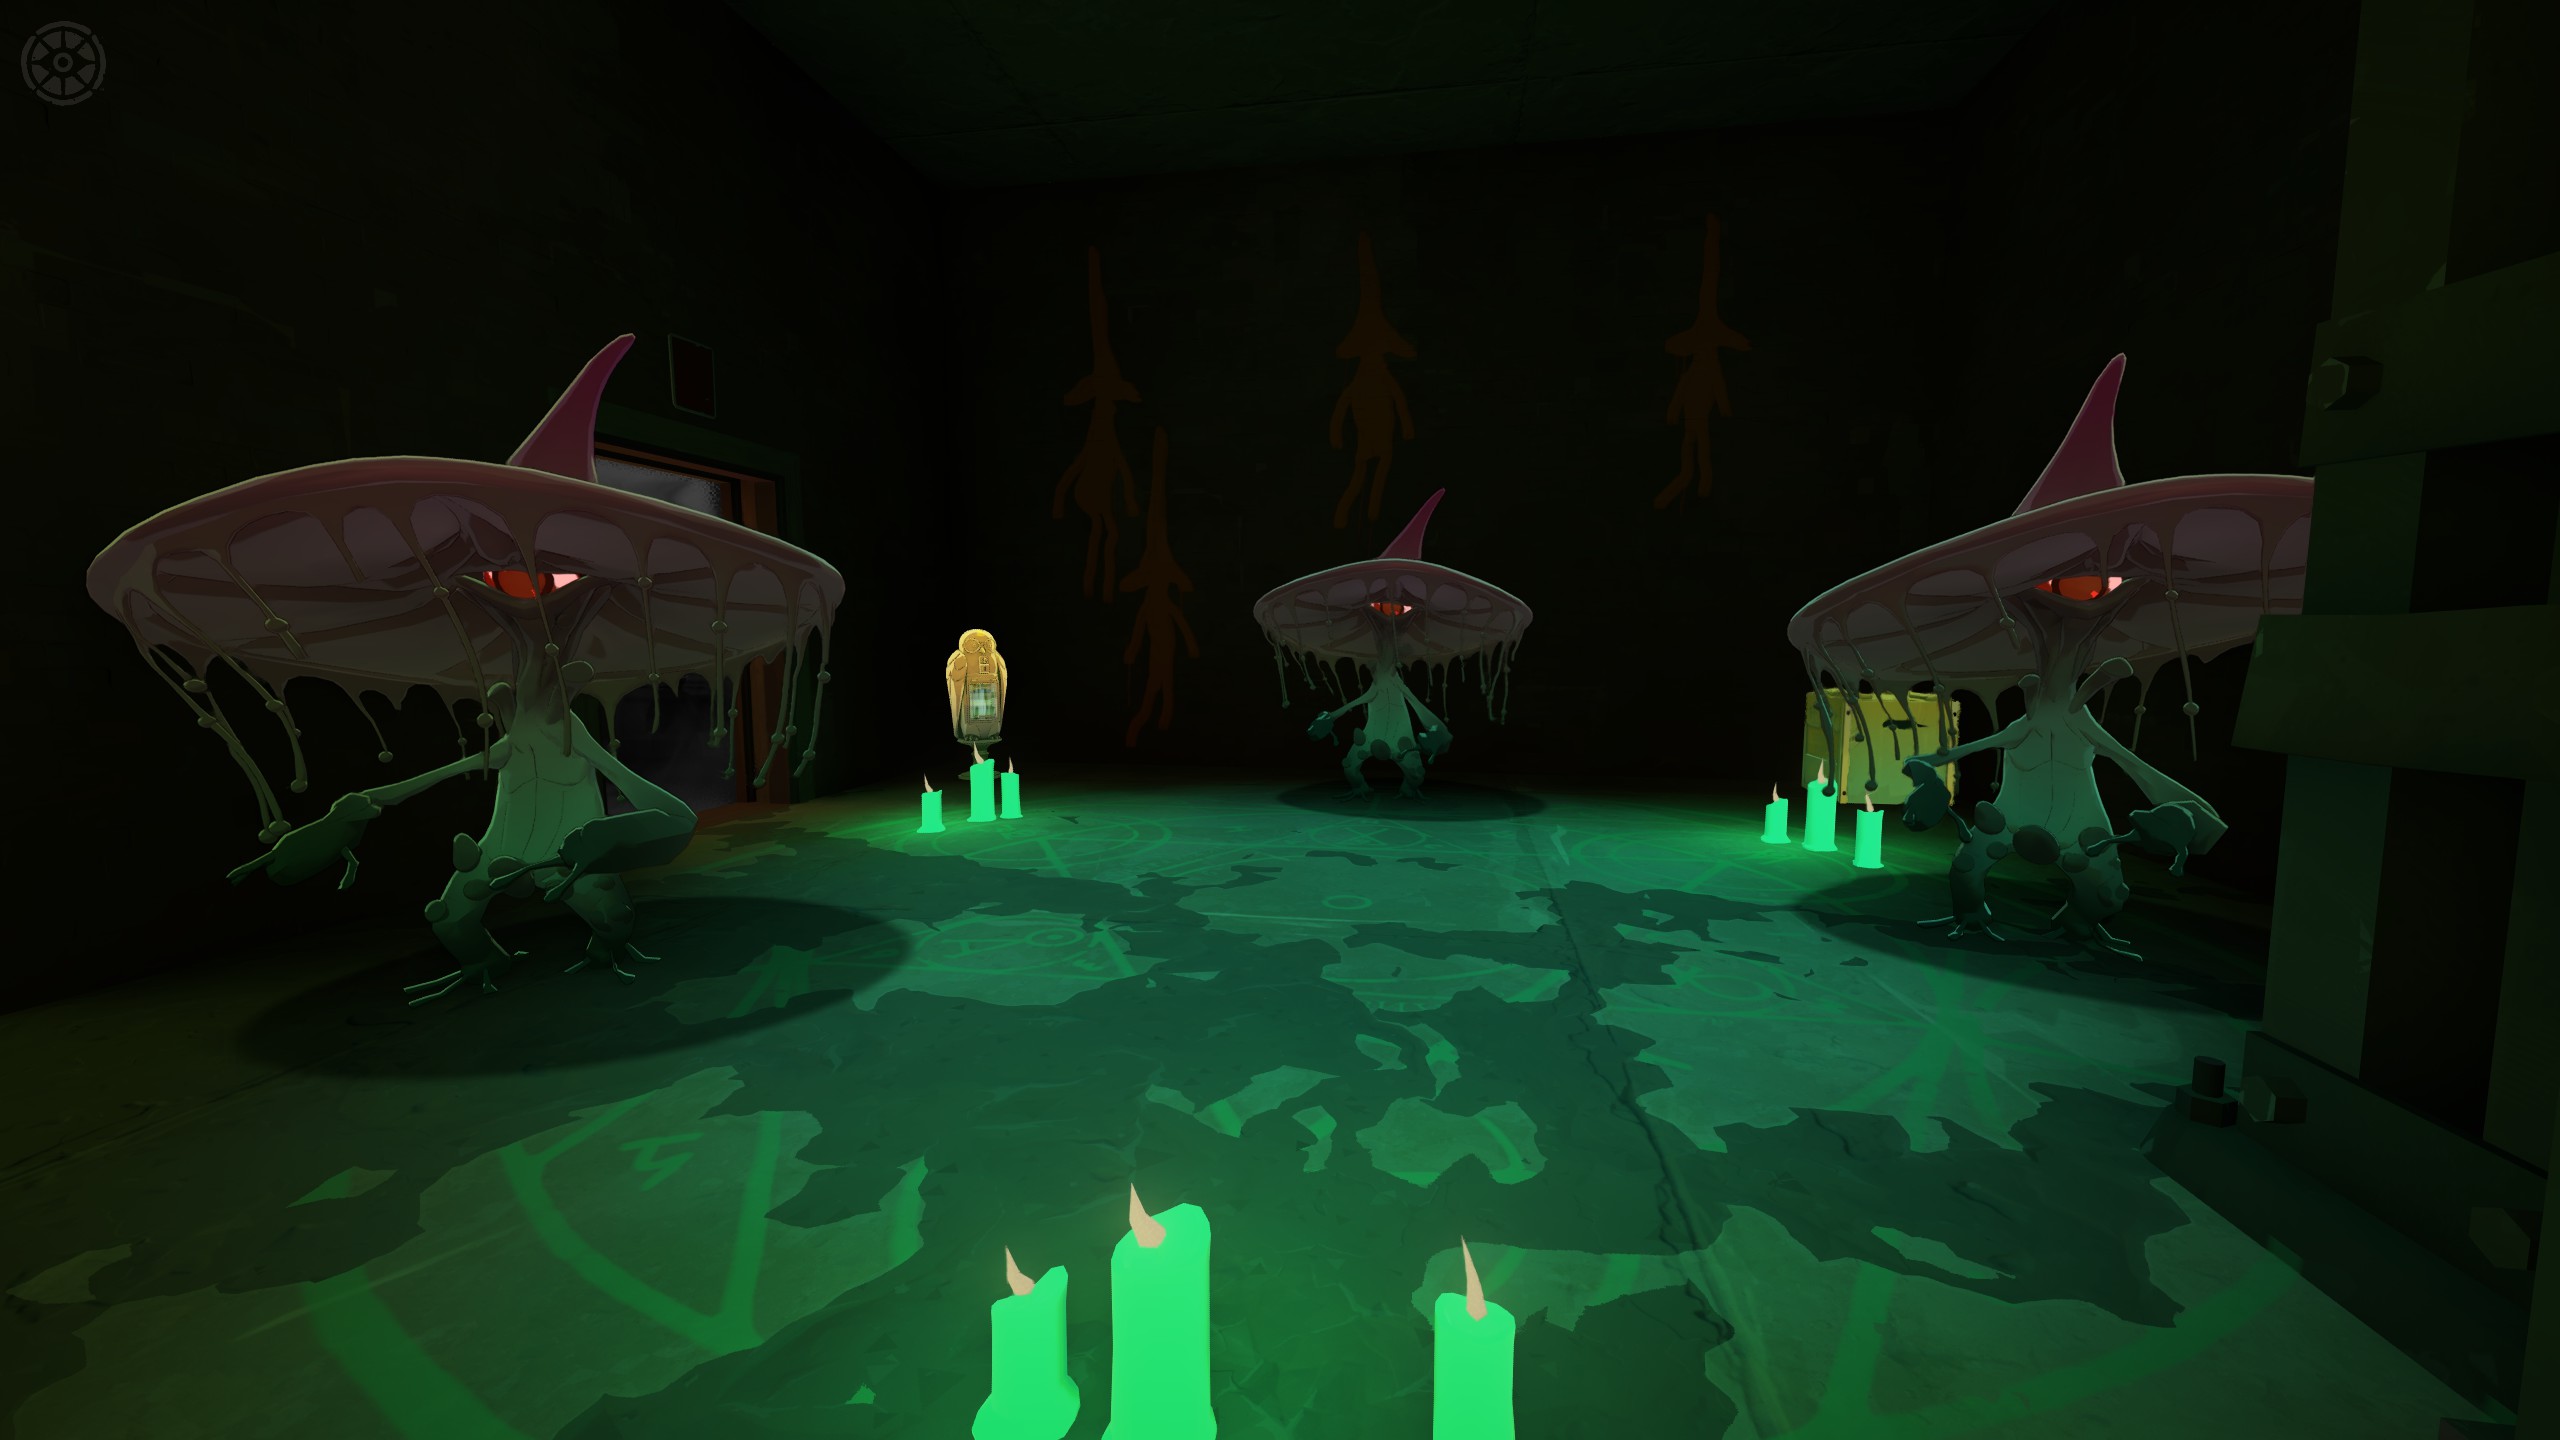
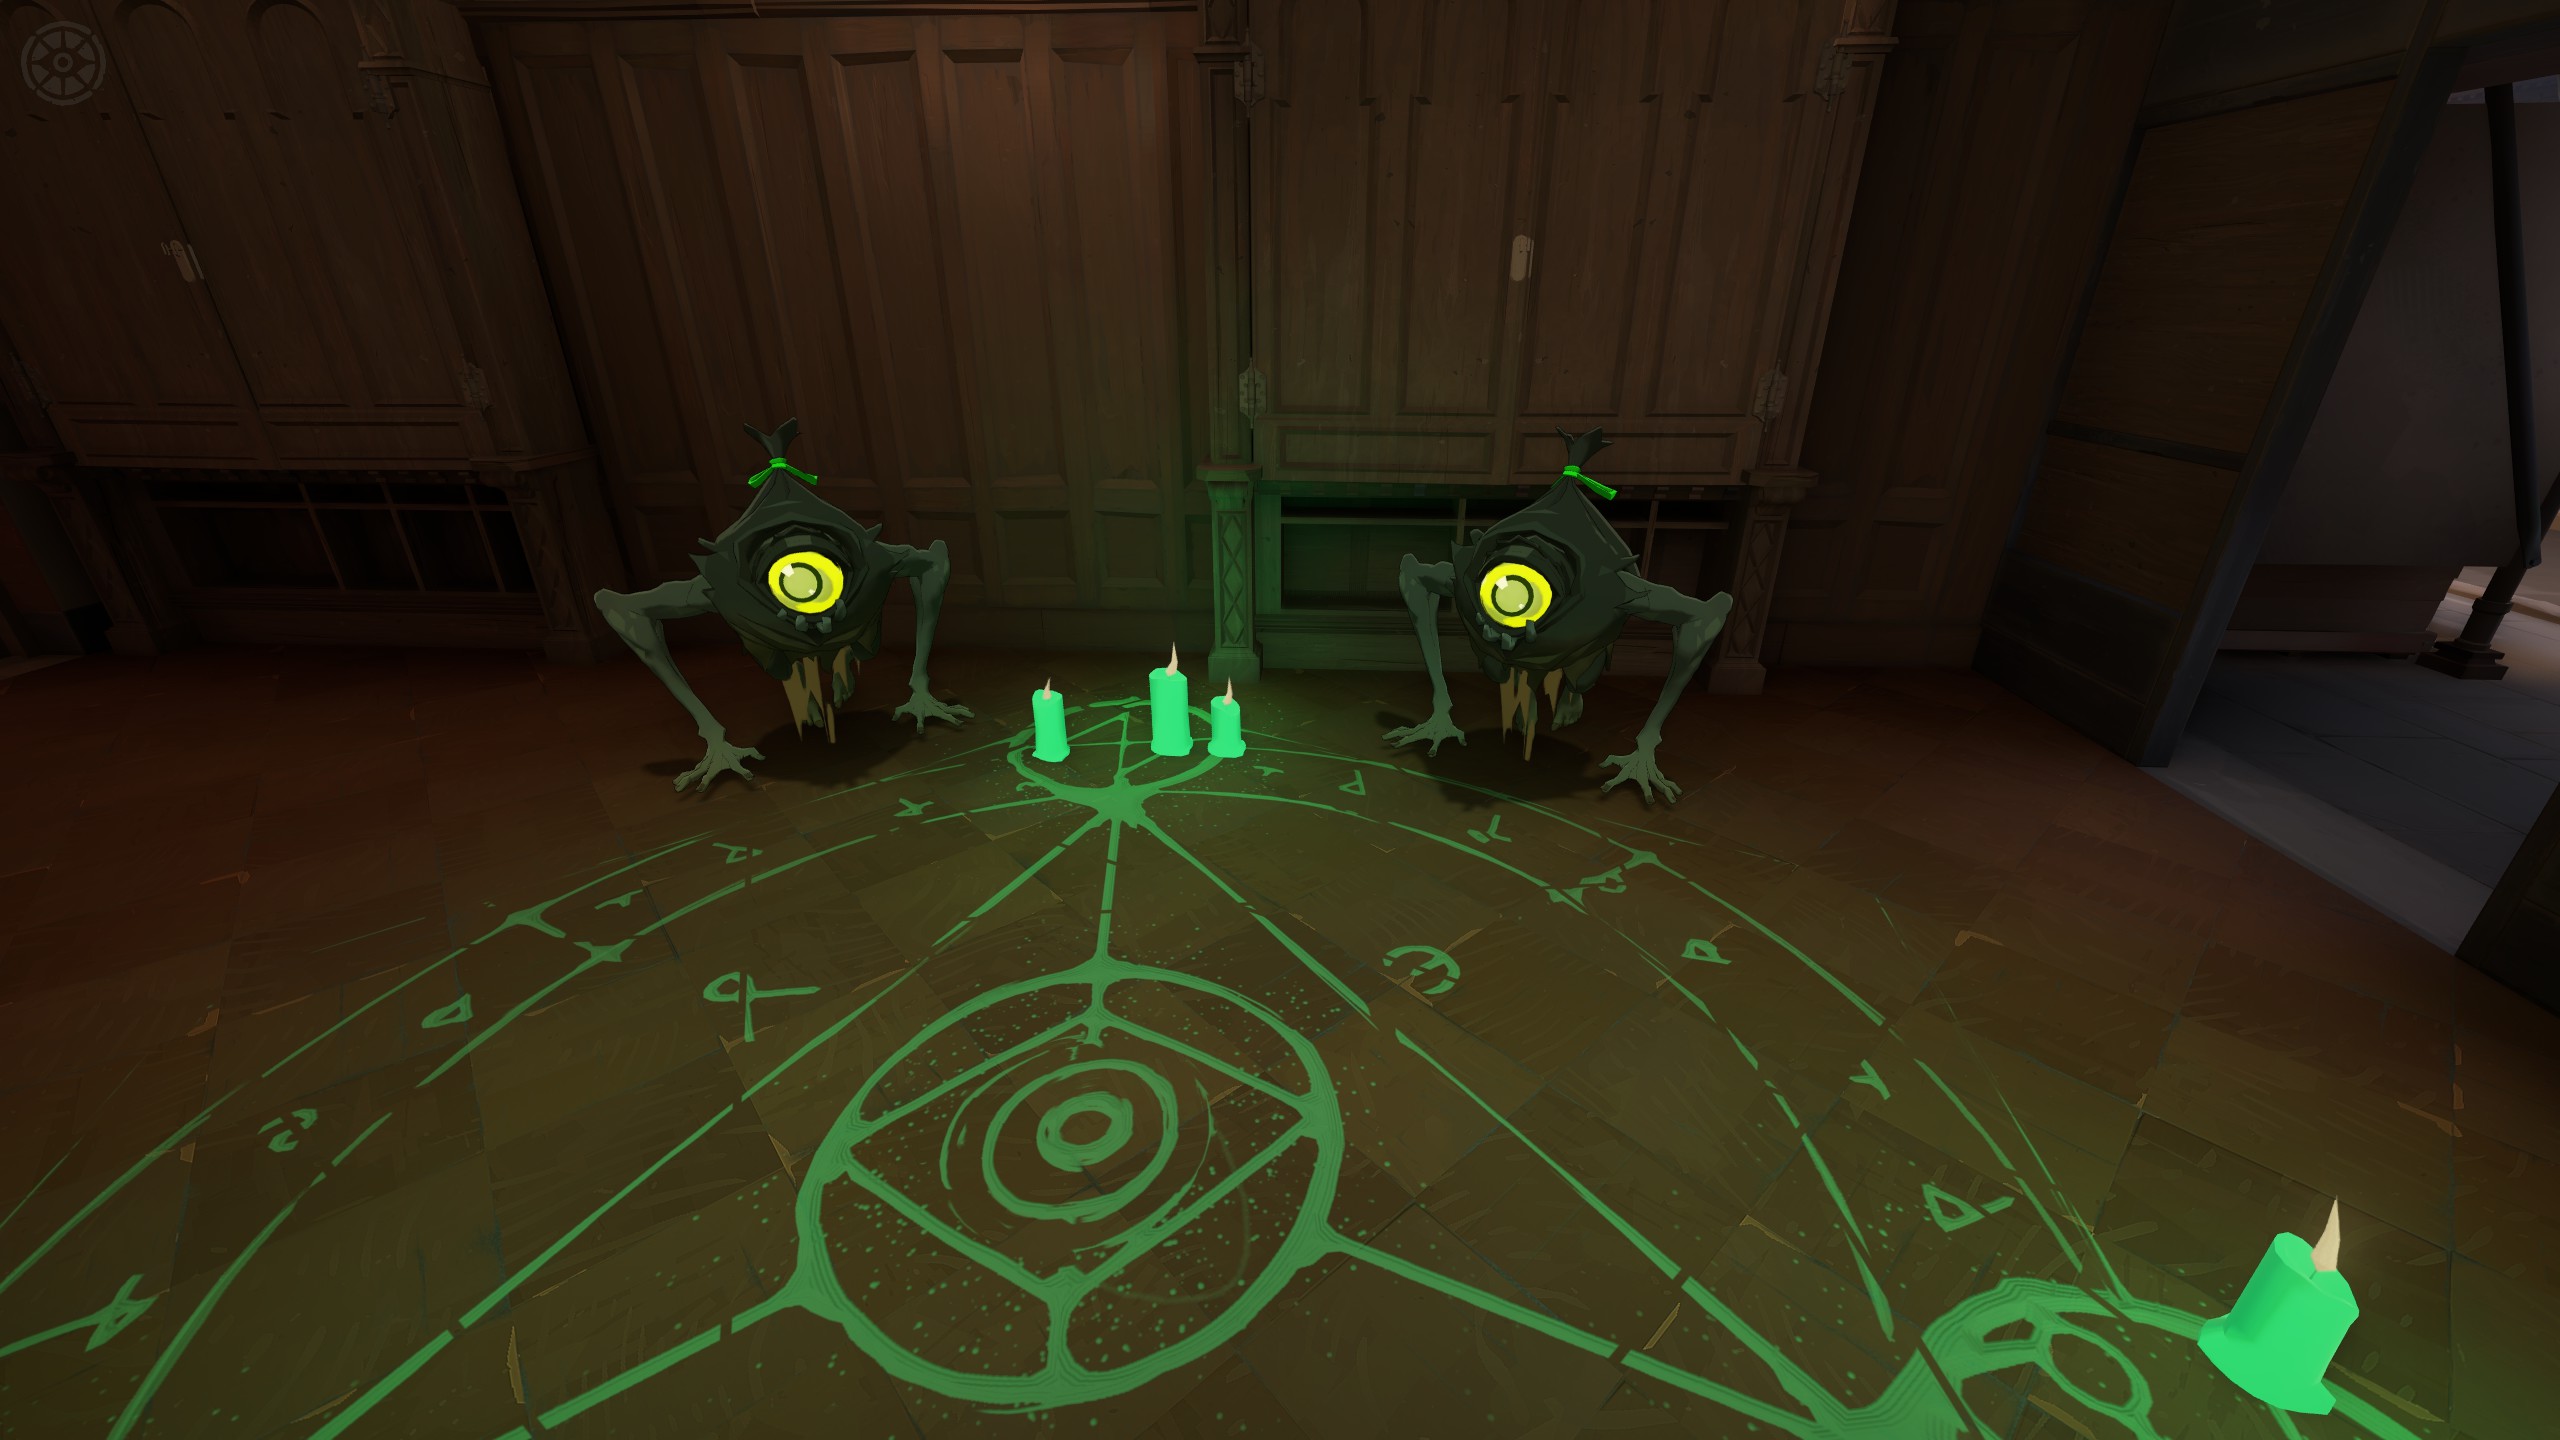
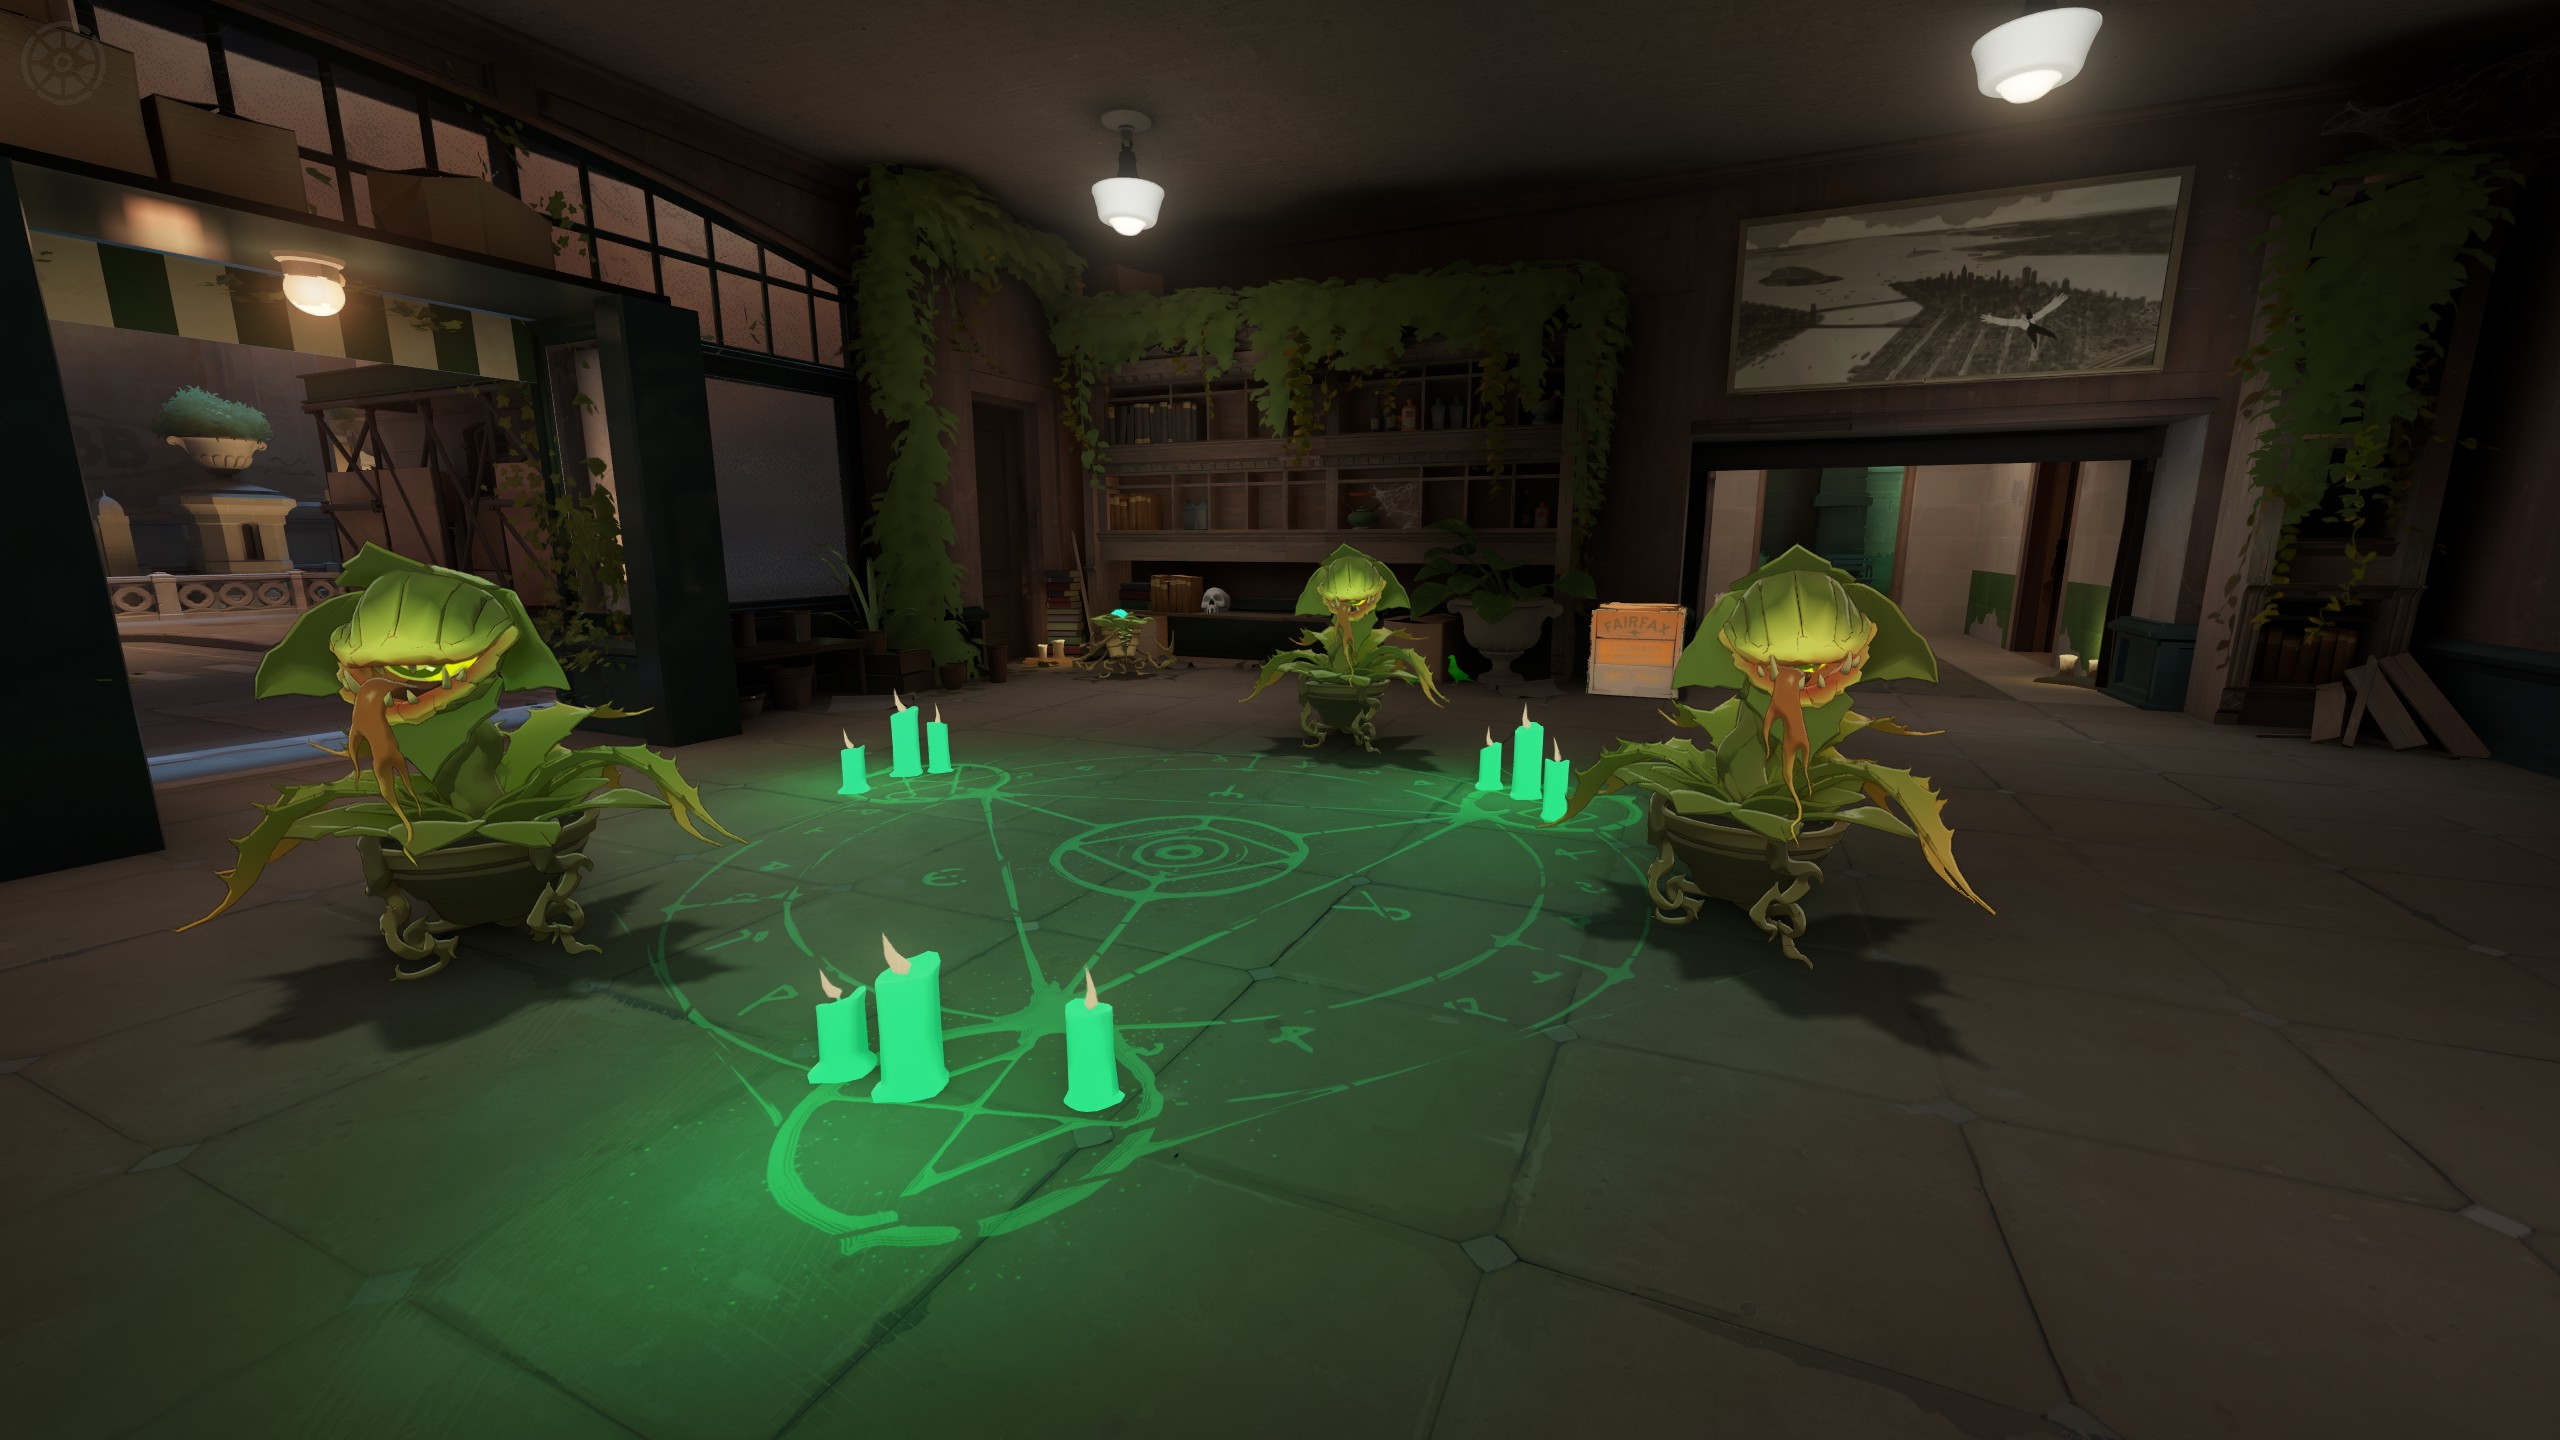
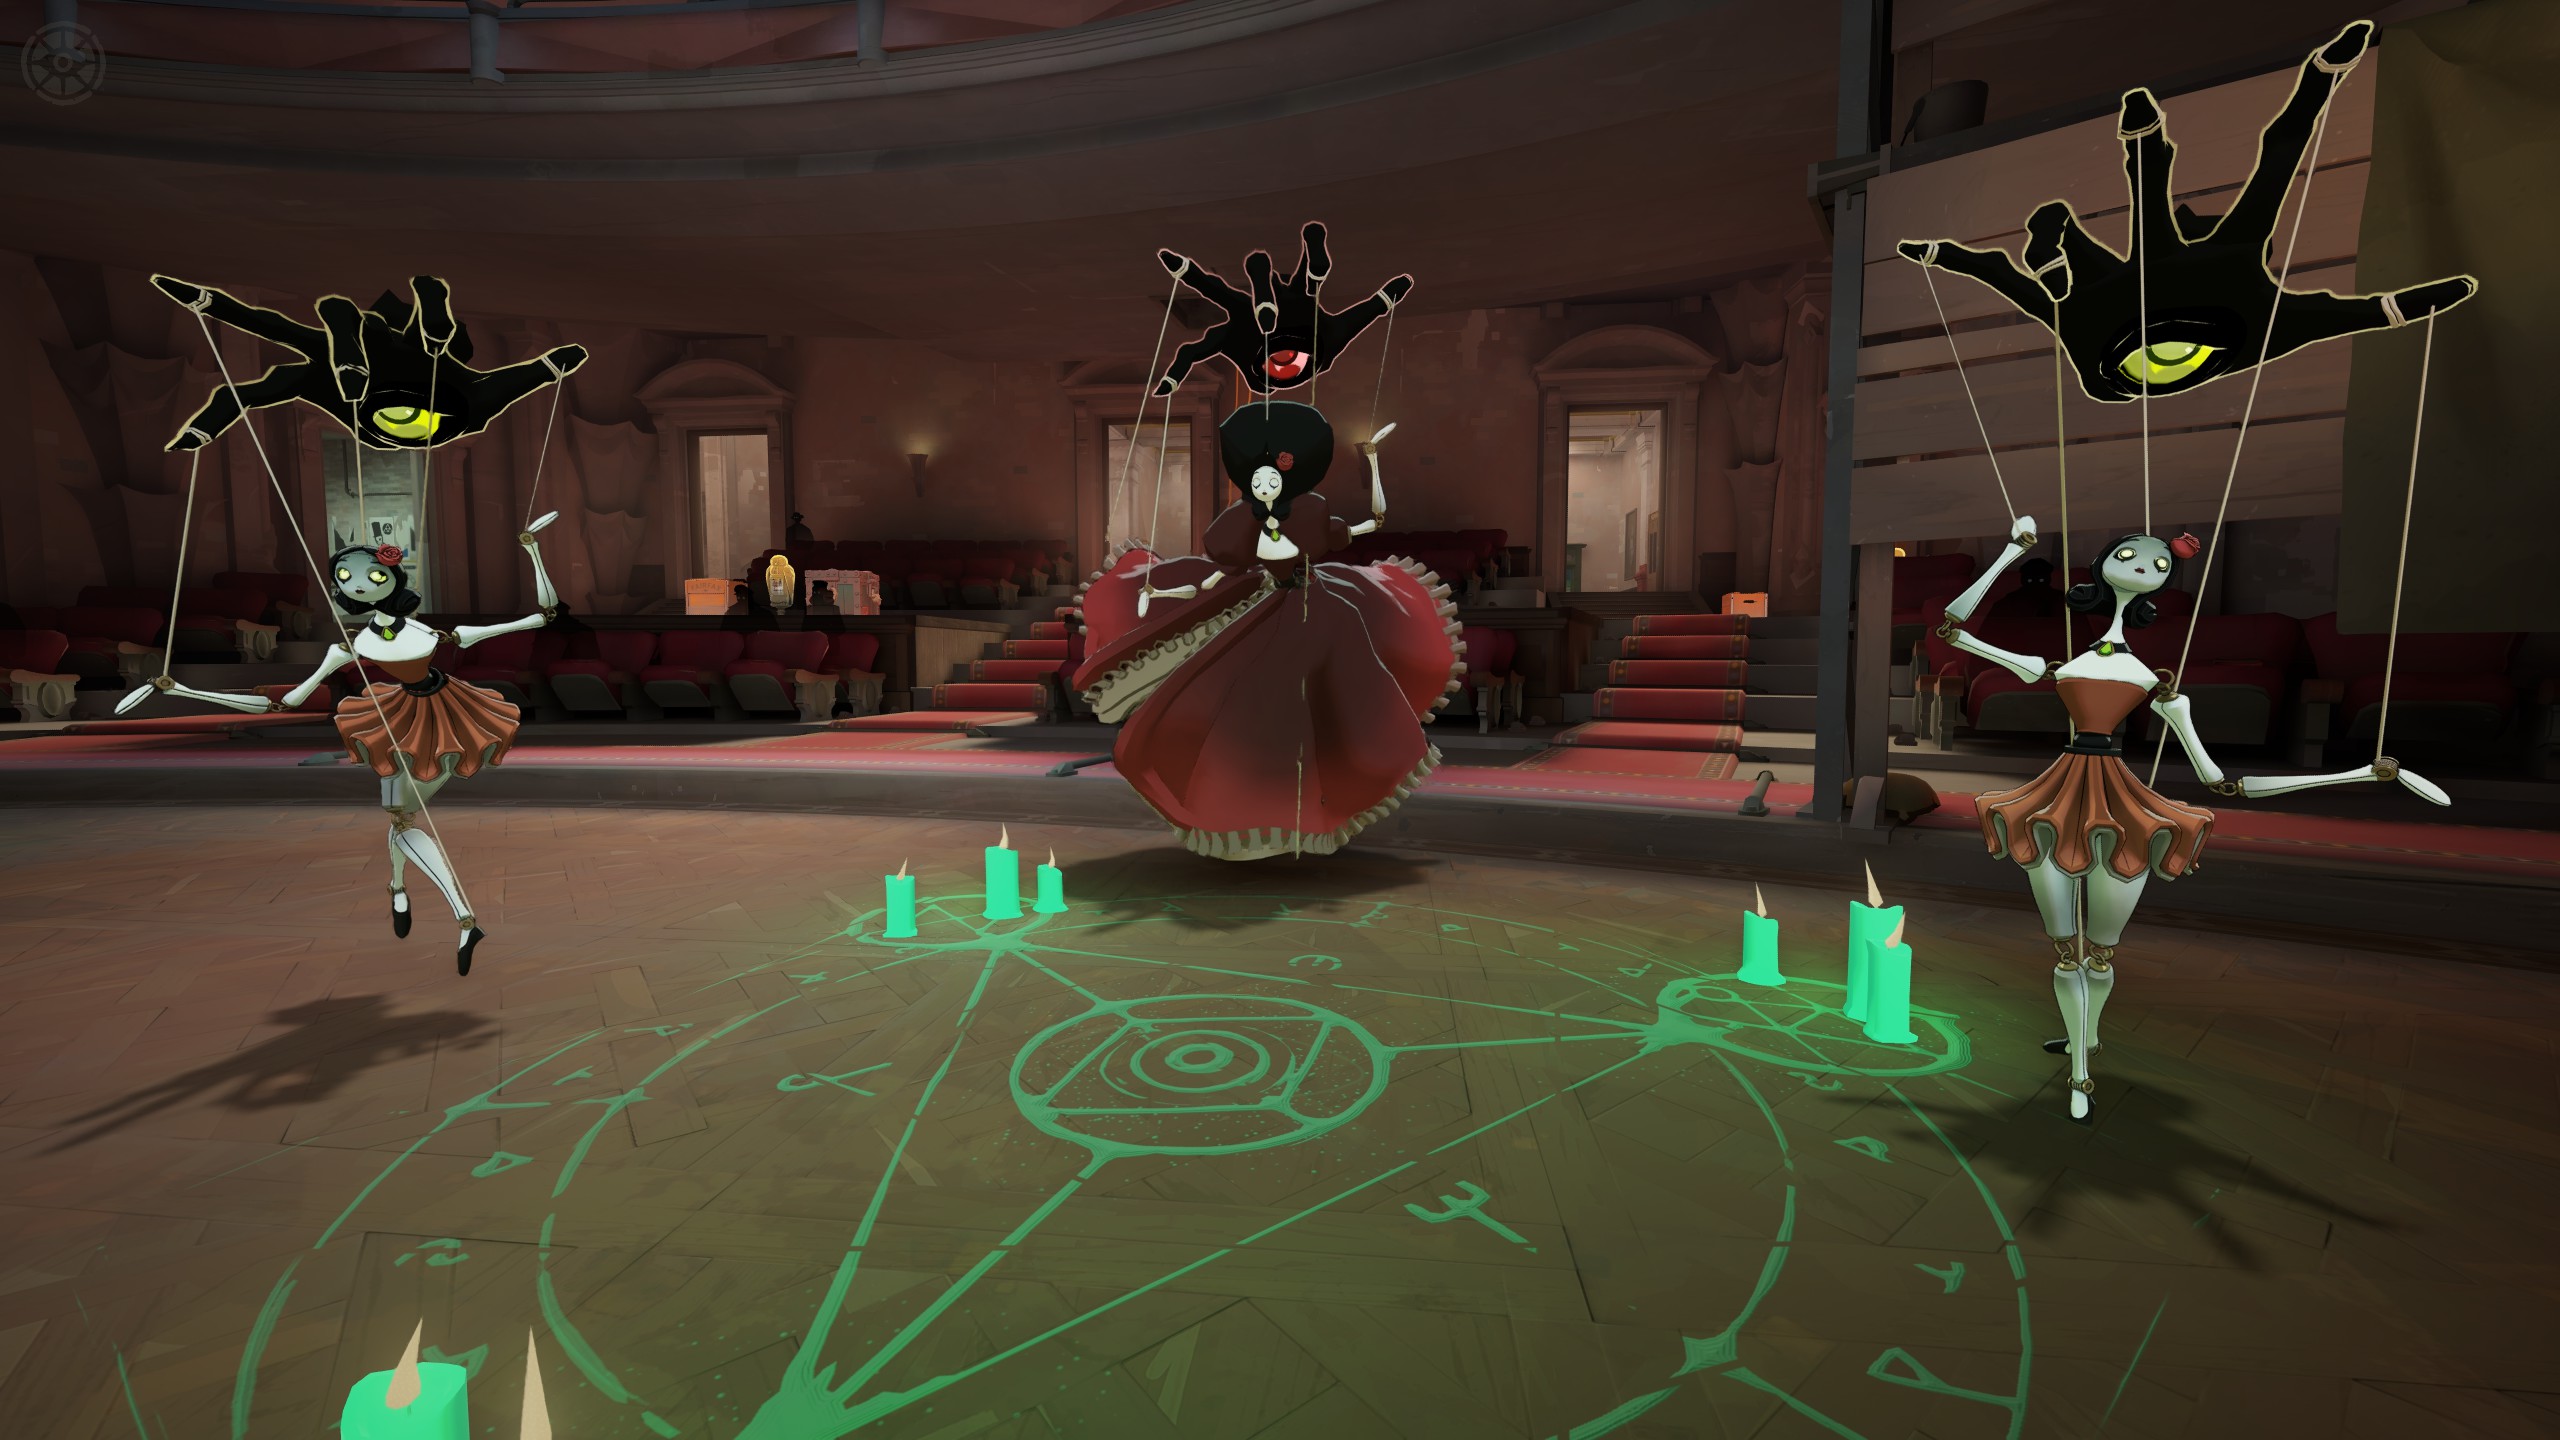
These examples show some of the Haunts you will find between lanes.

Check a Haunt's displayed soul value and relative difficulty before committing to the camp. Nearby camp timers show when cleared camps will return.

Haunts between lanes

Haunt examples
Three Haunts with glowing green heads and stacks of books around a candlelit floor symbol in a gallery.
Book-bearing Haunts gathered in a gallery.
Three Haunts with broad mushroom-like caps and red eyes around green candles.
Broad-capped Haunts in a dark room.
Two dark, long-armed Haunts with round yellow eyes beside glowing green candles.
Two one-eyed Haunts beside a camp circle.
Three green plant-like Haunts with open mouths, surrounded by bookshelves, vines, and green candles.
Plant-like Haunts in a room lined with books.
Three puppet-like Haunts suspended by strings from floating, one-eyed hands in front of theater seats.
Puppet-like Haunts on a theater stage.
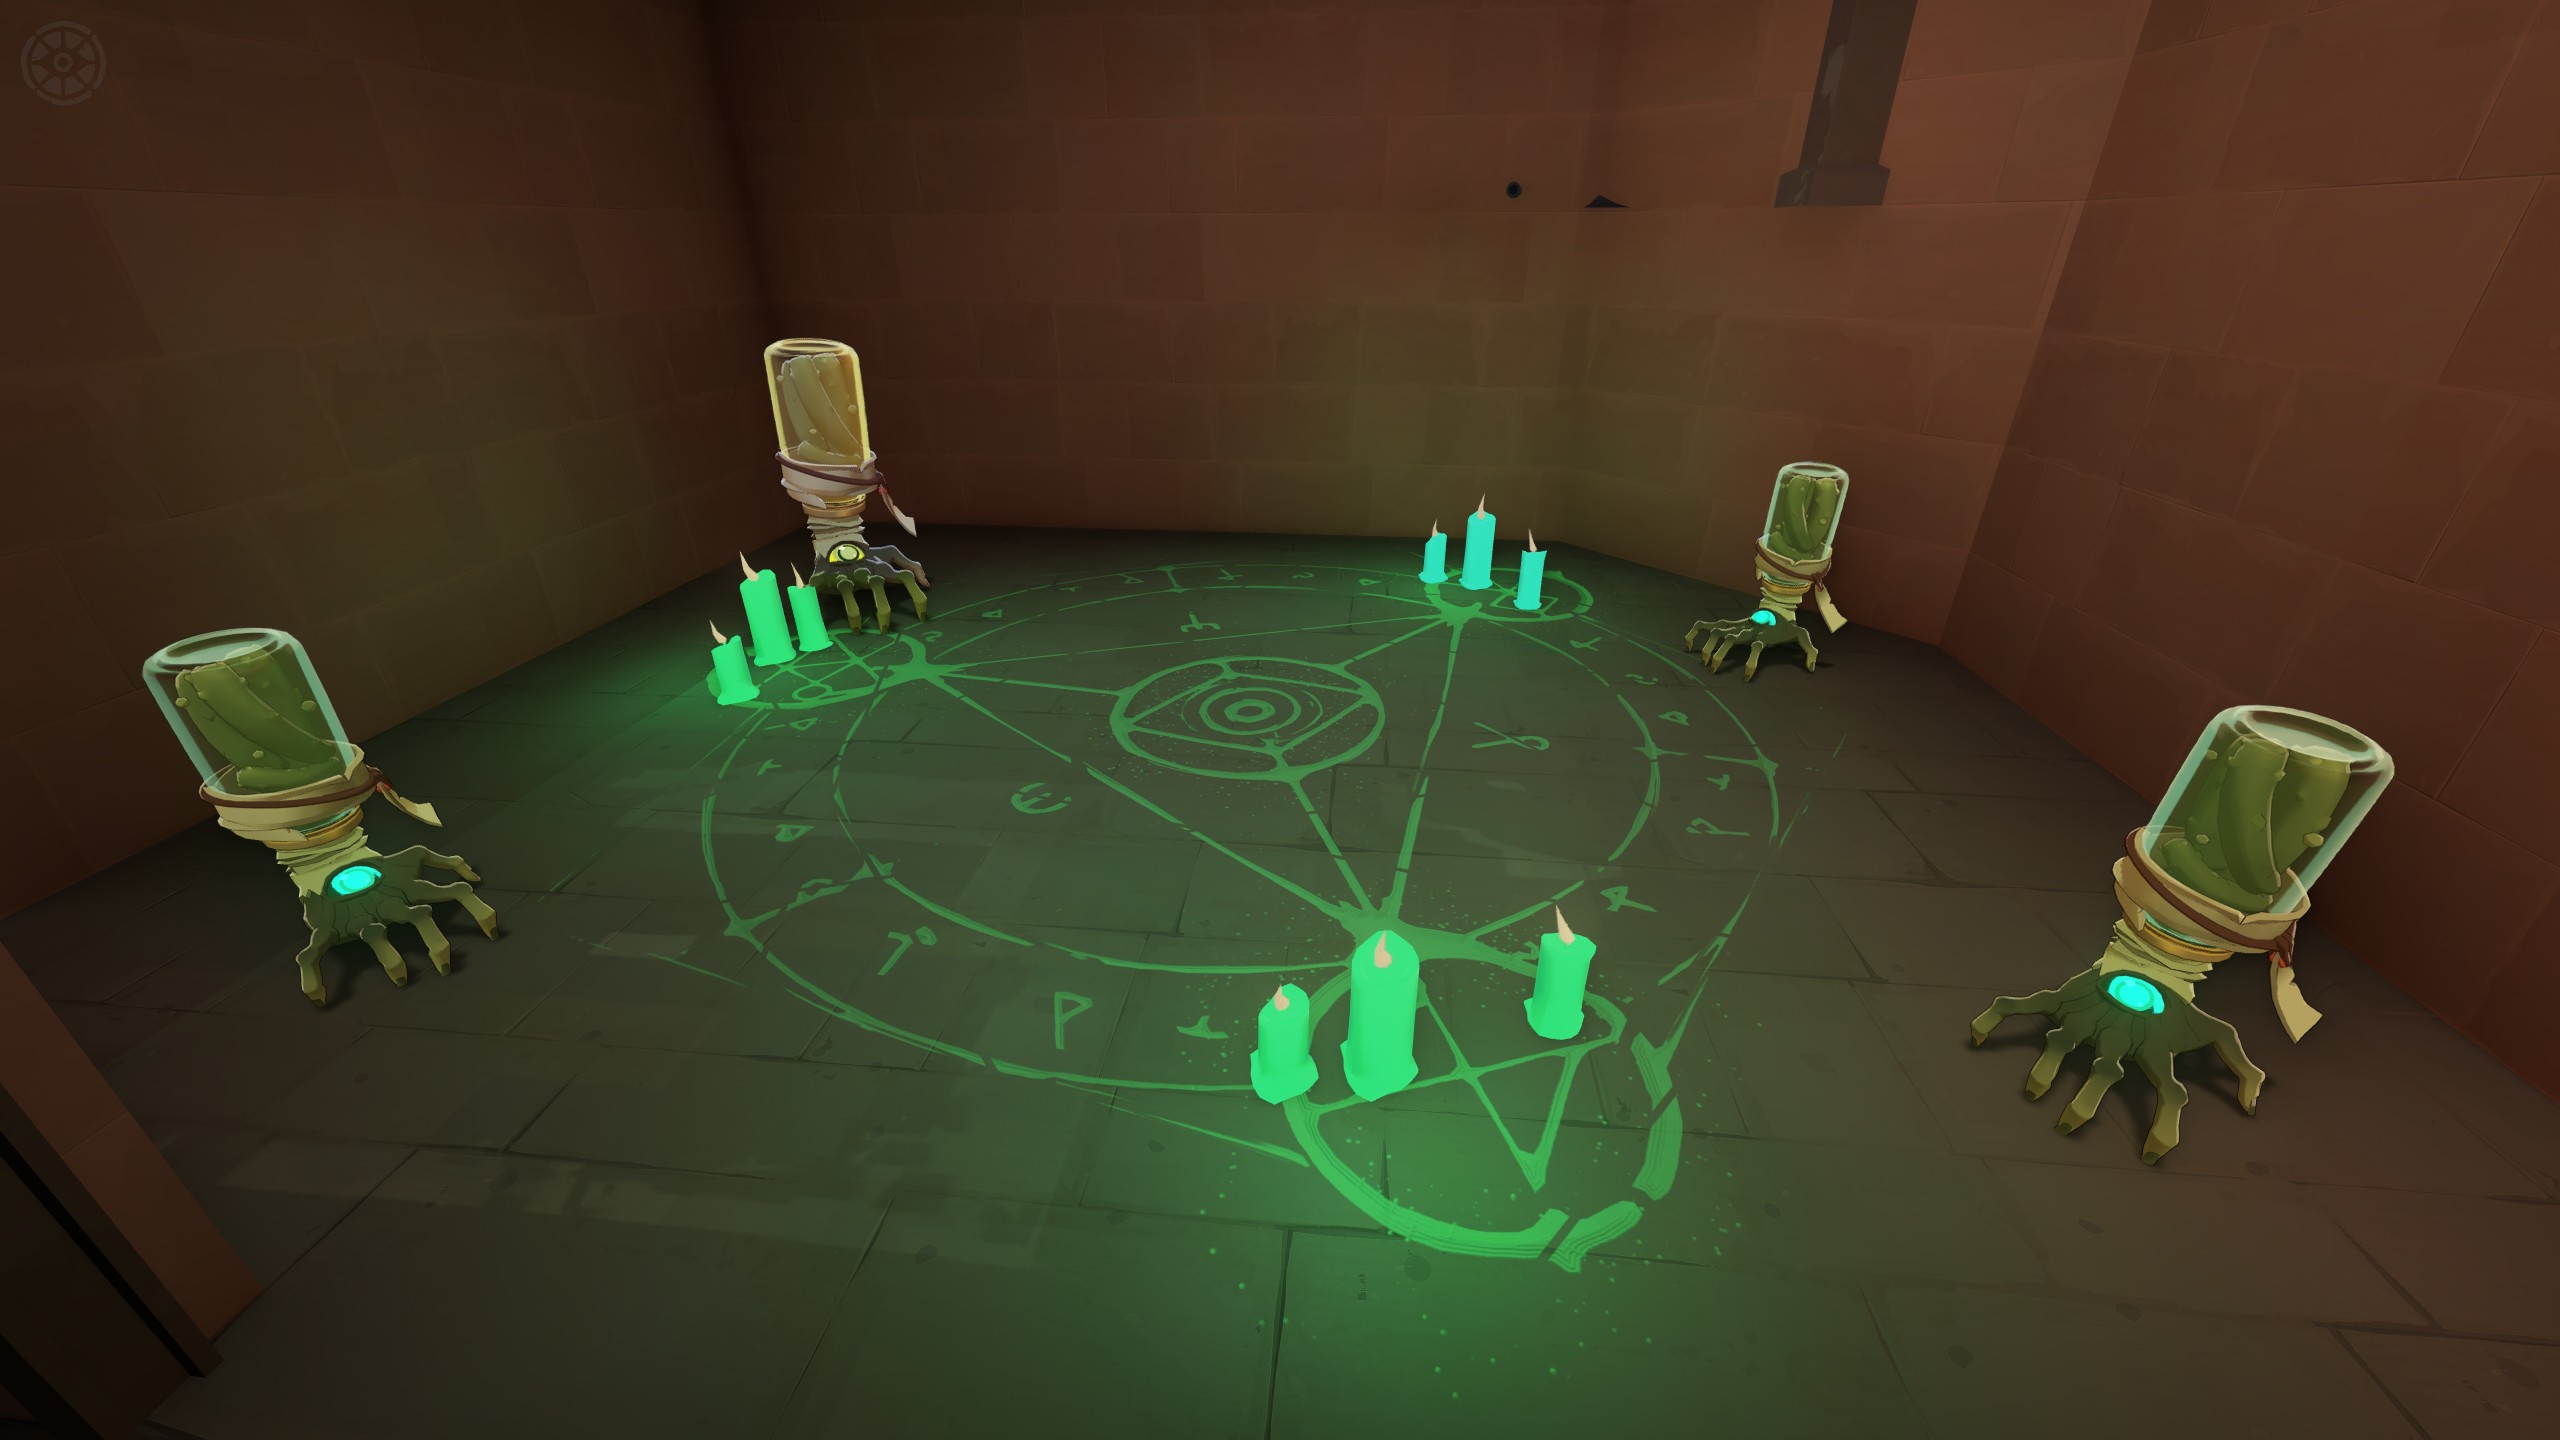
Four hand-like Haunts supporting glass jars around a glowing green camp circle in a brick room.
Hand-like Haunts carrying glass jars.

Sinner's Sacrifice is a machine you strike with melee to receive souls. It damages you in return, so check your health and surroundings before starting. Heavy Melee gives more souls per hit. For the finishing strike, watch the lights: time the Heavy Melee so it lands when every light is illuminated and blinking. That is the jackpot cue, and a successful finish awards permanent buffs. Allow for the attack's wind-up so the hit connects during the cue.

Watch for every light to be illuminated and blinking, and time the finishing Heavy Melee to land during that cue.

Souls from sources such as camps, Sinner's Sacrifice, and crates can be unsecured for a time. You can lose unsecured souls when you die. After collecting them, be careful about taking an unnecessary fight or continuing into enemy territory just because another camp is nearby. Getting back to a safe wave can protect both the income you collected and the income you are about to earn.

Pickups Around the Map

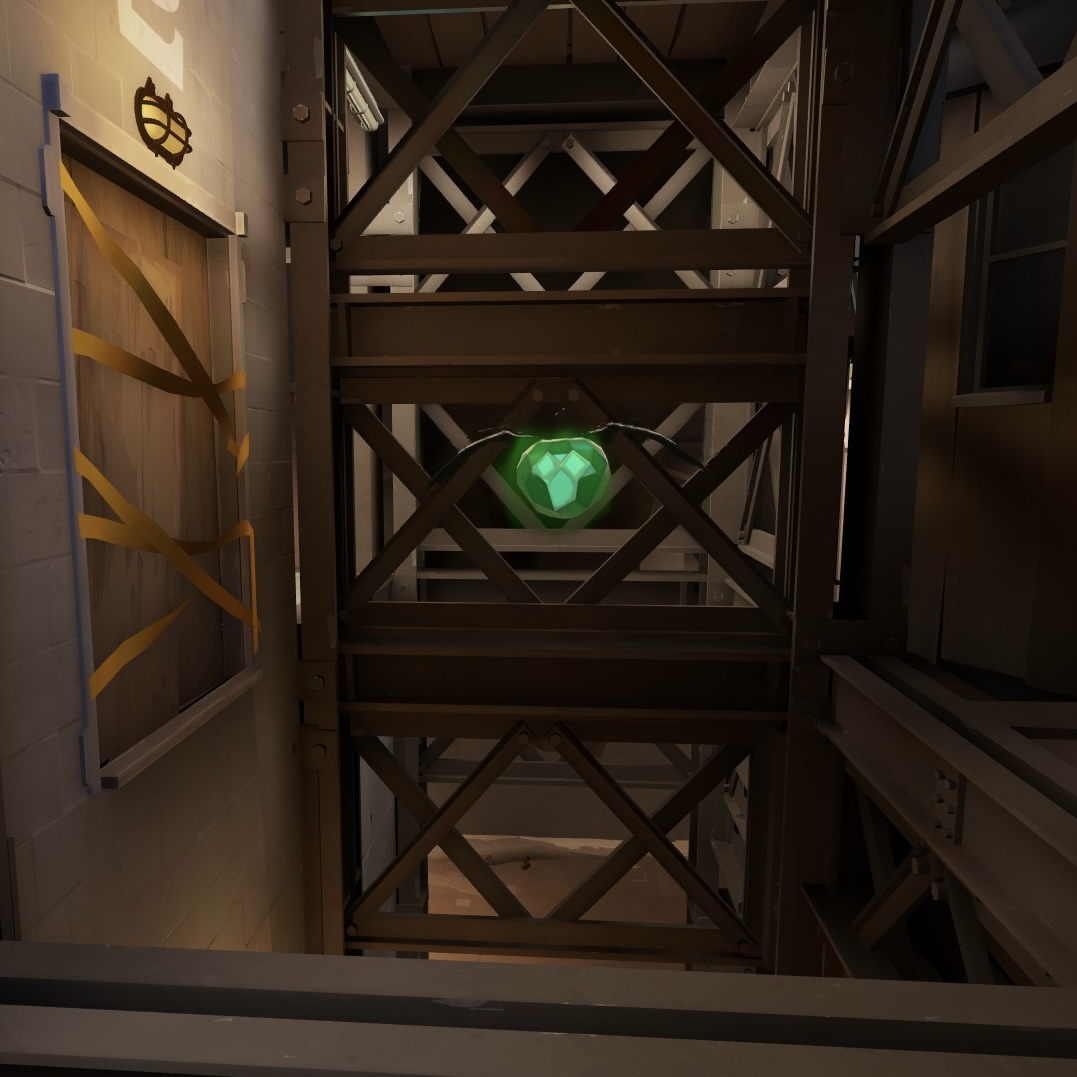
As you learn your usual routes, look into the corners and rooms you pass. Healing snacks can help you recover without making a longer trip, while breakable objects can contain souls or permanent stat buffs. Remembering these locations makes later trips more useful because you know what is available without searching every room.

A healing snack tucked into a corner of the city.
Healing snacks are hidden around the map. Grab one to stay in the fight or survive a close escape.

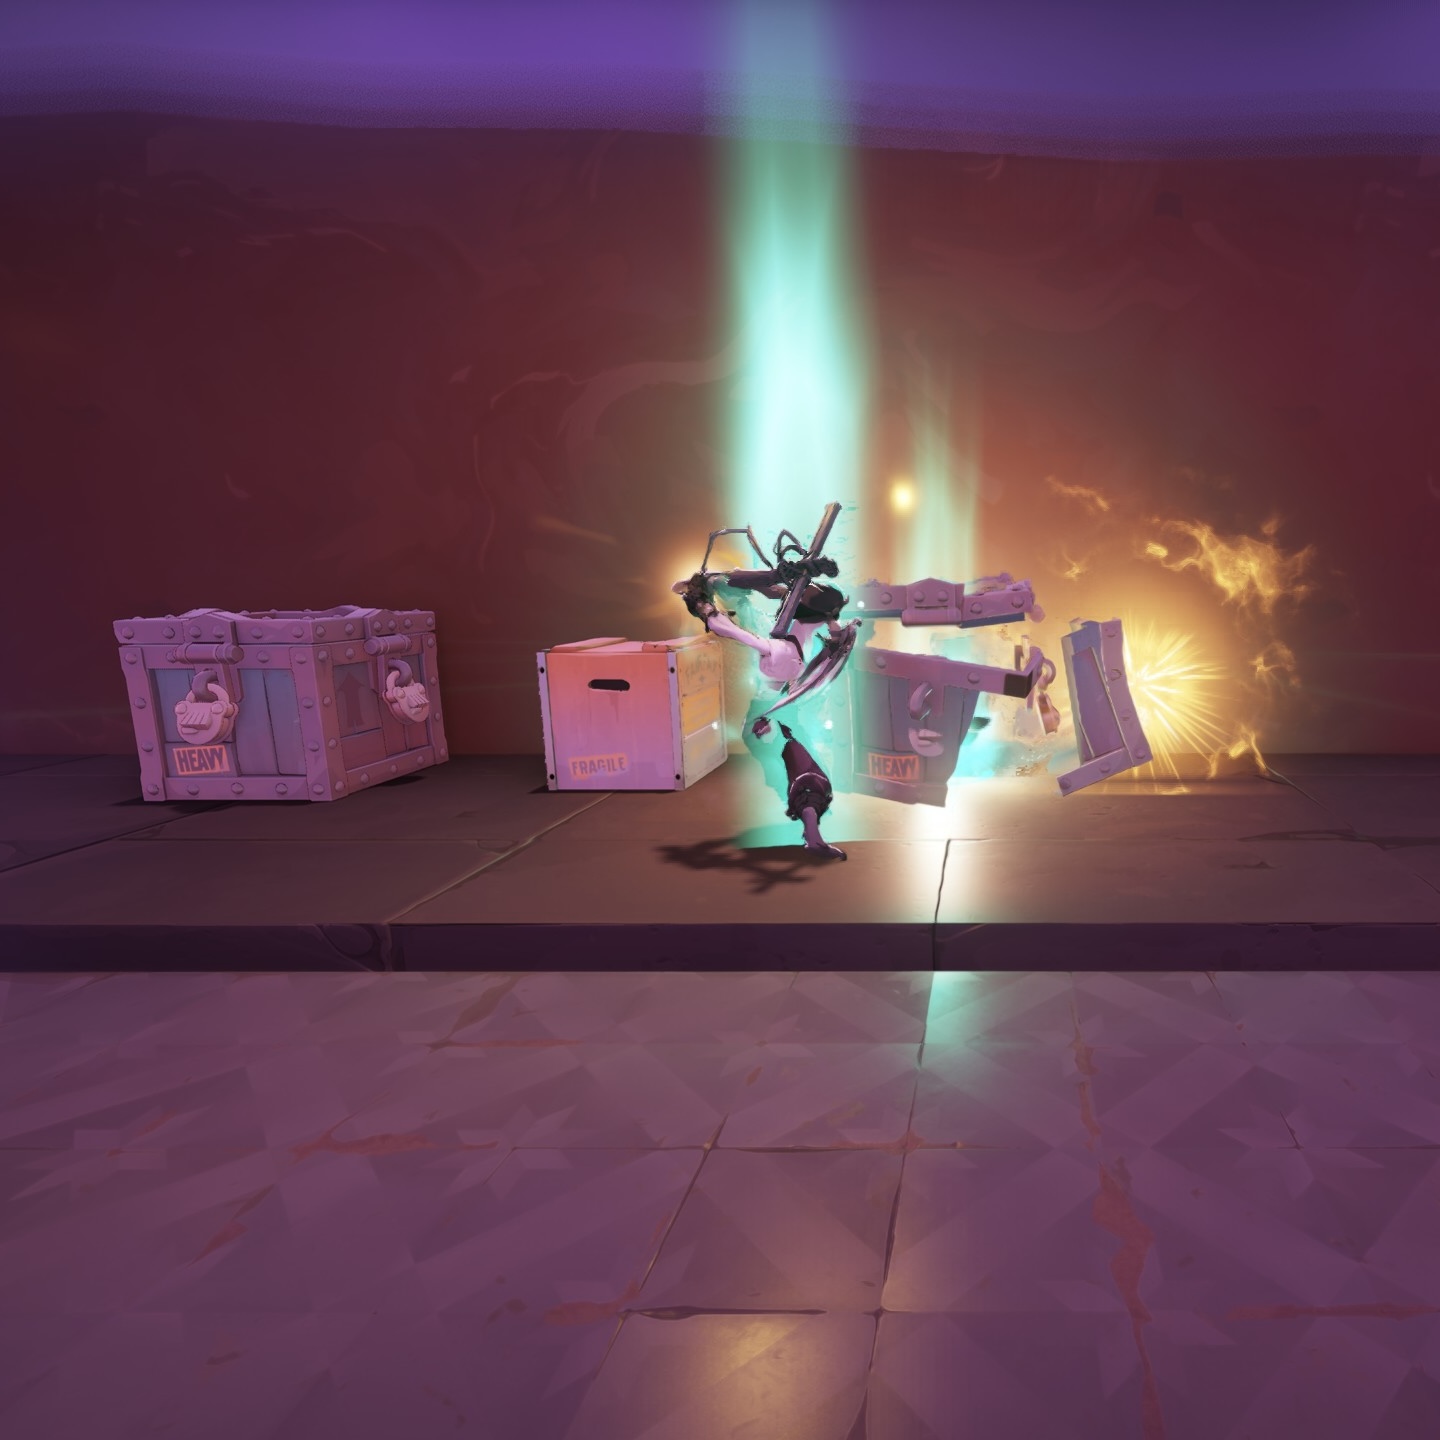
Tough Crates need a Heavy Melee to break. Take one when it is already close to your route and you have time to collect it safely. The same judgment applies to other pickups: a small detour can be useful, but traveling away from a wave or arriving late to help a teammate may cost more than you collect.

A hero using Heavy Melee to break a Tough Crate.
A Heavy Melee opens the Tough Crate and releases its souls.

Sewers and Shortcuts

The sewers connect routes beneath the streets. Learn where a passage comes out before relying on it to escape. A shortcut is only helpful if its exit takes you somewhere you can safely continue; entering a tunnel without knowing the far end can leave you closer to the enemy than you intended.

Rem entering the sewers through a restricted vent.

Some narrow vents can be used by Rem, Mo & Krill, Rat King, and Calico while she is in Ava form. Those vents cannot be used while recently in combat or while carrying the Soul Urn. Do not assume that a route shown by one of these heroes is available to yours, or that a vent will open during a chase.

Explore a few connections when there is no immediate fight to answer. Start with passages near the lane you play most, then learn the exits near neutral camps and objectives. You will make better route choices in a match when you can picture where you are going.

Taking Objectives Together

As players leave their starting lanes, more fights involve several heroes. Winning one can give your team time to damage a structure, collect an objective, or move waves forward while the enemy recovers. Before starting, check who is still alive, which enemies are missing, and whether your teammates are close enough to help finish the play.

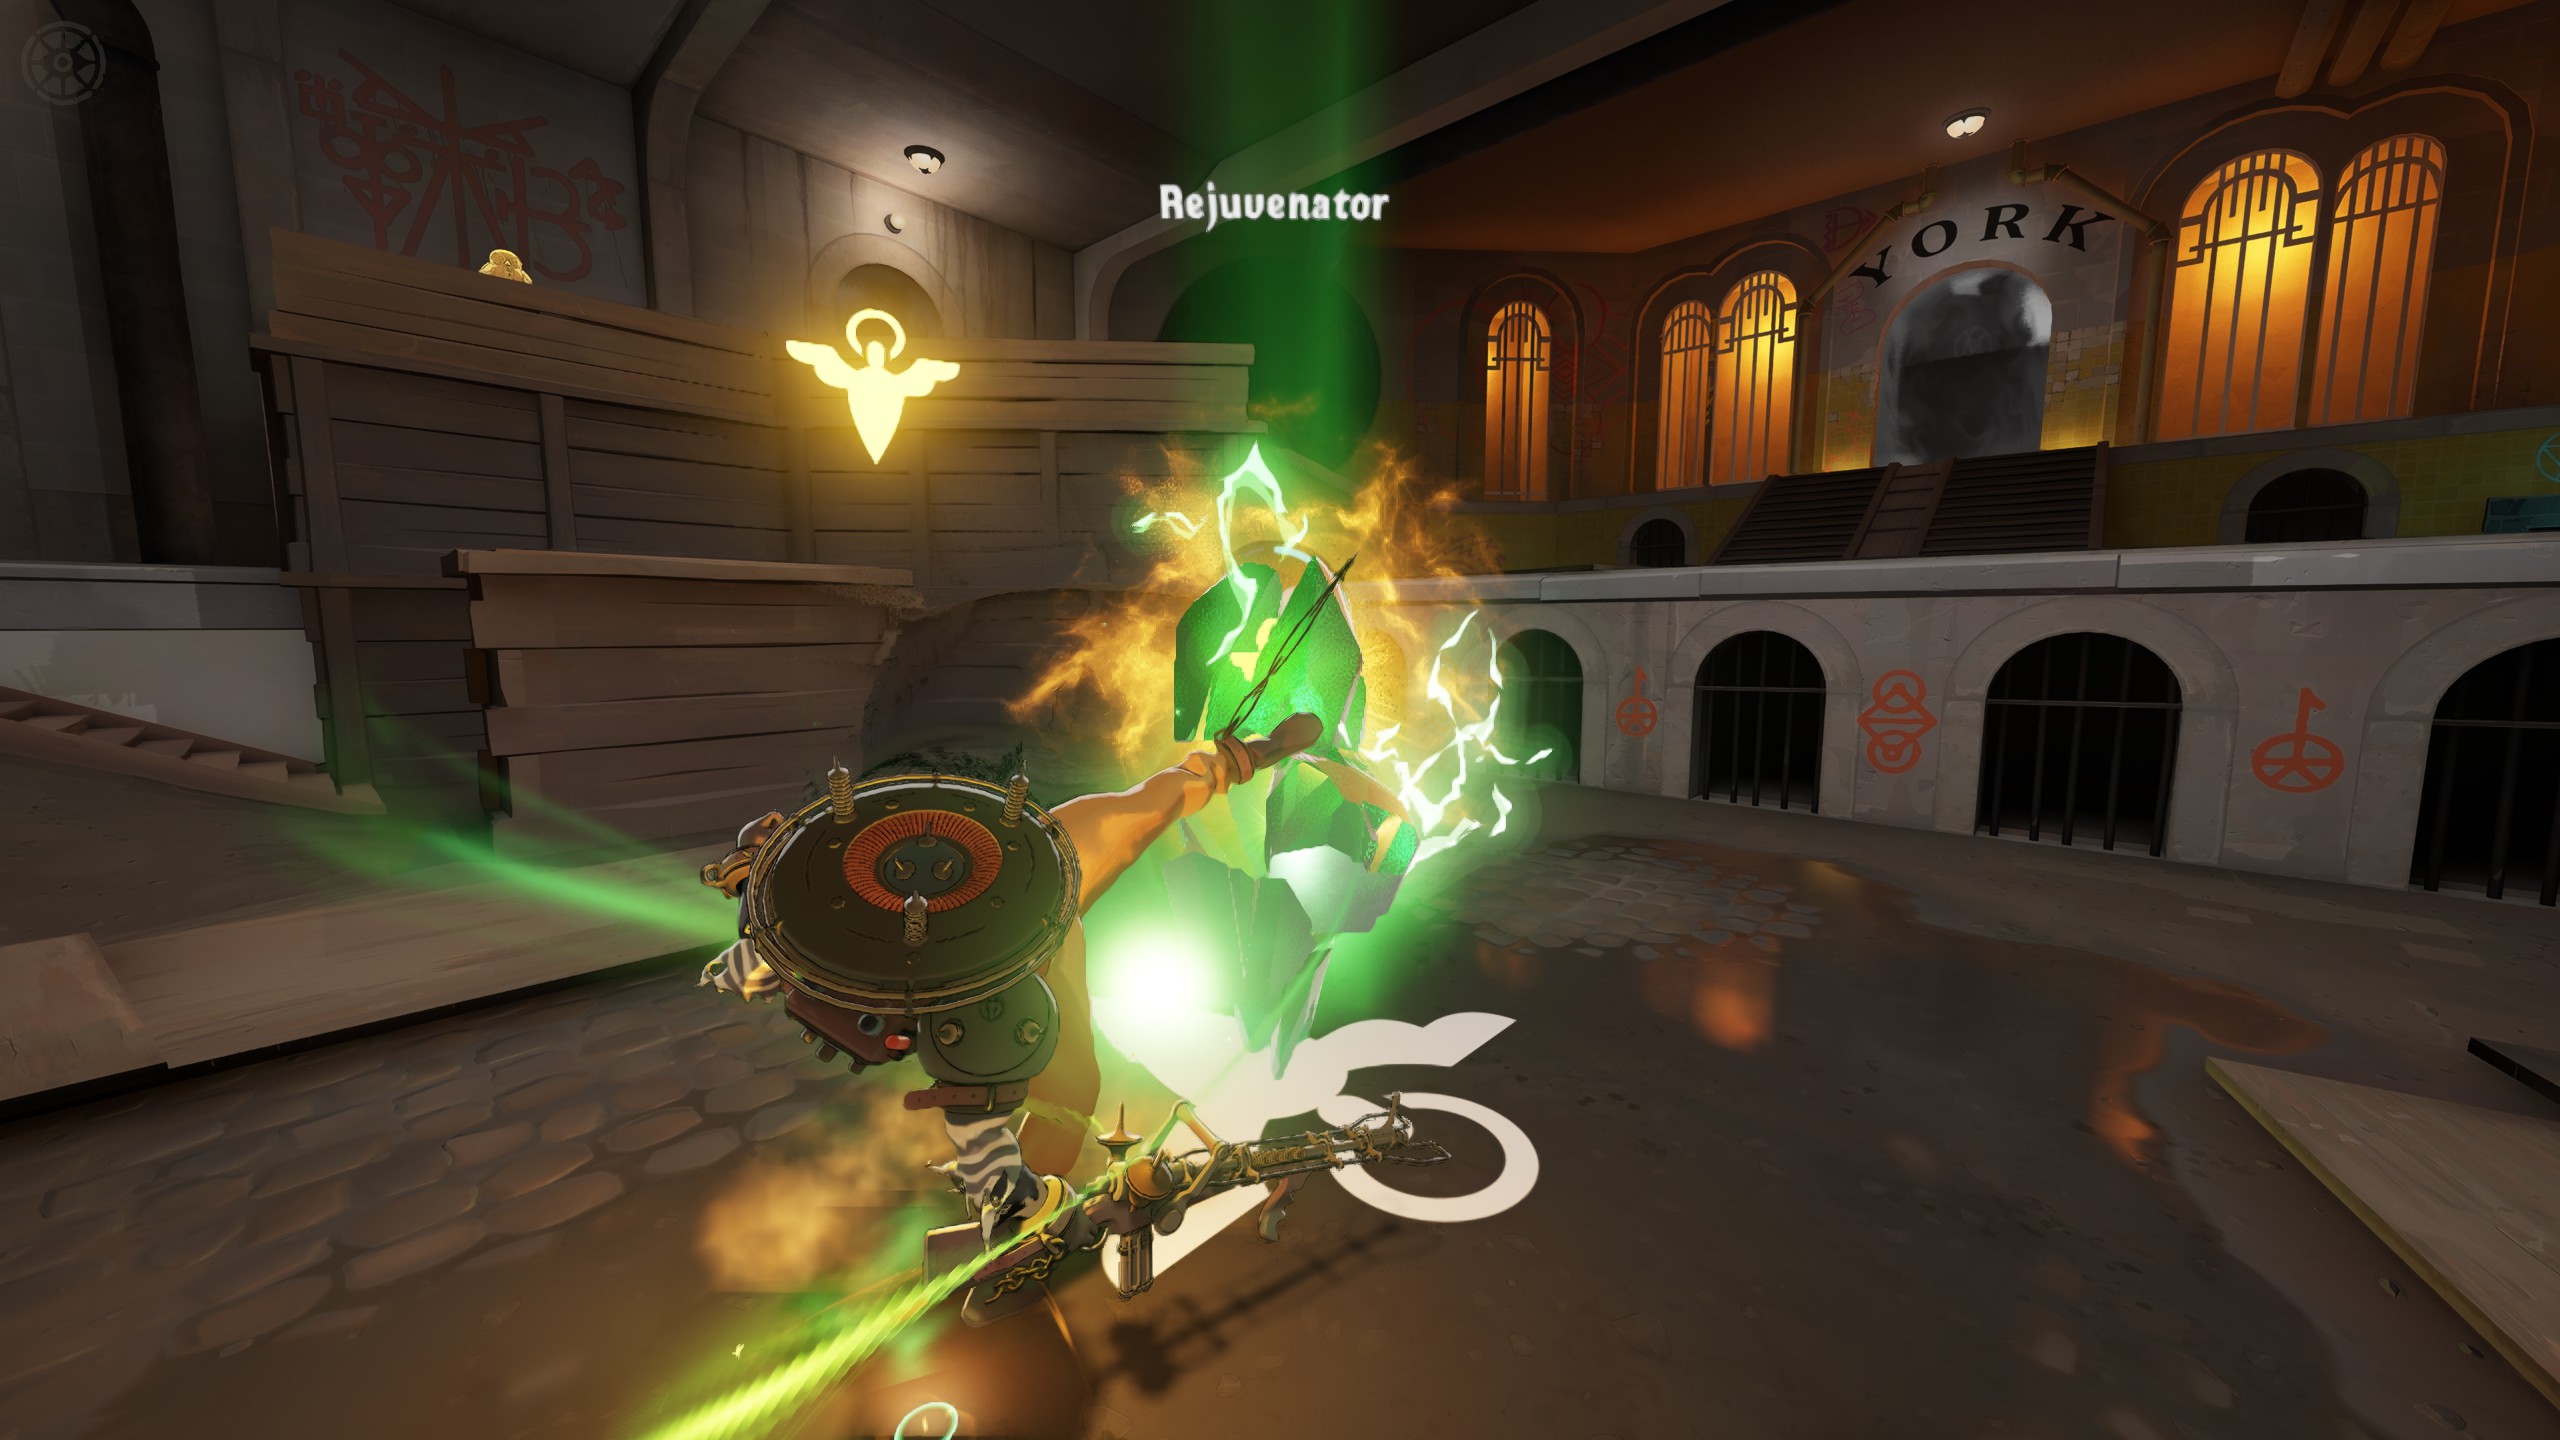
Mid-Boss drops the Rejuvenator. Once it lands, Heavy Melee claims revival credits for your team. Those credits allow teammates to revive where they died while the buff is active, but the supply is limited. Enemies who reach the pit can contest the credits even after your team kills the boss, so pay attention to the entrances as well. After securing the reward, regroup and use the advantage to push with your waves.

Mid-Boss drops the Rejuvenator, which descends into the pit.
Seven striking the Rejuvenator with Heavy Melee.
Once the Rejuvenator lands, strike it with Heavy Melee to claim it for your team.

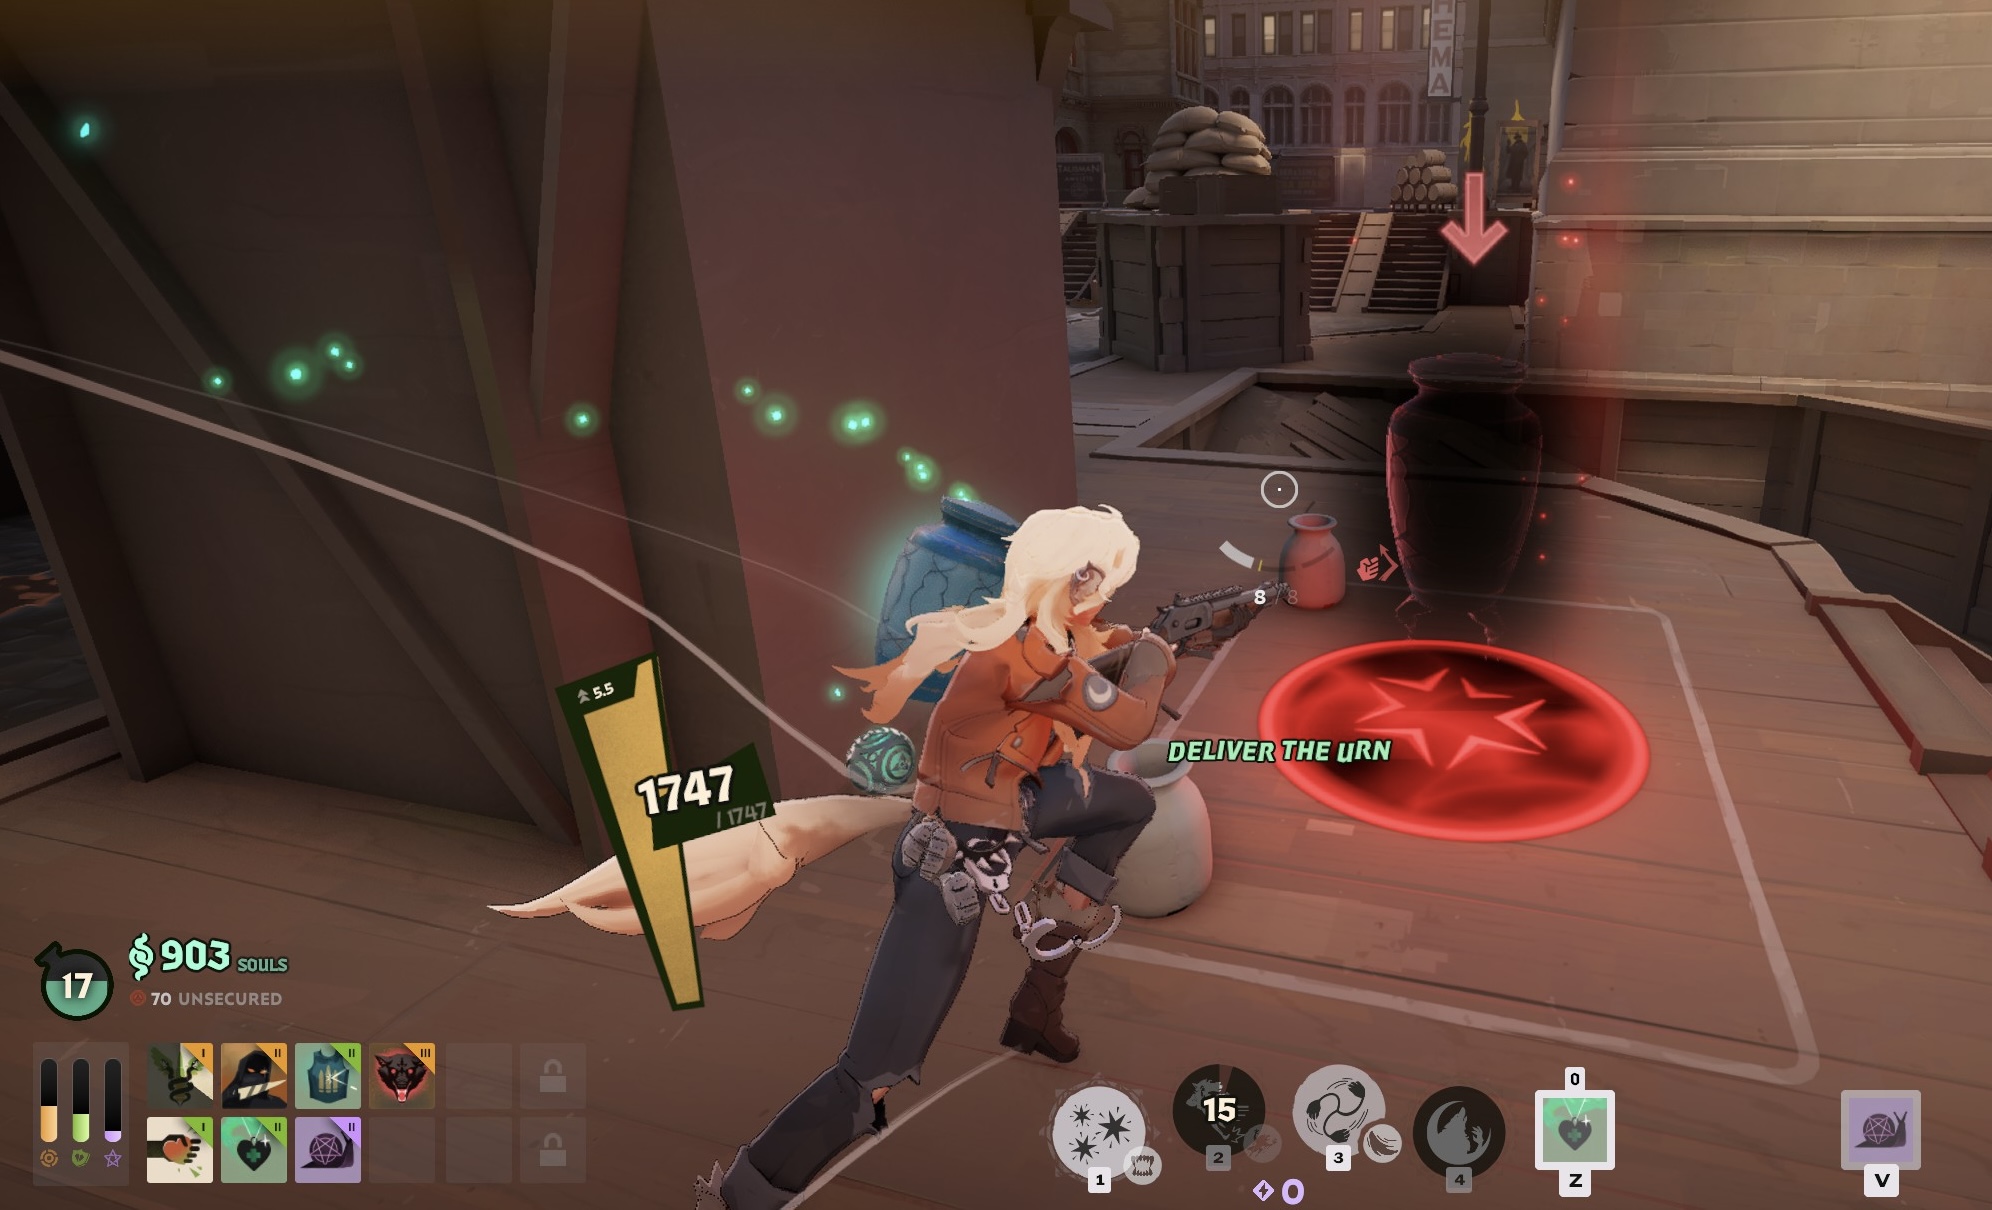
The Soul Urn must be carried to the marked delivery point across the map. Check the route and the destination before picking it up, and protect the delivery if teammates are helping you. The trip is only successful if you reach the destination and secure the reward; passing through an area where enemies can surround you puts both at risk.

The Soul Urn at its delivery point.
Check the delivery point as well as the route before carrying the Urn across the map.

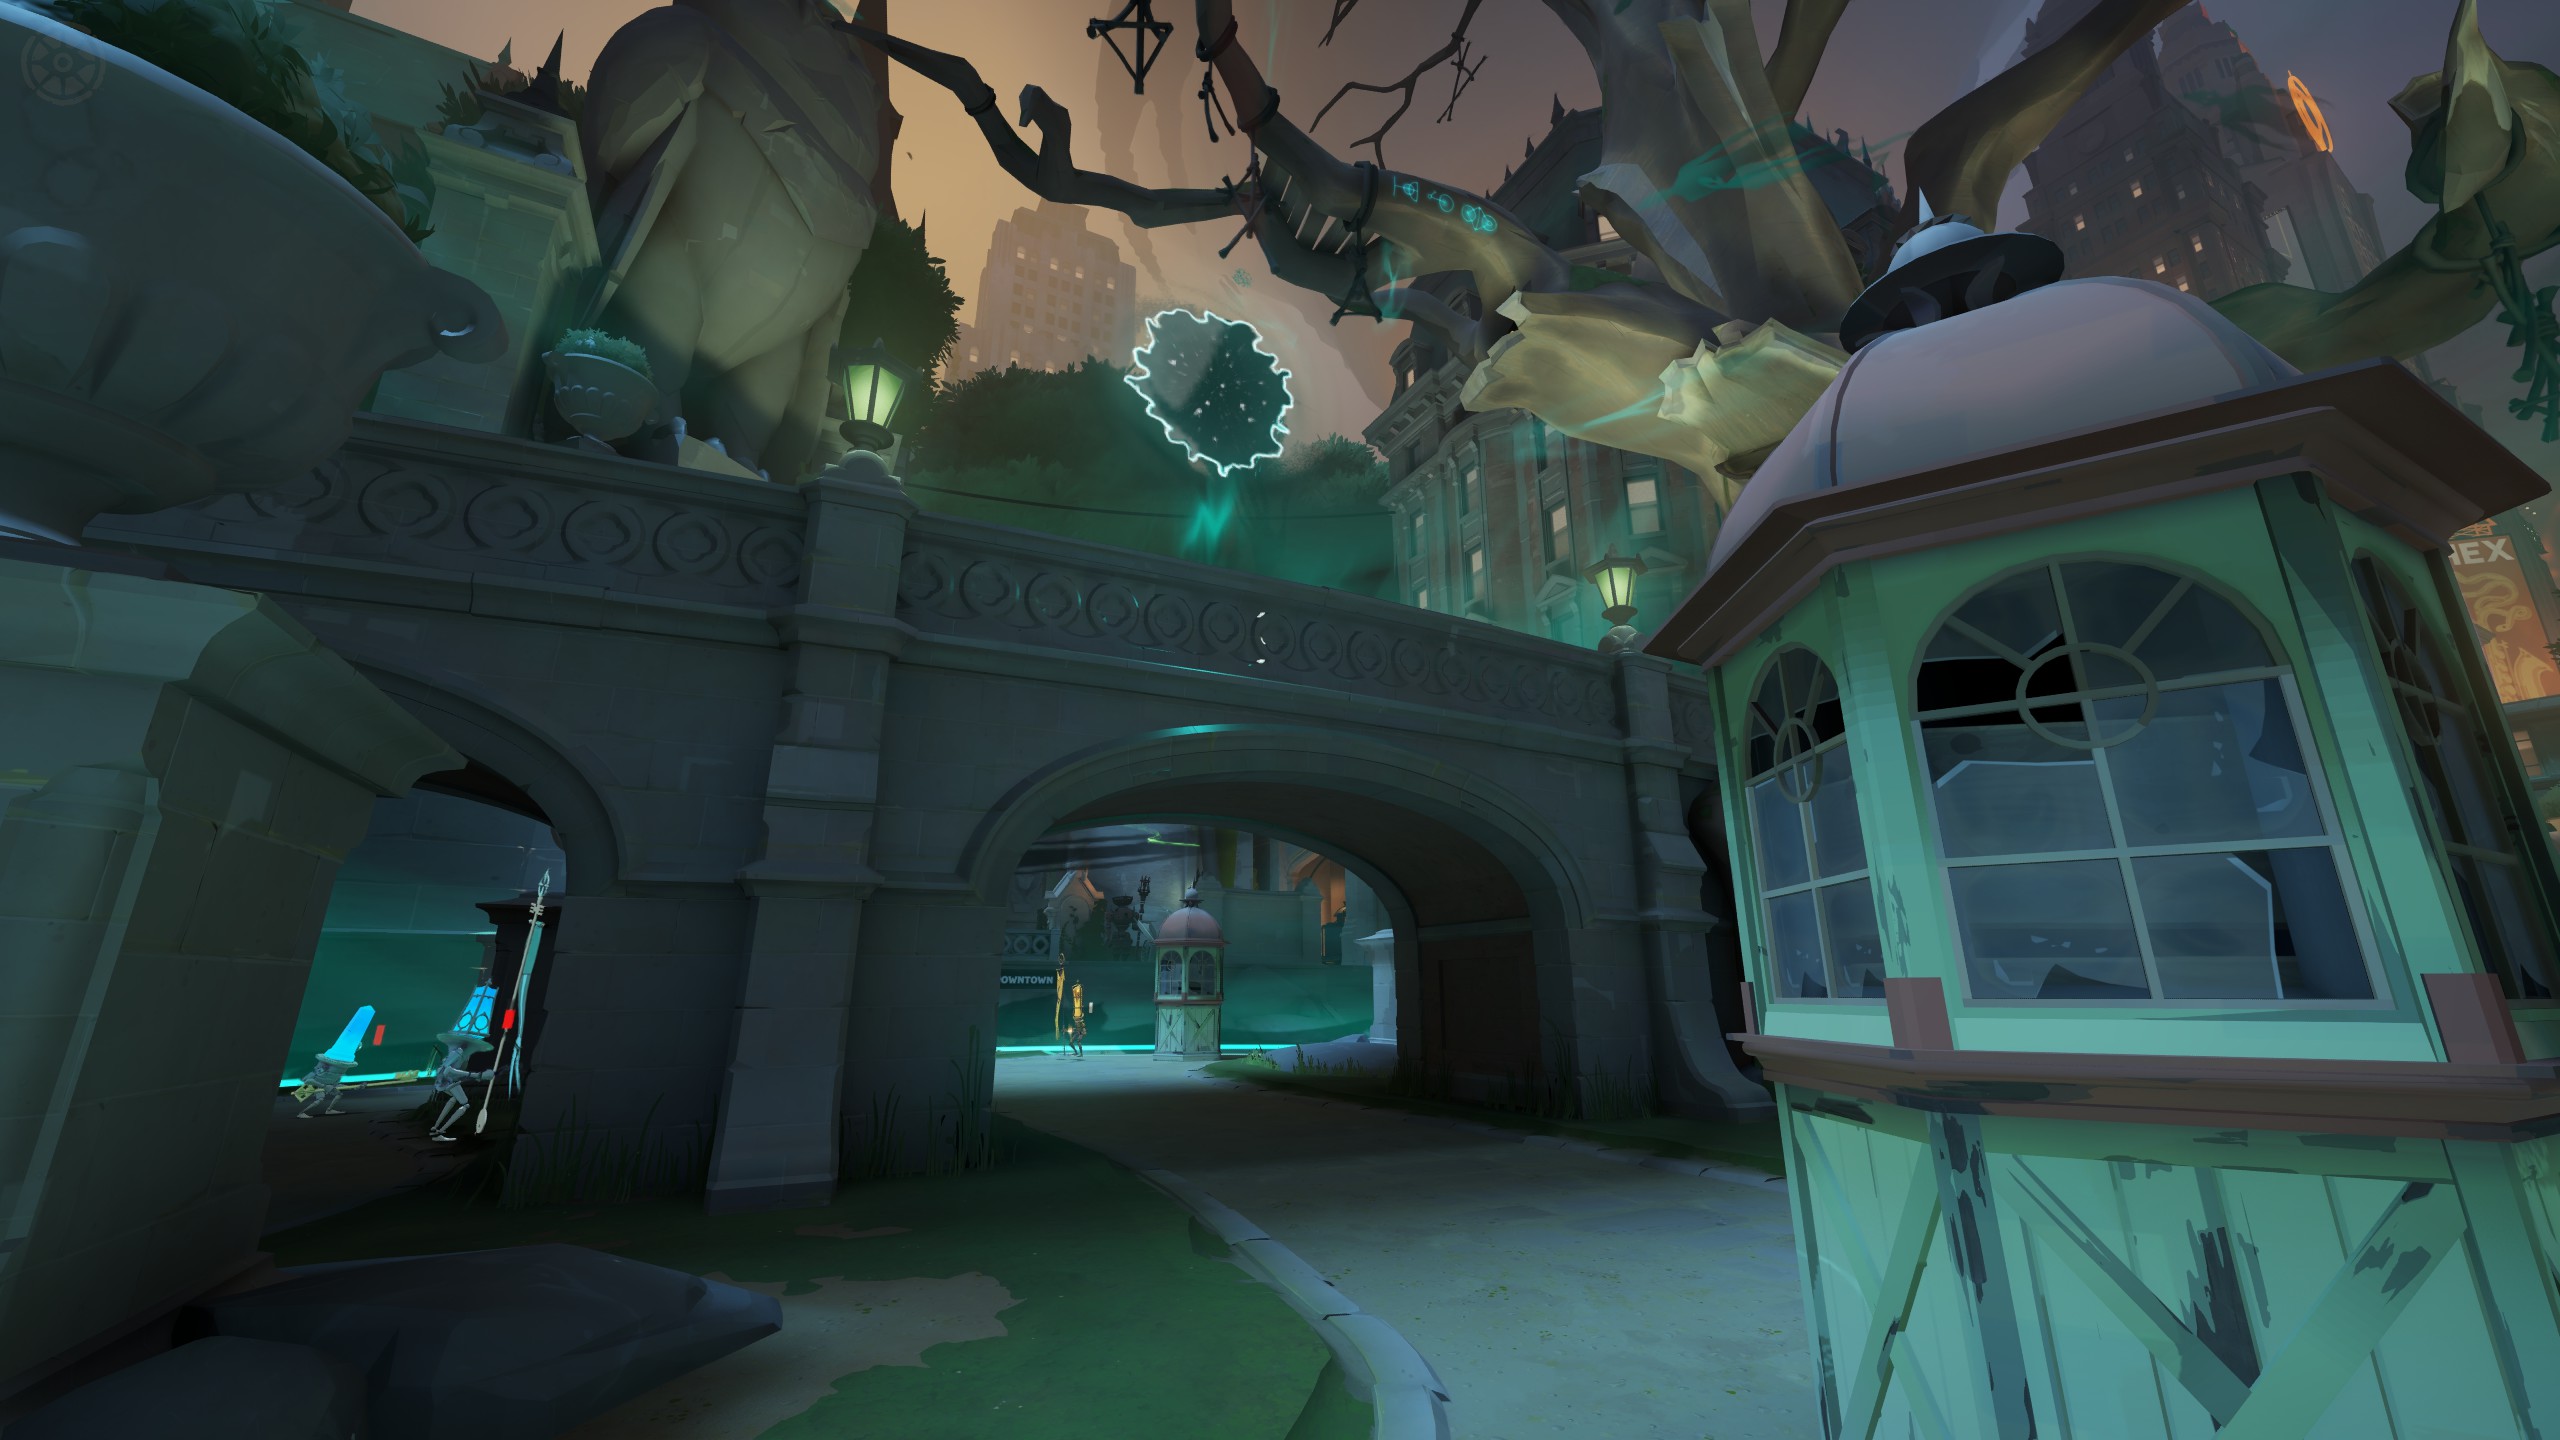
The Unstable Rift is a separate objective where teams contest an area. Securing it rewards your team and sends a stronger trooper wave down the lane. Use the map announcement to judge whether your team can get there together. Reaching it first does not make you safe if the enemy arrives with more players.

A glowing rift above a passage through the city.
The Unstable Rift.
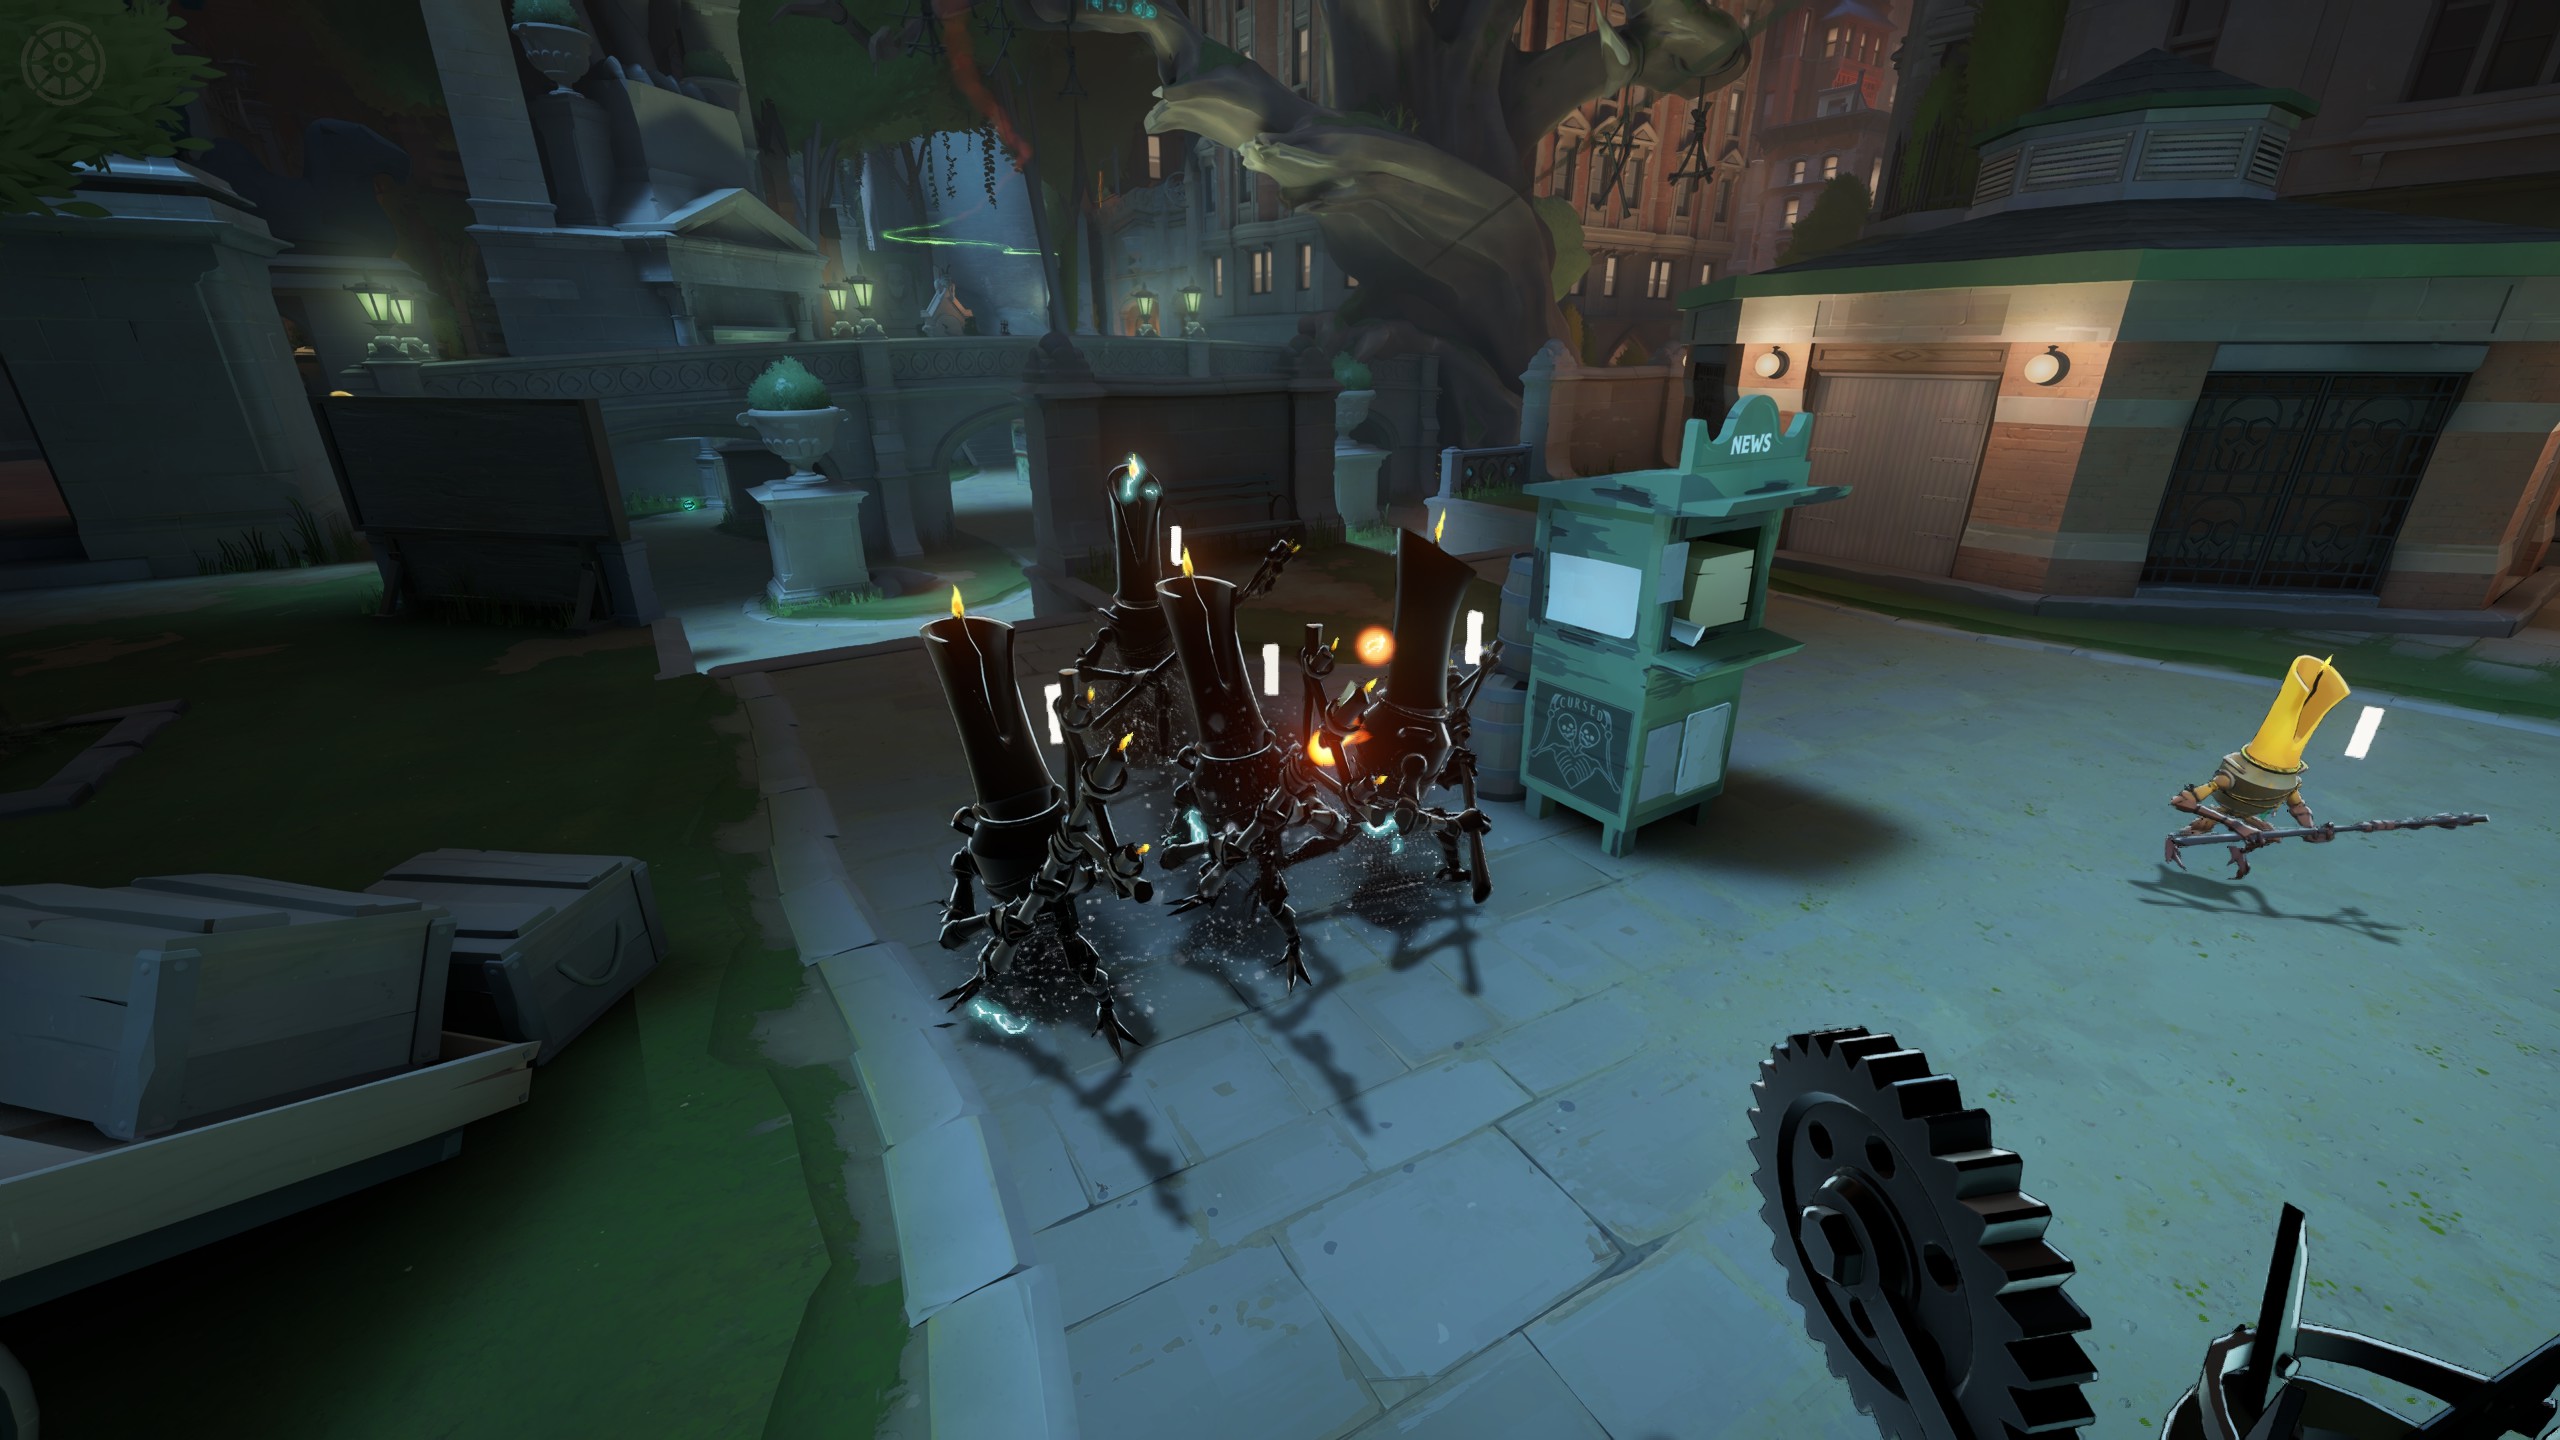
A group of Rift troopers in the street.
Rift troopers.

After losing a fight, look at what can still be defended. Wait for teammates when going alone would only give the enemy another kill. Sometimes the useful response is to clear an approaching wave or recover and buy so you can meet the next push together.

Finishing the Match

Your team wins by destroying the enemy Patron. To reach it, you need to advance through the lane's defenses and into the base. Destroying a pair of Base Guardians makes the Shrines vulnerable. Both Shrines must fall before the Patron can be attacked, and its final, weakened form must also be destroyed to end the match.

Bring your troopers forward as you push. A structure marked Protected takes greatly reduced damage and can recover, so attacking without your wave is often ineffective. This is different from an invulnerable Shrine whose prerequisite defenses are still standing. Check which condition is stopping your push before spending more time and abilities on the target.

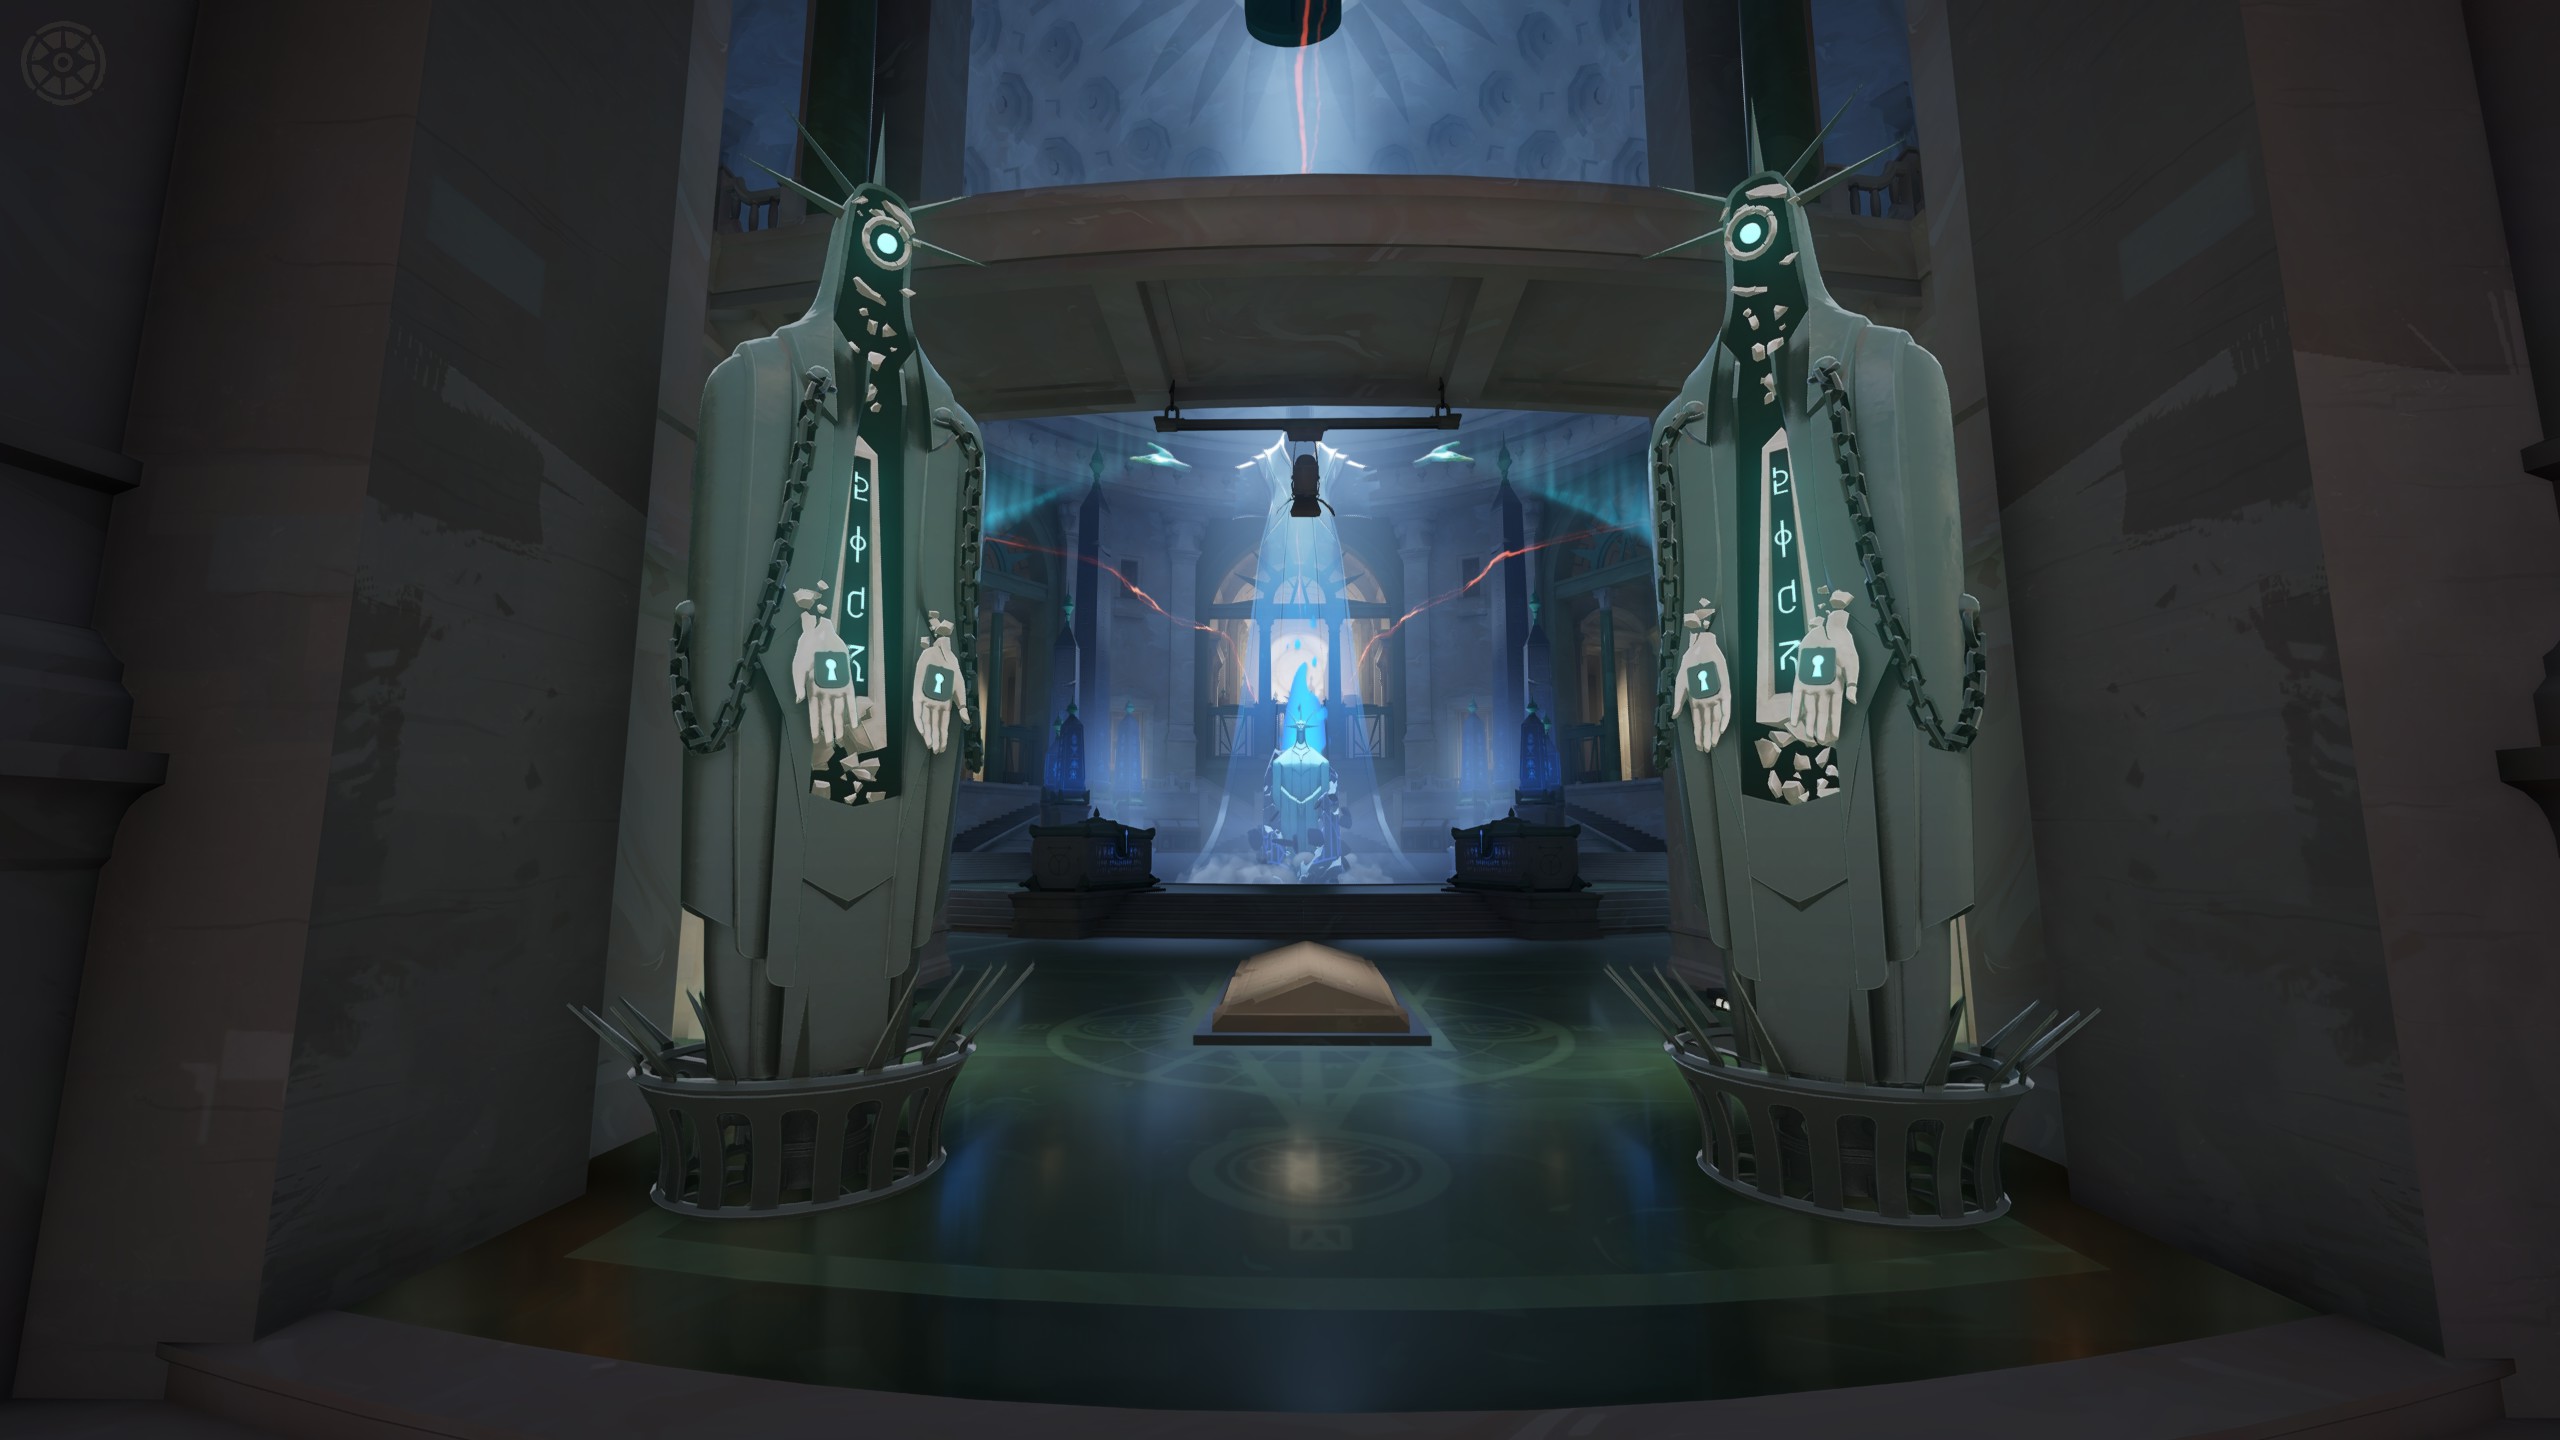
Two tall Base Guardians in front of the Archmother.
A pair of Base Guardians at the Archmother's base.
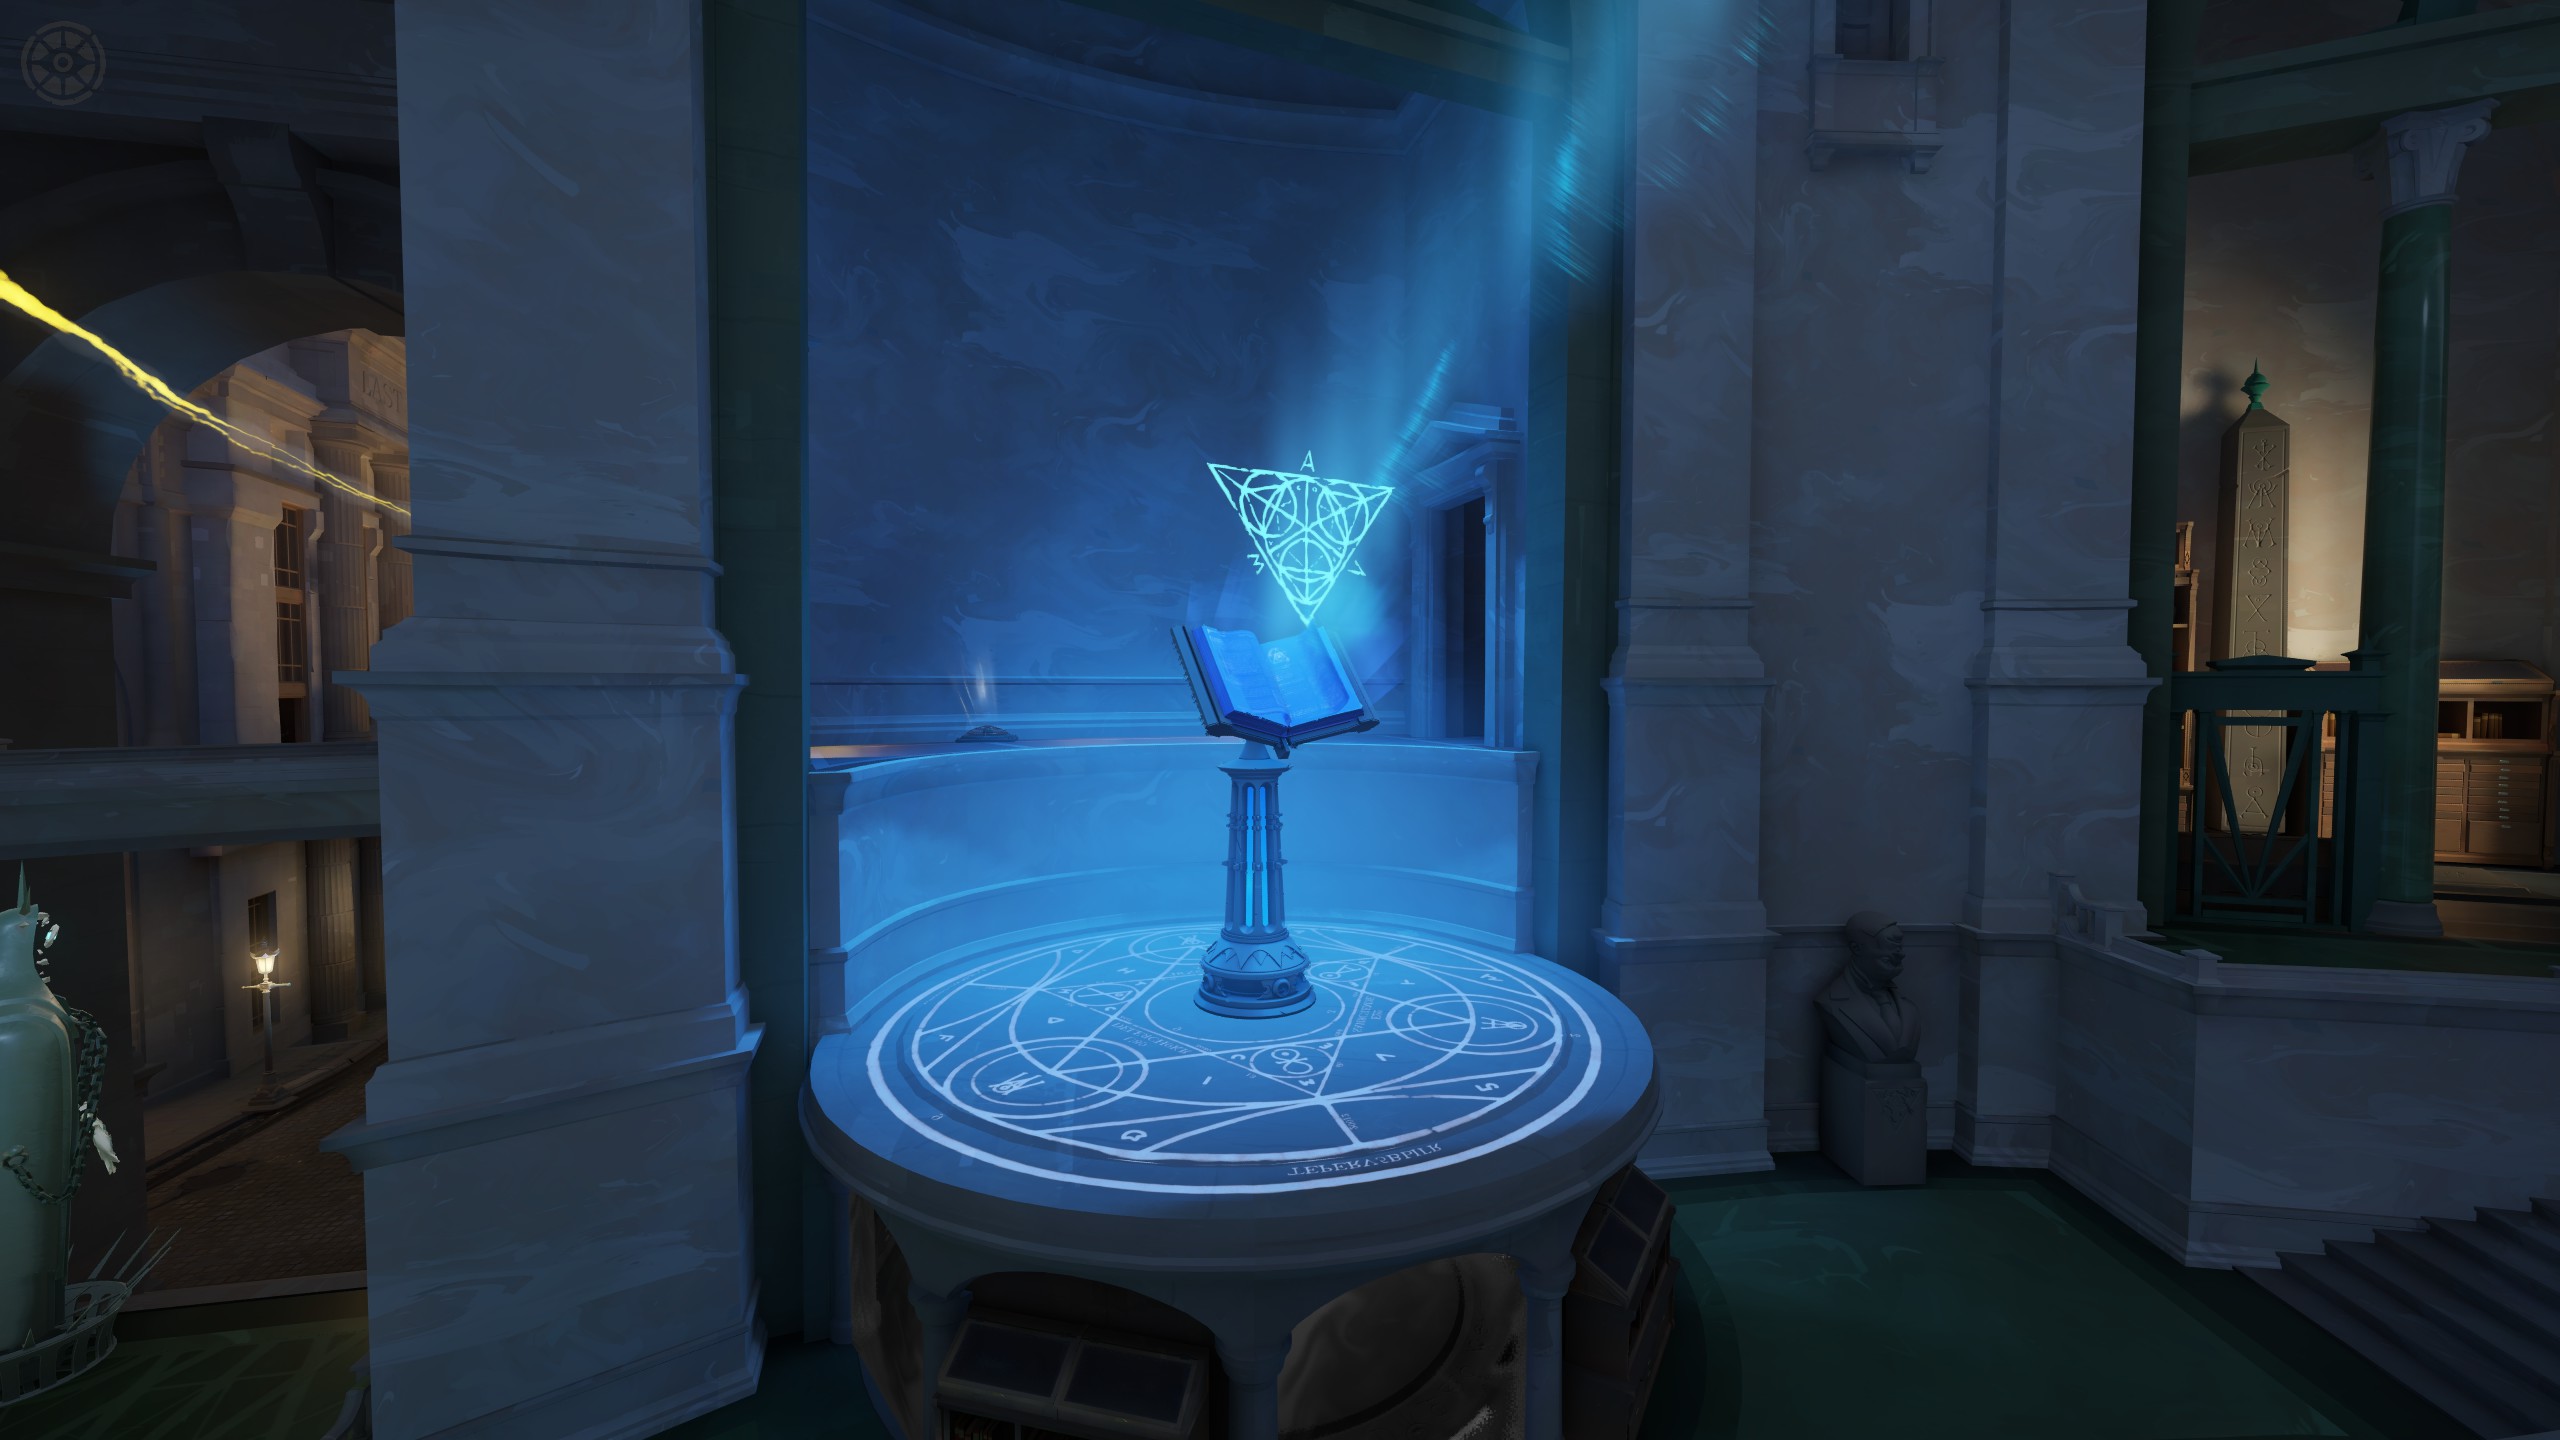
A glowing blue book above a pedestal in the Archmother base.
A Shrine in the Archmother's base.
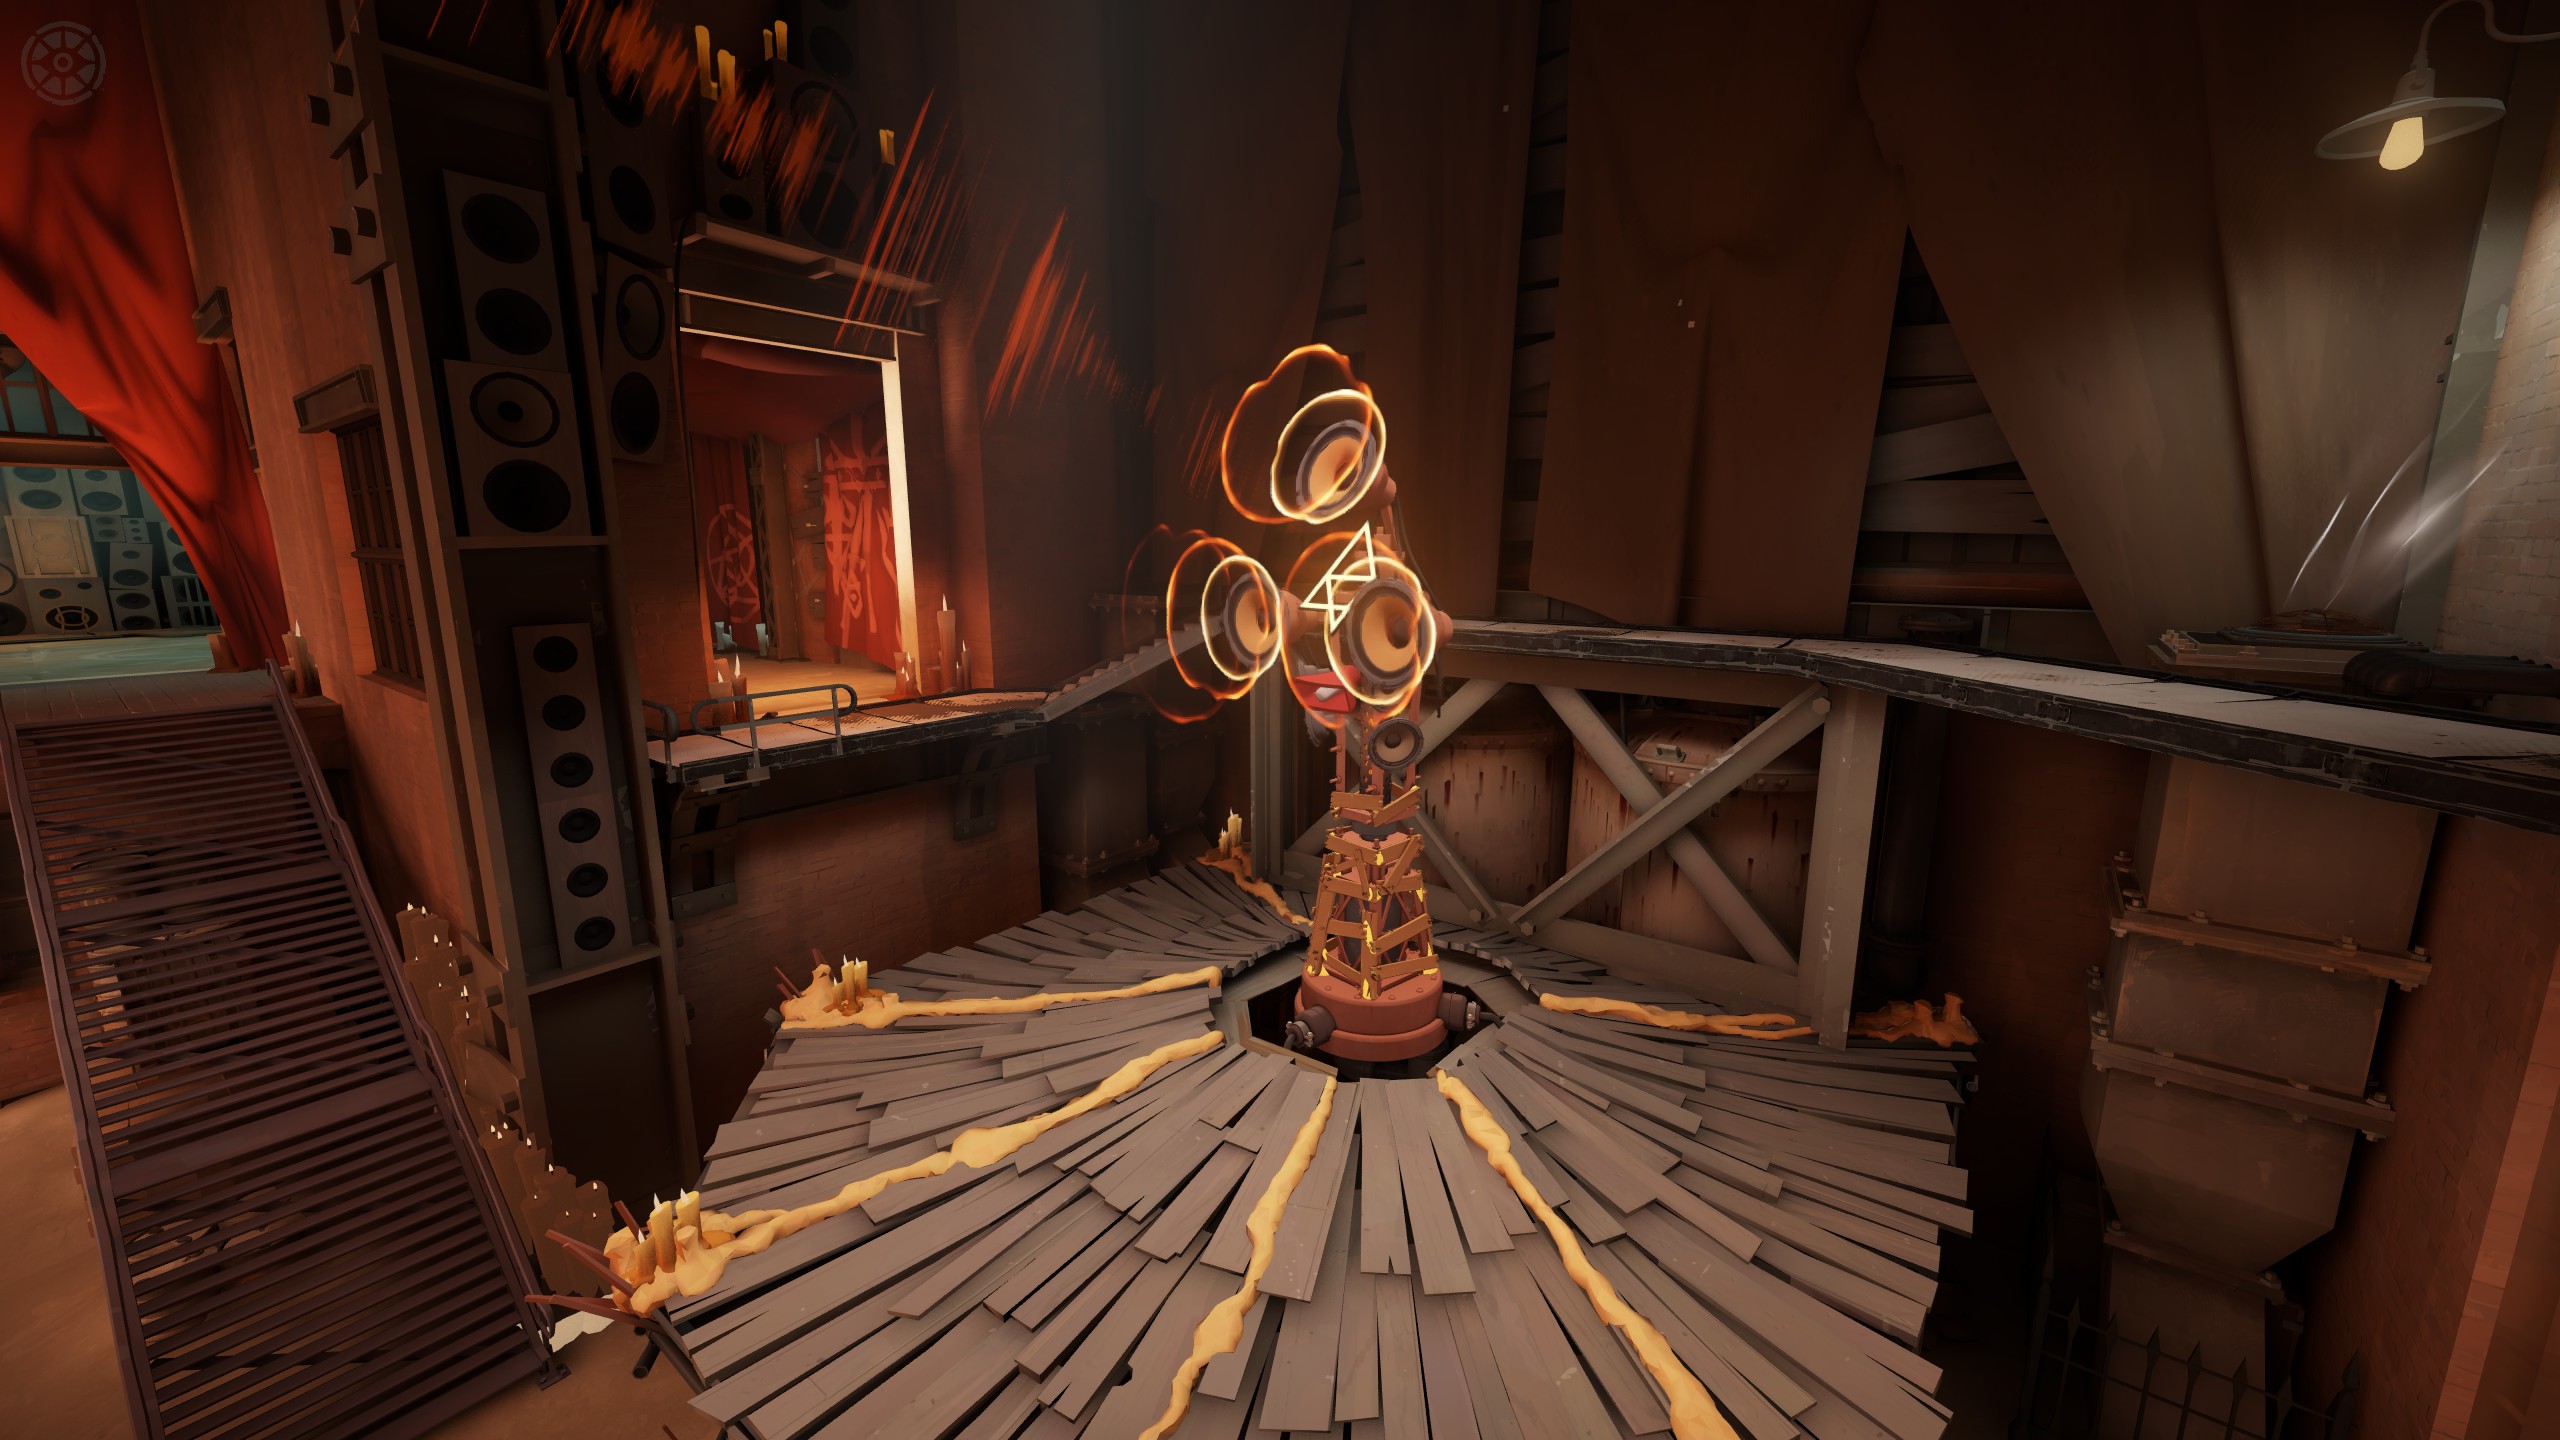
The Hidden King Shrine, with circular horn-like elements on a wooden platform.
A Shrine in the Hidden King's base.
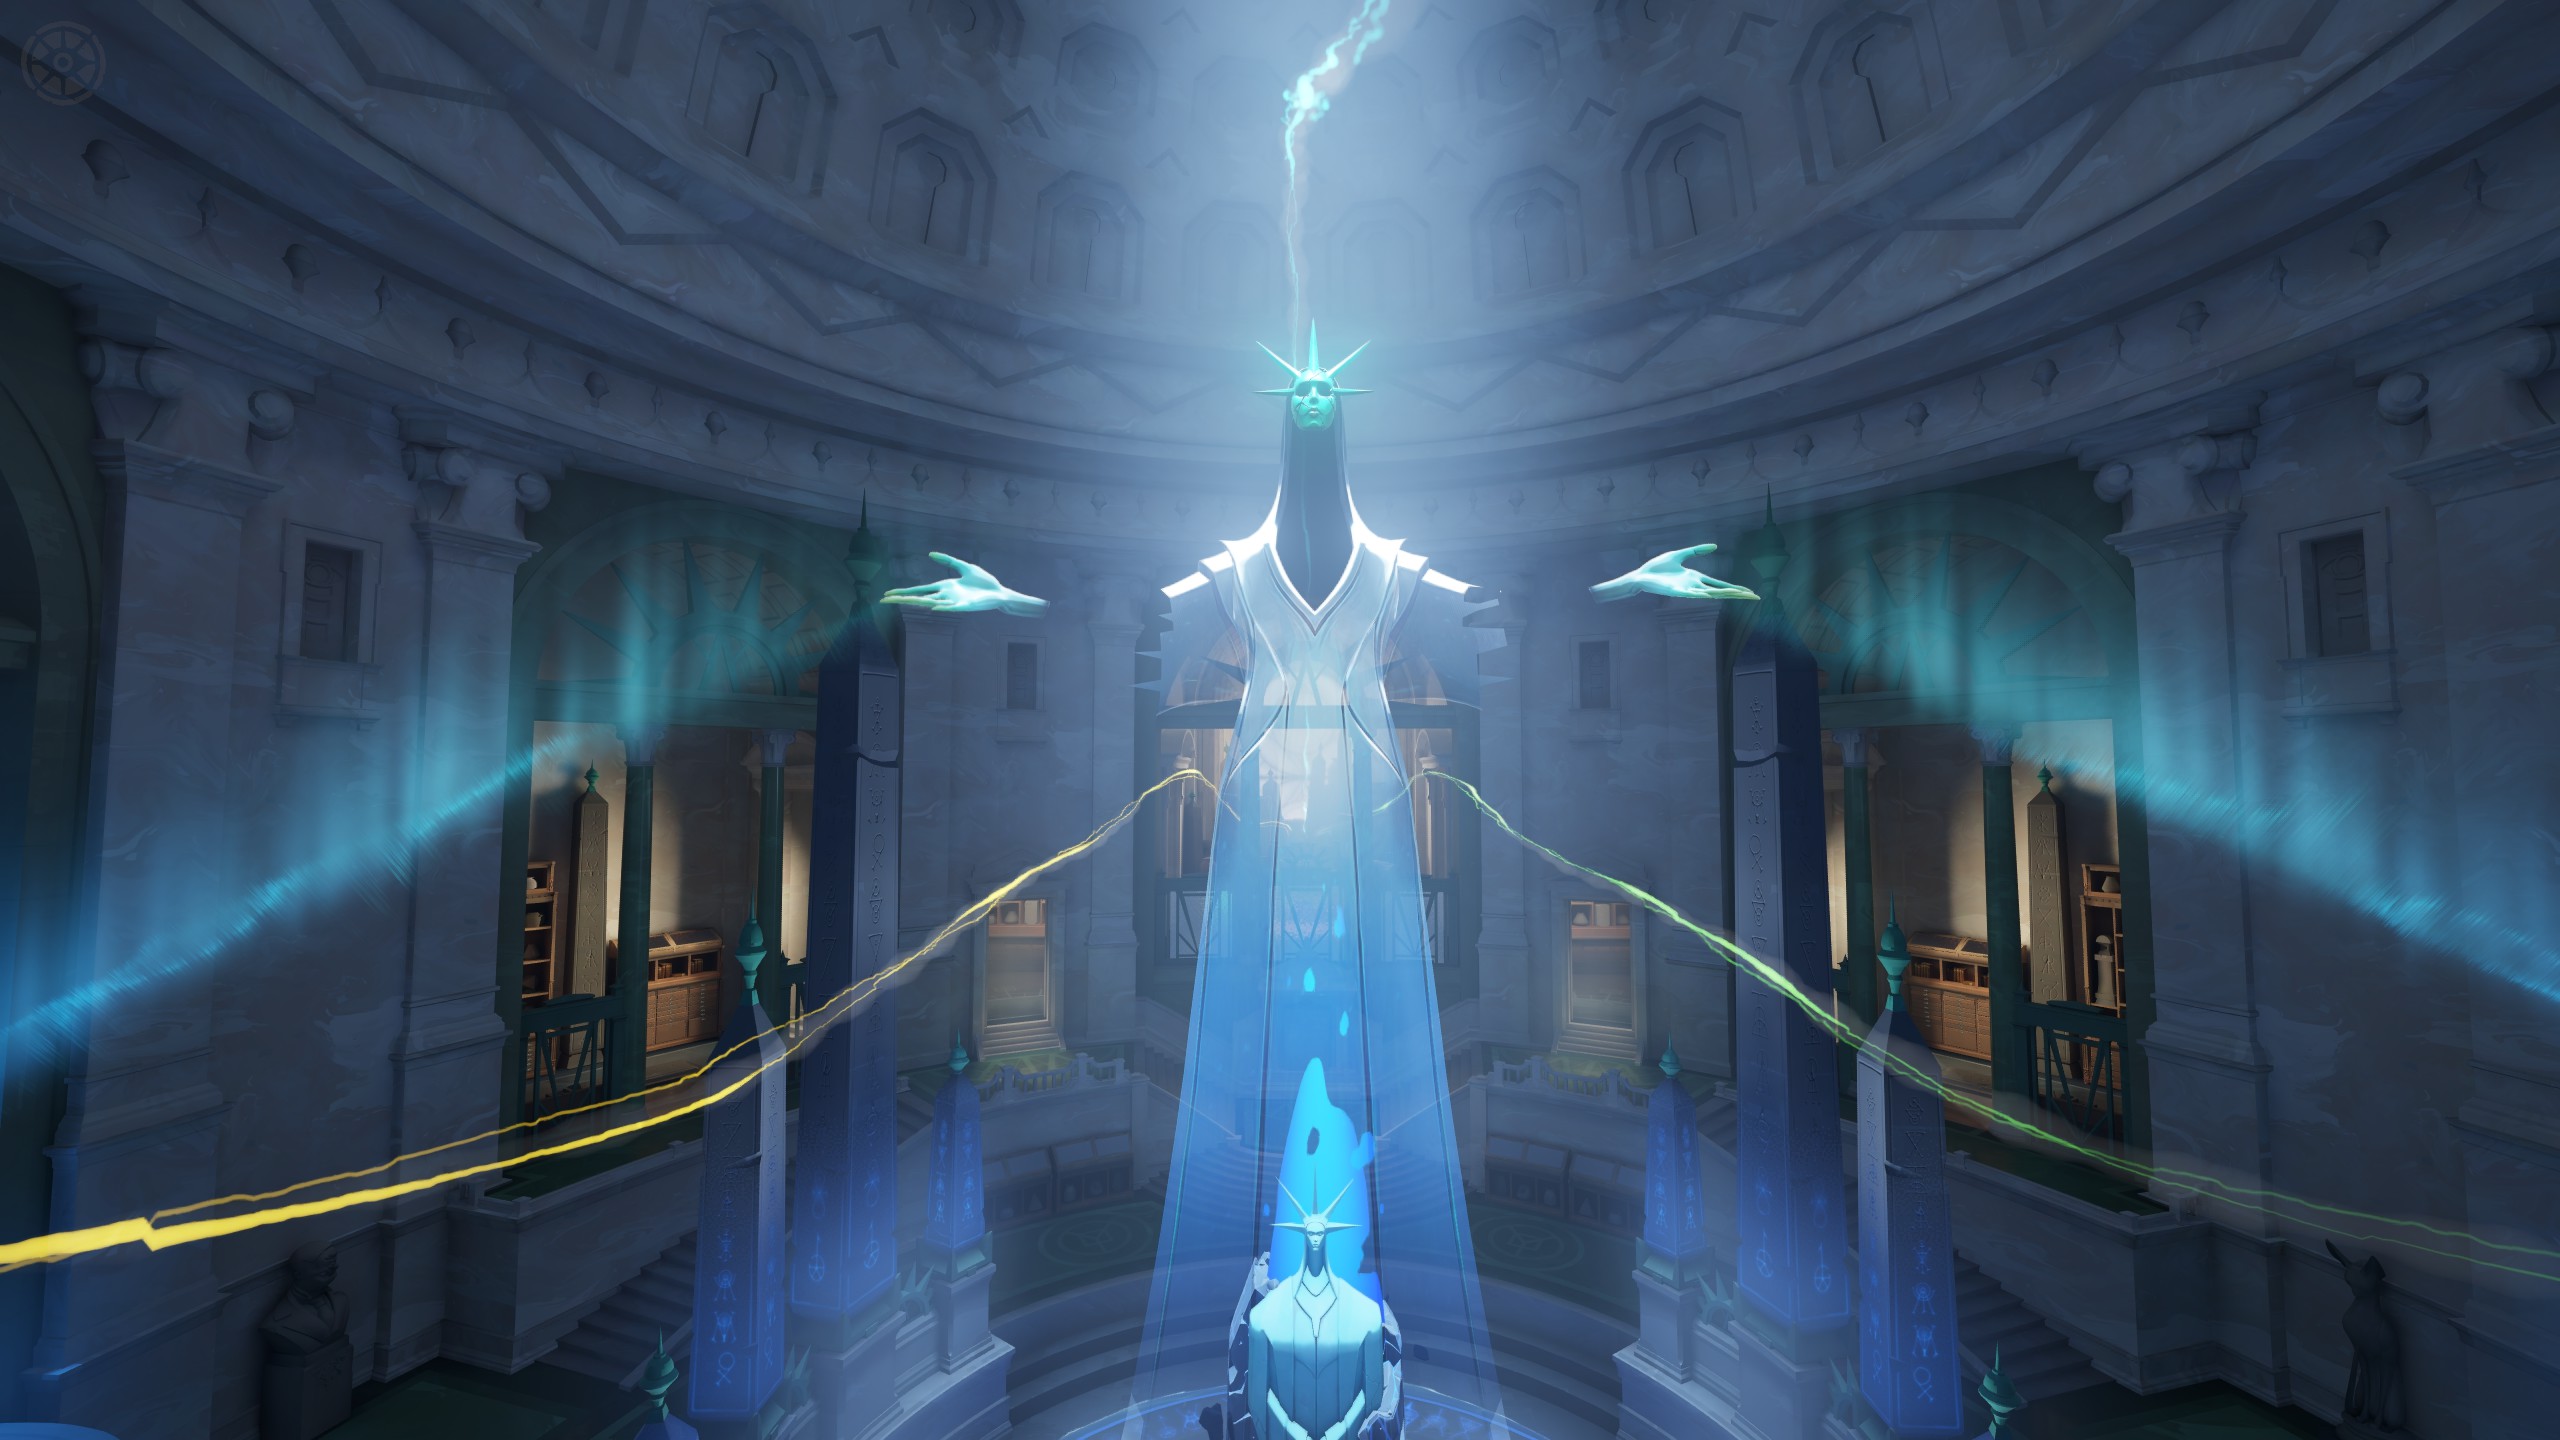
The luminous Archmother suspended in a blue-lit rotunda.
The Archmother.
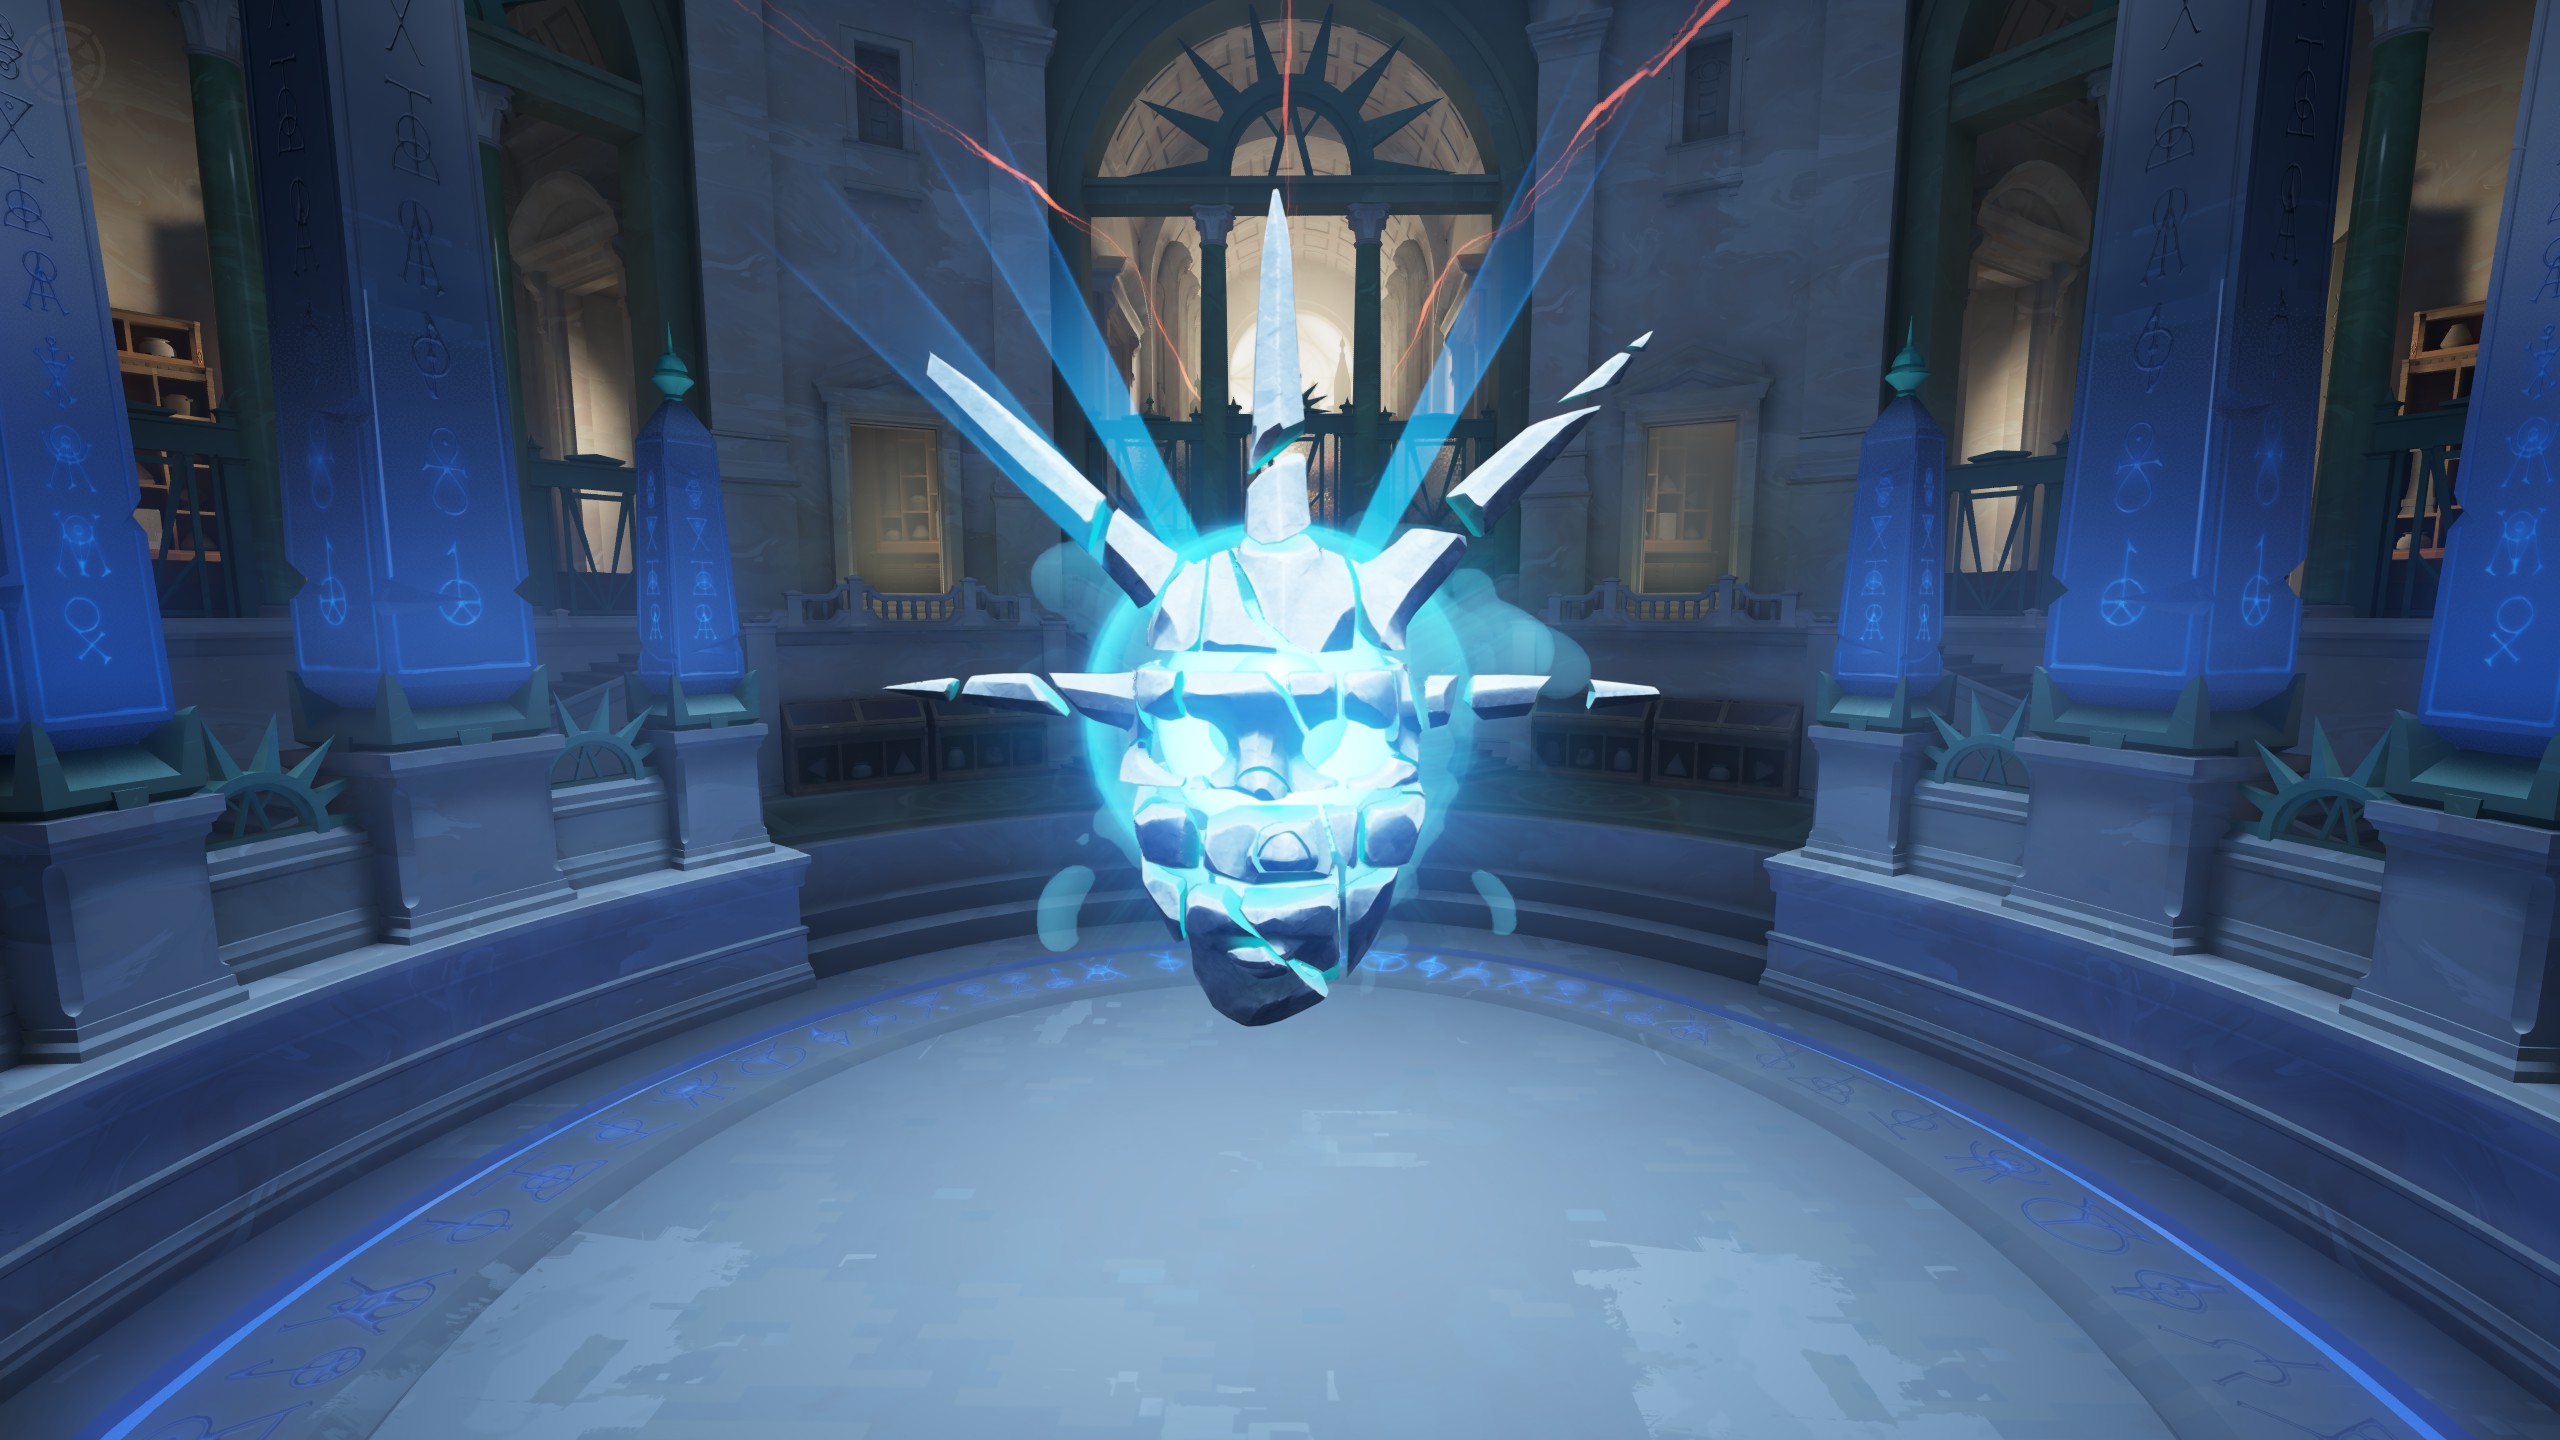
A fragmented pale face surrounding a cyan core in the Archmother base.
The Archmother in her weakened form.
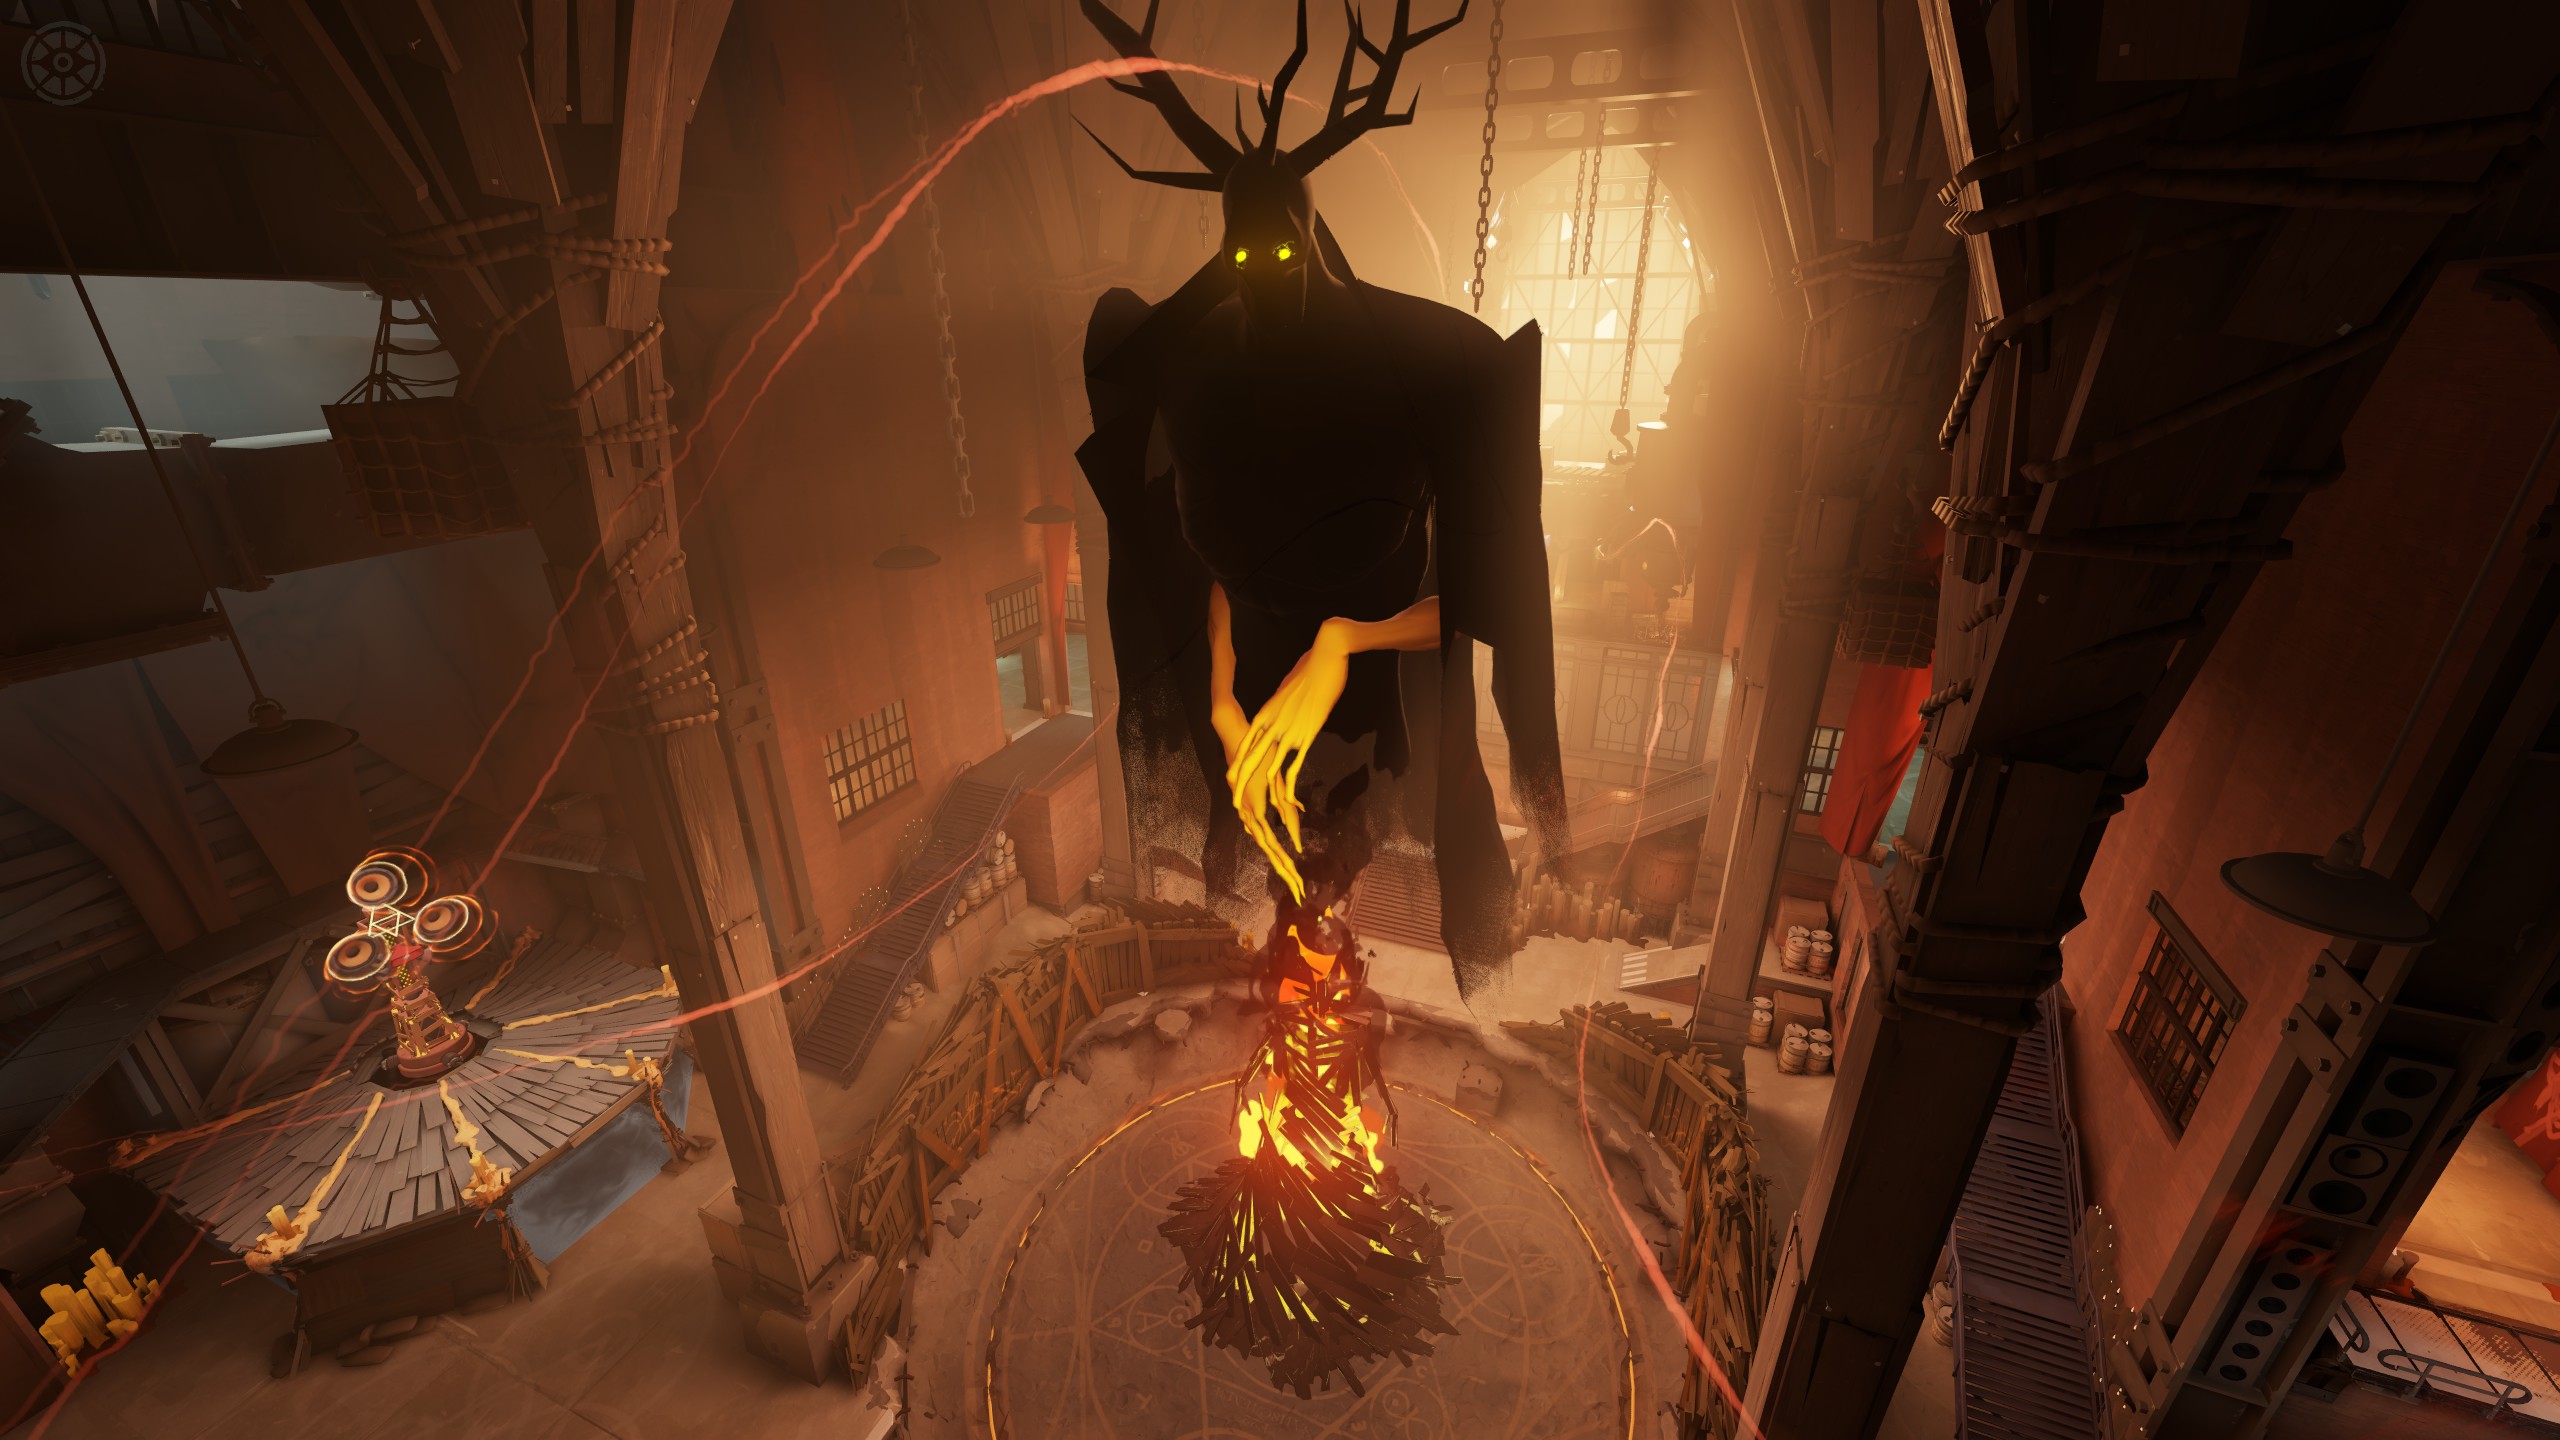
The Hidden King suspended above a glowing wooden form in an amber-lit hall.
The Hidden King.
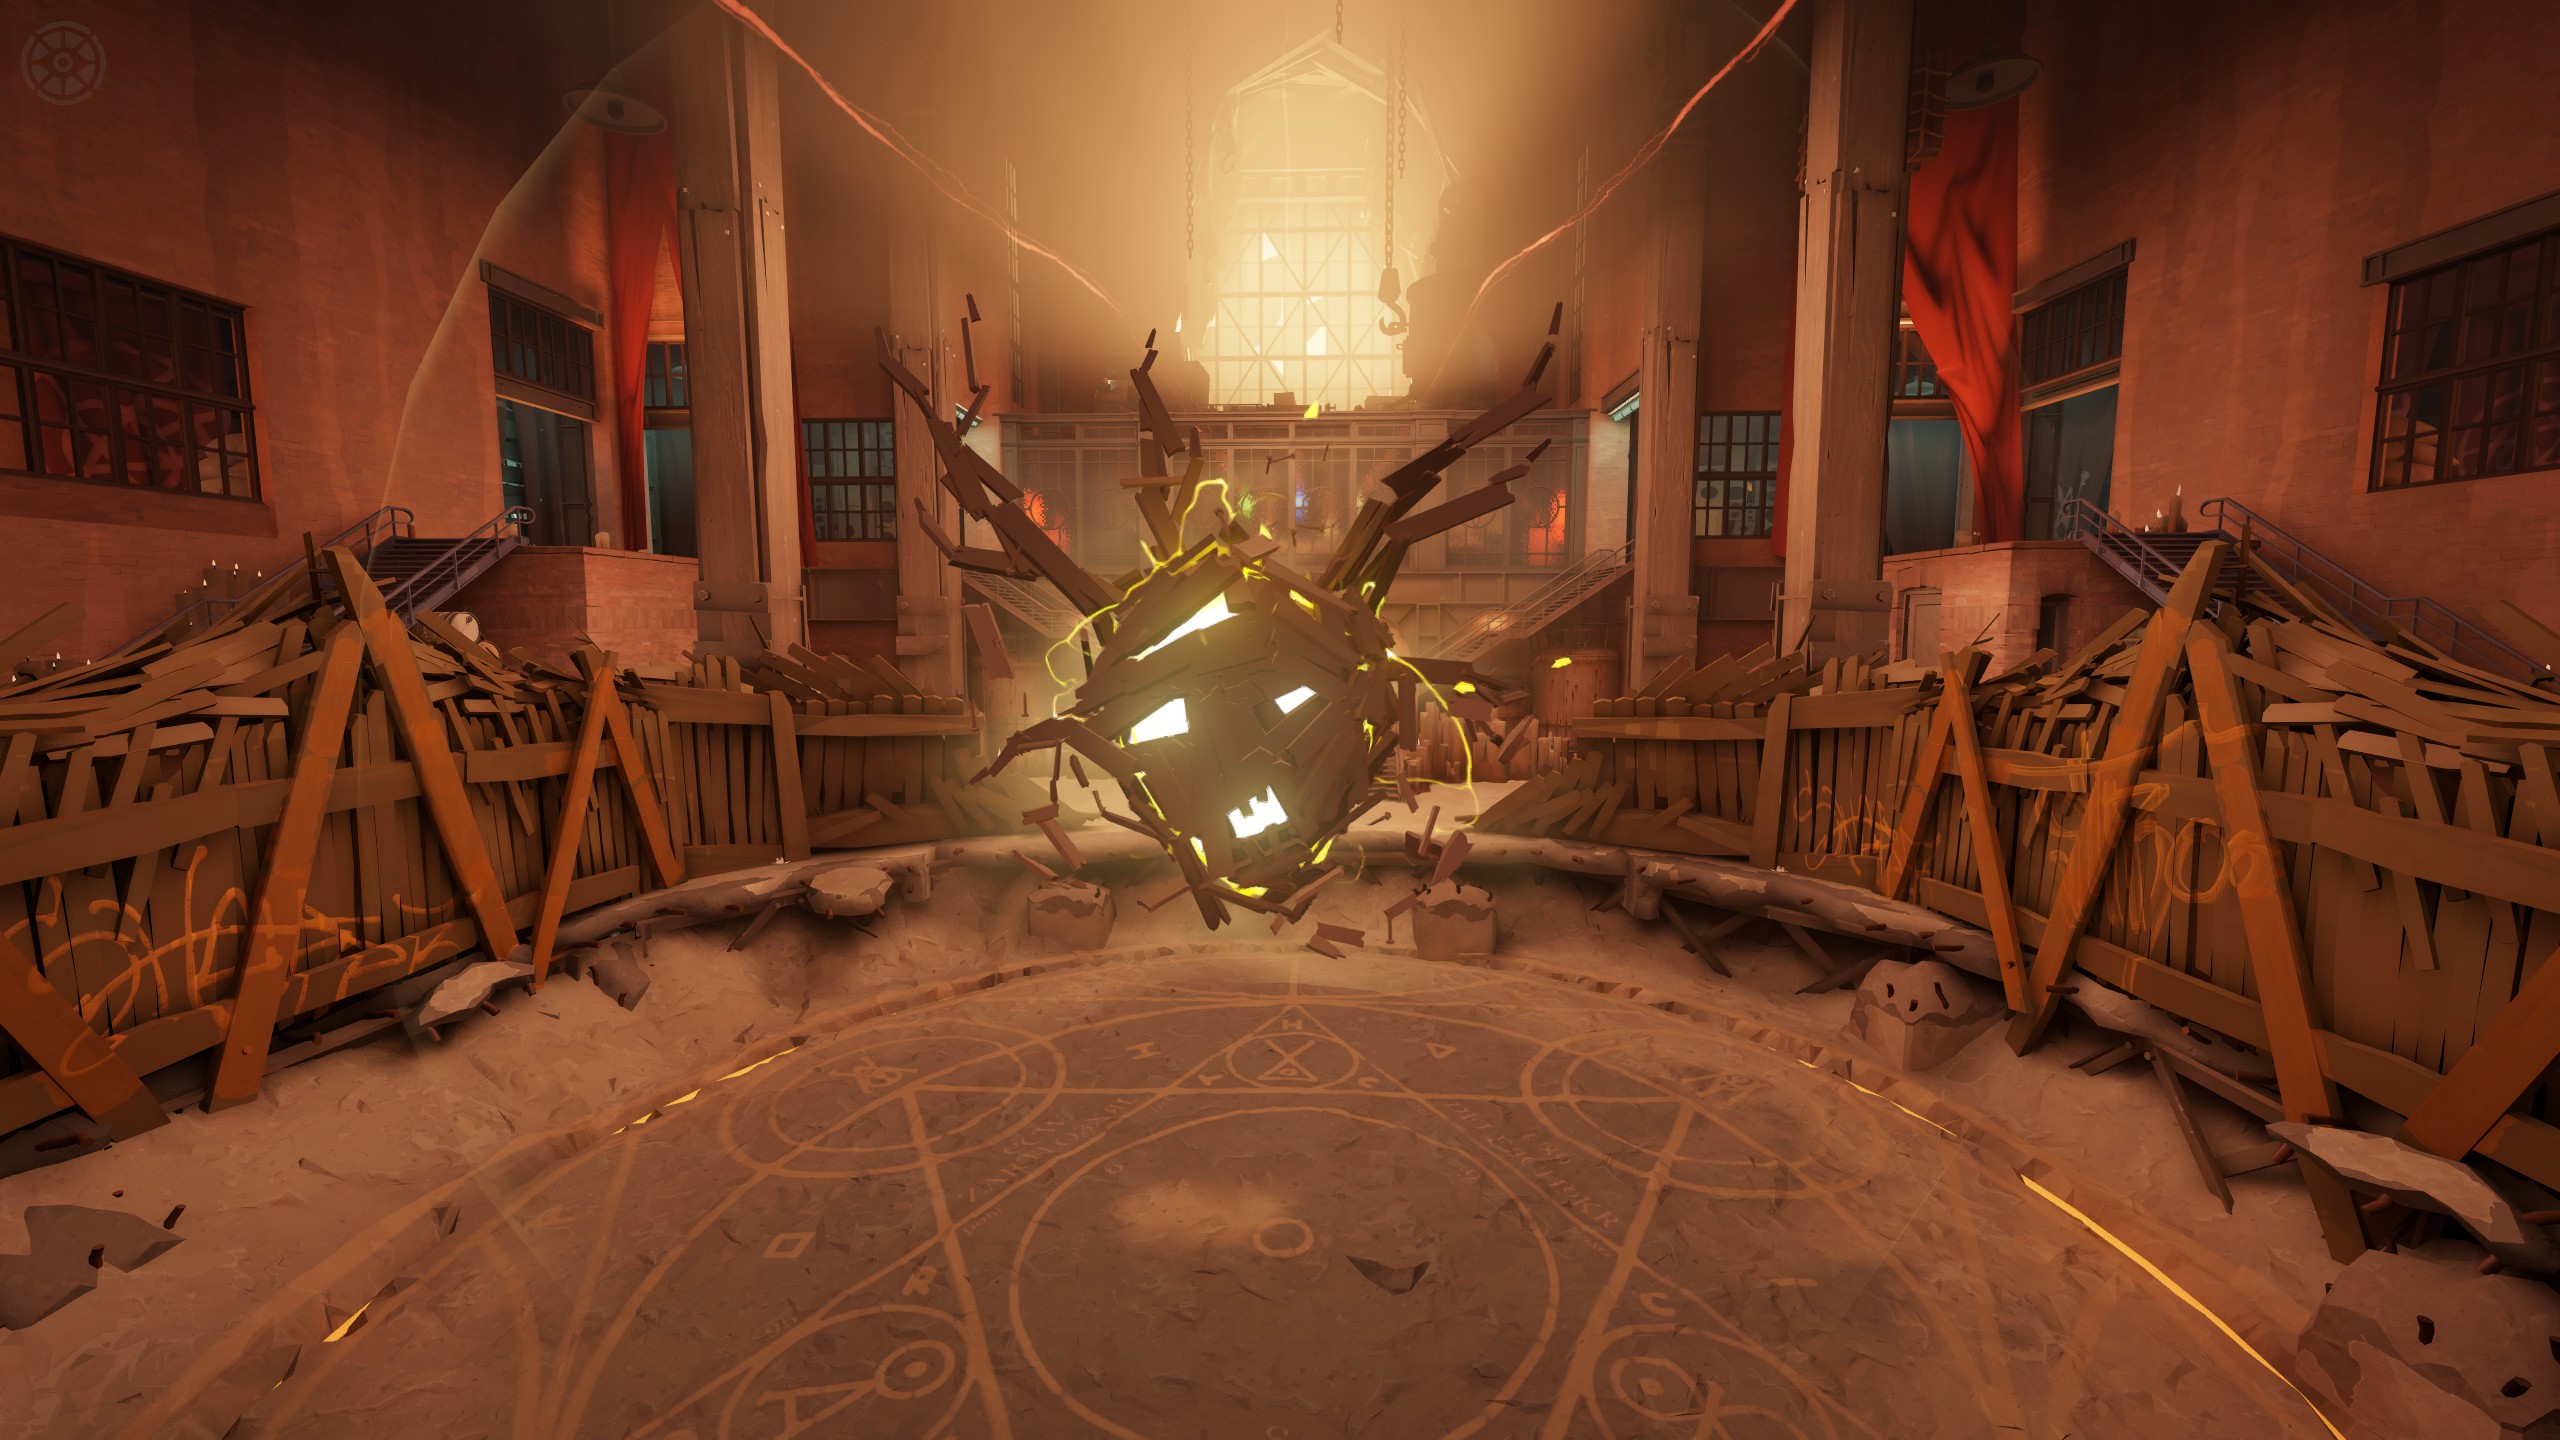
A broken wooden form surrounding a bright core in the Hidden King base.
The Hidden King in his weakened form.

When the enemy has players dead, divide your attention between the structure and the defenders who remain. Your team needs enough damage to finish the objective, but someone also needs to notice an enemy approaching or protect a teammate who can be interrupted easily. Standing together with every camera pointed at the Patron makes that response harder.

Keep checking the enemy's respawn timers. If you cannot finish before they return, leave while you still have a route out. Recovering, buying, and bringing another wave can preserve the progress you made instead of giving the enemy a chance to chase your team back across the map.